Turn Empty Pringles Cans Into Upcycled Decor And Storage
We may receive a commission on purchases made from links.
The 20th century could be defined by its innovations. The Wright brothers designed the first airplane, Swiss engineer George de Mestral created Velcro, and Jonas Salk developed the polio vaccine. Breakthroughs in fields like aviation, fashion, and medicine often overshadow some of the smaller but nonetheless influential developments of the period. For instance, in 1966, Procter and Gamble food chemist Fredric Baur designed a resealable tubular container to store saddle-shaped chips. This invention became known as the "Pringles can," and it has been reproduced in the millions since its patent in 1970. Baur ultimately arranged to have his ashes buried in his invention. But in addition to snack storage and burial urn substitution, there are plenty of other uses for your Pringles cans.
You can use these foil containers to hold flowers, create chic lighting fixtures, and store pens or cooking utensils, among other uses. Most of these DIYs should take between a few minutes and an hour to complete. For many of these hacks, you'll need basic tools and materials like scissors, a hot glue gun, and twine, but some of the projects are also much simpler and don't require modifications to the cans. If you have concerns about putting used containers on display in your home, worry not: Many of these DIYs result in a final product that's completely unrecognizable. In fact, you might even learn to repurpose empty Pringles cans into eye-catching wall art with creative DIYs.
Garbage bag dispenser
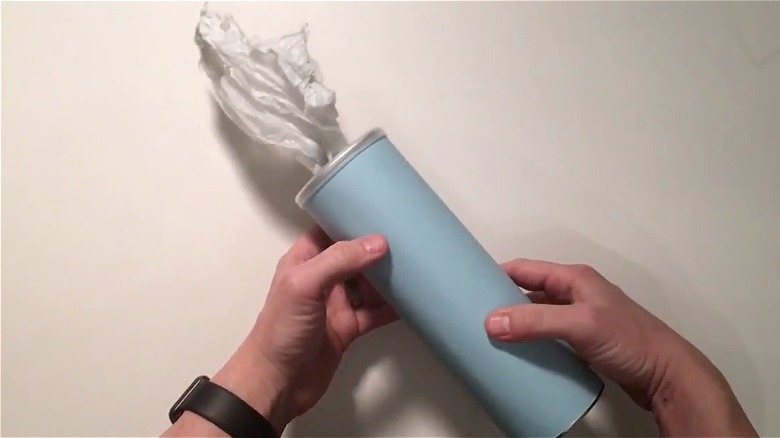
The plastic tops on Pringles cans keep the chips fresh inside, but the uses for these tops go well beyond their intended purpose. For instance, you can alter the lids to make a garbage bag dispenser. All you need is a box cutter. Simply cut two perpendicular slits across the lid, then remove your trash bag roll from its box and slide it into the can. You can then feed the bags through the lid. Your lid might pop off, so you'll need to reinforce it with a little bit of tape.
Hot flat iron storage
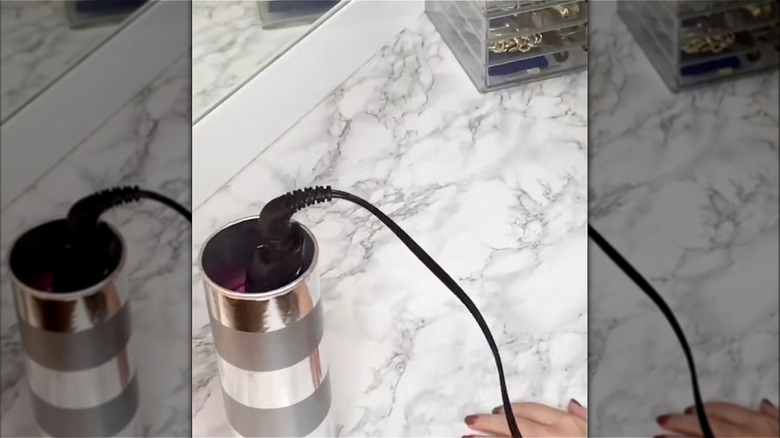
Maybe you've rushed while fixing your hair one morning and, without thinking, left your flat iron on the sink counter. Unfortunately, some countertop materials — like quartz, for example — can be harmed by the hot device. But you can avert this issue using a Pringles can. First, strip the paperboard tube from the outside of the can, then place a flexible silicone hot pad in the can to safely absorb heat. Now, when you finish straightening your hair, just place the hot iron into the can.
Magnetic pencil organizer
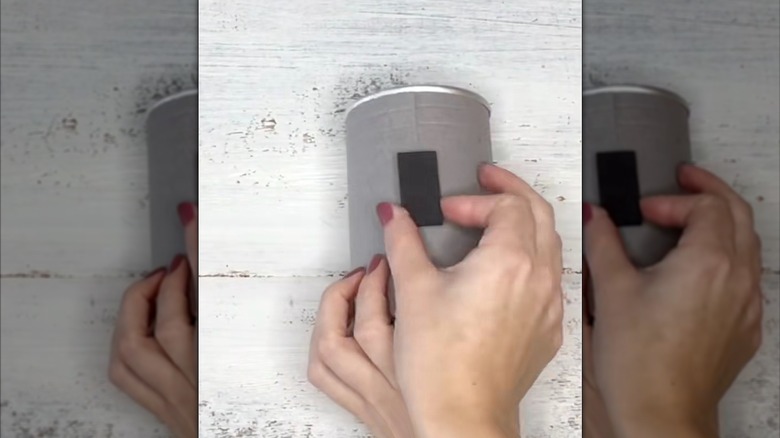
For this hack, you'll need a can of mini Pringles. You'll also need to purchase a pack of magnetic buttons, like these ones from the Dollar Tree. To start, remove the paperboard tube from the outside of the can (or leave it, if you like the look). Then use a hot glue gun to adhere two vertically arranged buttons to the can's side. Finally, attach the can to the side of your fridge and place pencils and pens into it.
Cotton pad dispenser
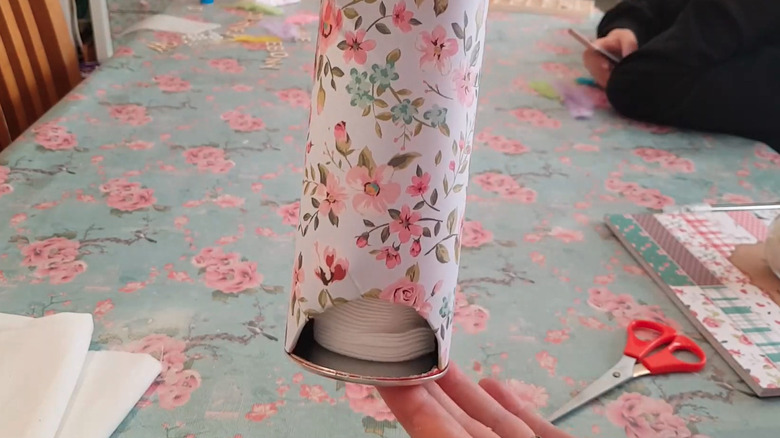
You can purchase a pack of round cotton pads from any drug store. These are excellent for removing makeup or simply cleaning the face. These pads often come in plastic sleeves, which don't always stand up straight. That's why you can make a dispenser out of a Pringles can. Simply remove the paperboard tube from the can (or wrap it in decorative paper) and cut a half-circle in the lower quarter of the can with a utility knife. Place your cotton pads in the can and grab one from the half-circle slit as needed.
Crayon or marker organizer

You can use multiple mini Pringles cans to make clustered holders for pencils, pens, or markers. You'll also need a stapler, a wicker placemat, a pair of scissors, and a hot glue gun. Start by removing the tops of each can and then place them alongside each other. The cluster can have as many cans as you like. Staple the cans together, cut your wicker placemat to the correct dimensions, and glue it to the outside of the collector. Then place your crafts supplies inside.
Storage container on a bike
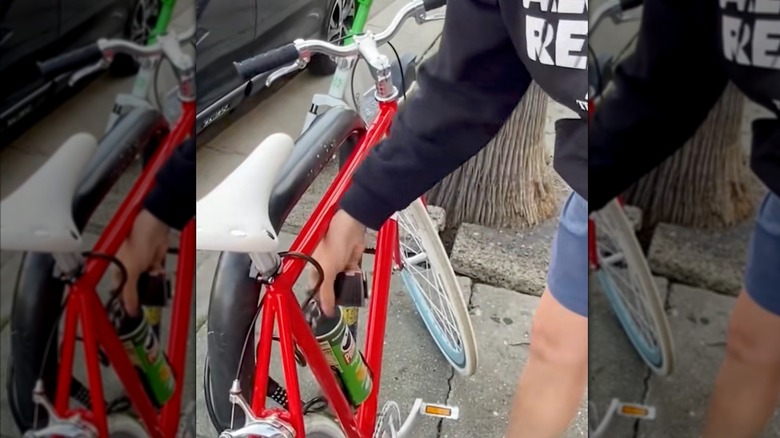
If you use a bicycle for daily transportation, you might find that it's sometimes a challenge to store your belongings. So, instead of keeping your wallet, phone, and keys in your pockets, from which they may fall out, place these items in a Pringles can. You may be wondering just how that could be more convenient, given how bulky Pringles cans are. But it's actually quite simple: You simply insert the can into the bike's water bottle holder. Just don't forget to empty it when you arrive at your destination.
Wall sconces
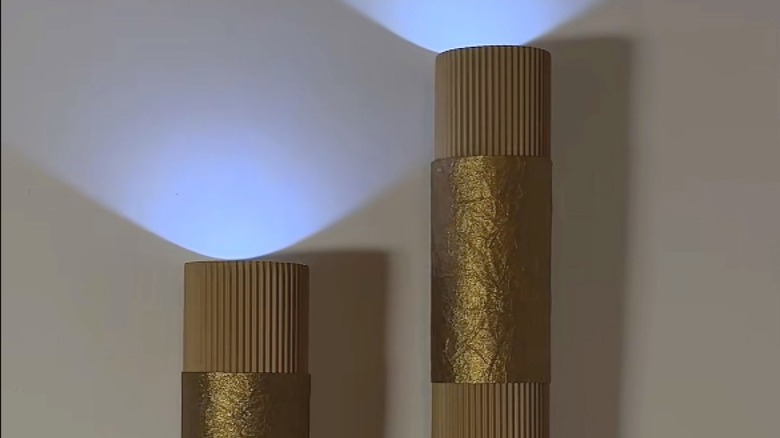
You can make a decorative wall sconce light using a full-size Pringles can, a sheet of corrugated cardboard, a pair of scissors, scrapbook paper of any color, and an LED puck light. First, wrap a sheet of corrugated cardboard around a can. On one end, the cardboard tube needs to extend beyond the end of the Pringles can, but the can should still be completely covered. Secure the cardboard with hot glue. Then wrap the decorative paper around the can and glue it. Place the puck light inside and secure the decoration to the wall with a Command Strip.
Bohemian vase

The Bohemian style stresses warm texture and ornate design over minimalism. If you want to save a little money, you can make your own boho vase out of a Pringles can and a cardboard box, using a pair of scissors, a hot glue gun, and a spool of twine. Cut about two dozen half-circles from the box and glue them around the outside of your Pringles can, perpendicularly to the surface. Then, starting at the top of the can, wrap and glue the twine around the can and the cardboard half-circles.
Ceramic vase
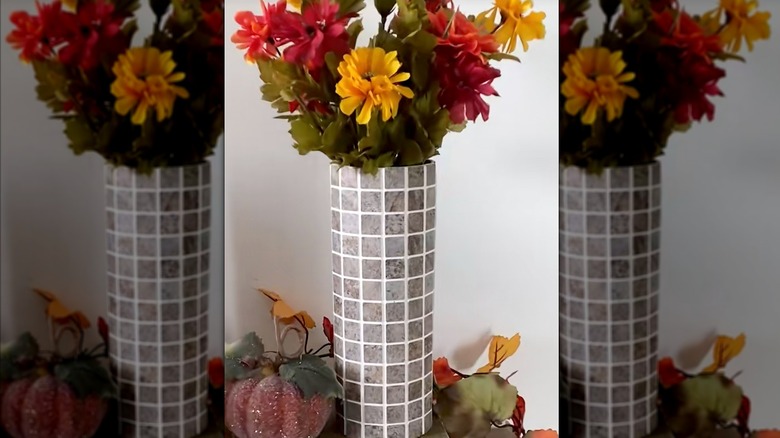
Mosaic tile is ideal if you're trying to create a Mediterranean aesthetic. To make a Mediterranean vase, you'll need an adhesive tile mat, a box cutter, a ruler, grout, and a grout float. Measure your Pringles can and tile mat, then cut each so that when you wrap the mat around the can, it covers it evenly. Apply the grout and use the float to fill the spaces in between the tiles. When it dries, you can place dried (or plastic) flowers into the vase.
Gold vase with hot glue design

To complete this DIY, you will need a hot glue gun, at least two sticks of hot glue, and gold spray paint. Heat up your glue gun and squeeze the glue onto the outside of a Pringles can in any pattern you desire. Once the glue dries, take the can outside and paint it. Your Pringles vase is not meant to hold water, so use it with dried or artificial flowers. If you like the look but prefer something that will hold live flowers, decorate a real vase with this hot glue hack to add texture to it.
Make a twine-covered pencil organizer
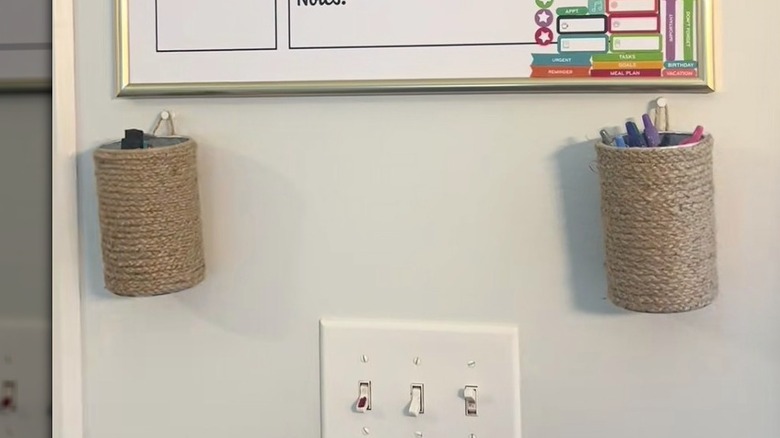
You can fashion a wall-mounted pencil holder from a mini Pringles can using a spool of yarn, a hot glue gun, a pair of scissors, and a tack. First, remove the lid from your can. Then cut a 4-inch length of twine. Loop the twine and glue it to the edge of the can by its tails. Next, wrap the twine around the can, reinforcing it with hot glue. Finally, insert a tack into the wall where you want the holder to go and hang the can by its bunny ear.
Popsicle stick pencil organizer

Pringles cans lend themselves perfectly to being repurposed into pen and pencil organizers, and these DIYs are highly customizable. If you have a few popsicle sticks at home, you can make this unique organizer to hold all your arts and crafts supplies. You'll also need a hot glue gun, colorful beads, and a ribbon. You should use a mini Pringles can. Simply glue the craft sticks around the outside of the can, then glue on your beads and tie your ribbon in a bow. Or, paint the organizer any color you choose.
Gilded concrete candle base
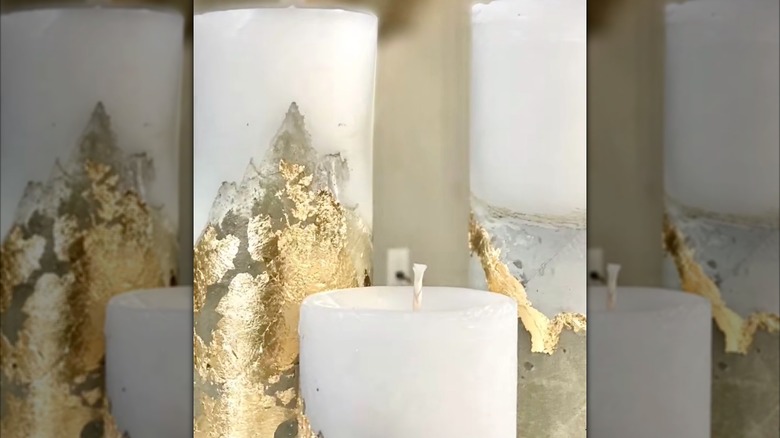
This DIY involves molding concrete and wax using a Pringles can. You'll need quick-setting cement, a popsicle stick, a pillar candle, a pot, a pack of wicks, gold leaf sheets, Mod Podge, a brush, and hot glue. First, mix the cement powder with water per the manufacturer's instructions and stir the paste with a popsicle stick. Then fill the Pringles can halfway with cement. After the concrete cures, glue the wick to the concrete. Next, boil the wax and pour it into the Pringles can. Finally, attach the gold sheets to the candle with Mod Podge.
Plaster of paris candle holders
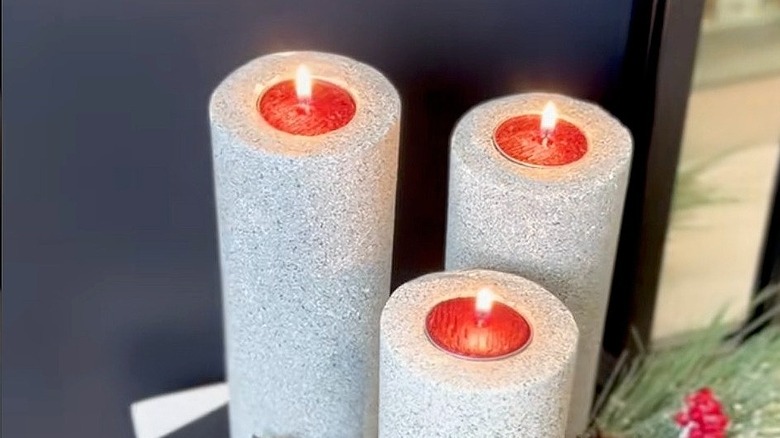
For this project, you will need plaster of paris, spray paint, and tea light candles. To start, mix the plaster with water according to the directions on the container. Pour it into your Pringles can, then press the tea light candle into the plaster and give it about a day to dry. Next, remove the dried pillar from the Pringles can and detach the candle. The impression left behind will hold other candles. To give this pillar a more intriguing design, briefly spray it with paint in the color of your choice.