Not Cabinets, Not Baskets: The Affordable Shoe Storage Solution You Can DIY
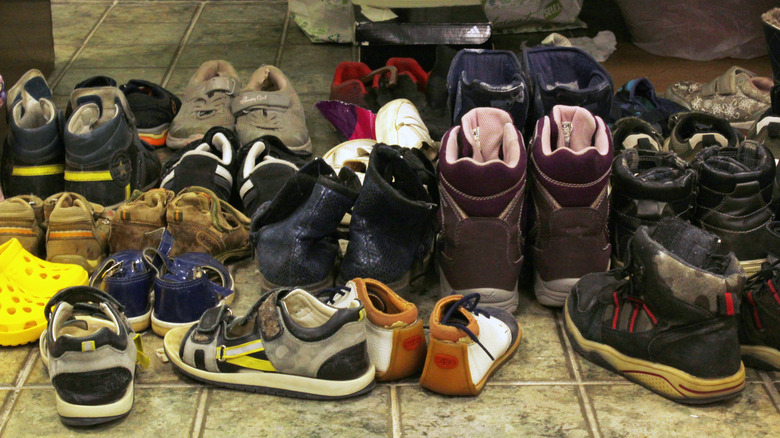
Garages often become cluttered because we leave things there that don't belong anywhere else in the home. For instance, when you come home at the end of the day, there's a good chance you might kick your shoes off in the garage to avoid tracking dirt into the house. You can always set up a cabinet or basket to keep your shoes organized, or you can upcycle old scrap wood to make a pocket shelf that you can secure to your wall. All you need is a wooden pallet.
Pallets consist of several boards nailed together, and they usually support heavy boxes in warehouse or construction settings. They allow forklifts to carry thousands of pounds of cargo at a time. You can find pallets at local retailers or construction sites.
For this project, you will need a measuring tape, a pencil, a crowbar, a hand saw, a pack of nails, a grinding machine, sandpaper for the machine (one sheet of coarse sandpaper, one sheet of medium-grain sandpaper, and one sheet of fine-grain sandpaper), and a hammer. You'll also need some safety gear, including gloves and eye protection. Also, check any pallet you plan to use to make sure it hasn't been treated with carcinogens. Never use a pallet with an MB stamp for methyl bromide, but you can trust a pallet with an HT or KD stamp, meaning it was heat-treated. If you're not interested in carpentry, there are also several ways to repurpose thrift store finds for smart and stylish shoe storage.
How to construct a shoe shelf out of a pallet
The first step is to determine the length and height of your shelf. Its size should depend on your needs. Next, pull apart your pallet with your crowbar and hammer. Remove the nails and drop them into a can. Then, sand the wood, starting with the lowest-grain paper and working up to the highest. Cut two of the bottom deckboards in accordance with the desired height of the shelf. Use your hand saw to cut one of the top deckboards down the middle lengthways. You'll only use one of the halves. Cut this piece to a length that will match your desired shelf width. Then, cut four more boards to whatever that length is, plus an inch.
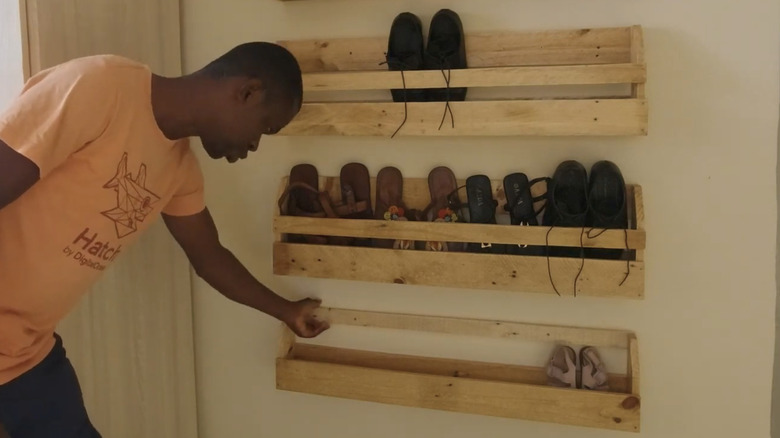
Next, you can assemble your pocket shelf. The first two deckboards you cut will be the sides. Place them across from each other on your work table and nail two boards across on each side. The top board on the front-facing side should be lower than the top board on the back side. Then, take your skinny board (the one you cut lengthwise) and nail it to the bottom of the pocket shelf. Now, you can nail or screw your pocket shelf to the wall. Try to secure it to the joists, which you can locate using a magnetic stud finder.
If you liked this project, there are plenty of other handy ways to use wood pallets to increase your storage space. Some of the wooden pallet shelving ideas for stylish and affordable storage include a pallet shelf, square shelves, and corner bookshelves.