This Simple DIY Turns Leftover Scrap Wood Into A Space-Saving Plant Display
Finding enough room to host a growing collection of greenery can be one of the biggest challenges faced by plant lovers. While there are plenty of indoor plants that will thrive in a small space, arranging them all can be tricky, unless you get creative. One great solution is to create a stunning living wall or DIY a space-saving vertical garden. Hanging shelves is always a safe bet, but if you'd rather a solution that doesn't require making holes in the wall (especially if you're a renter!), consider turning a few pieces of leftover scrap wood into a pretty shelf for your collection.
As one TikToker showed off, these can quickly be transformed into a space-saving plant display in just a few steps and without much money. All you'll need are four square-shaped pieces of wood, which will act as the shelves of your DIY. Although these don't need to be perfect squares — the more rustic, the better! — they should be large enough to hold your plants. This project also requires three slim boards that will become the plant stand's legs, supporting the shelves in a staggered pattern. Keep in mind that the length of these boards will determine the height of the display, so they may need to be cut to size. Once the materials are ready, you can begin assembly.
Quickly turn a few pieces of scrap wood into a plant display
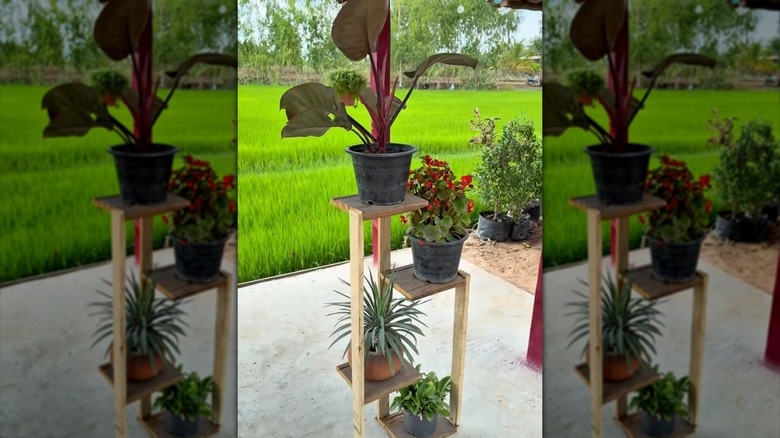
This quick and simple DIY only requires seven pieces of scrap wood and some nails to complete. Begin by placing two of the square wood pieces on their sides, standing them upright on a flat surface. Leave enough space between them for planters to fit, then lay one of the boards across their tops and nail it down. While the TikTok creator chose to use slim pieces of board for his display, opting for slightly wider slabs can add stability to the final construction.
Next, flip the DIY 90 degrees and nail another board to the squares' sides. Attach a third square to the middle of this same board, then a fourth one at the very top. Turn the display another 90 degrees and attach a final board to the sides of the middle and top shelves. This project can easily be customized to fit your favorite plants by adjusting the overall height, spacing between shelves, and even the number of shelves themselves. However, be careful not to build too high so as not to risk the display toppling over.
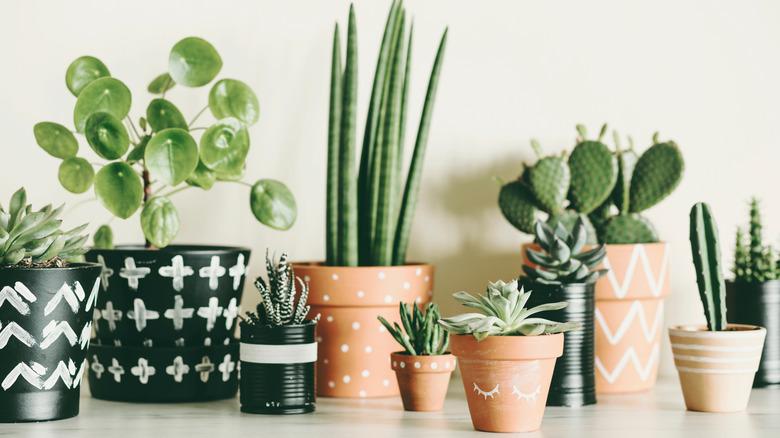
You can further personalize the finished result by staining the wood a beautiful dark shade. Alternatively, paint it in a fun, eye-catching color or turn it into a bold statement by making each level a different hue. Once finished, stand the build upright and it's ready to display your favorite flowerpots, which can also be painted to add a personal touch to your space.