DIY A Pressed Flower Lampshade To Add Spring Whimsy To Your Home
We may receive a commission on purchases made from links.
There's something magical about spring. Fresh air, flowers bursting into bloom, long-awaited sunlight pouring in through an open window — the world's abuzz with light, joy, and color. The tricky part? Bringing that same sense of whimsy and hope inside. But by gluing pressed flowers to a plain lampshade with a unique DIY, you can decorate with nature in your home, bringing the outdoors inside.
TikToker @littlepinelearners transforms a simple lampshade into the ultimate spring decor by applying a light layer of adhesive, placing her flowers, and then sealing them on. All in all, it's a simple DIY you can do on a sunny spring afternoon. All you need is a lampshade (hardback lampshades are popular for crafting, but use what you have), pressed flowers, craft tweezers, a paintbrush, and glue.
Speaking of glue, we stumbled across a debate on DIY forums on the best glue to use with pressed flowers. Mod Podge is a favored choice since it can act as both a glue and a sealant, but some DIYers noted that it changed their flowers' colors. The likely culprit? Mod Podge is not pH-neutral. If you've used Mod Podge with pressed flowers before without an issue, or don't mind if your flowers change color, it's a great option. Otherwise, crafters recommended using an archival glue, like Books By Hand PH Neutral PVA Adhesive, to ensure your blooms' bright spring colors stay intact.
How to make a pressed-flower lamp shade
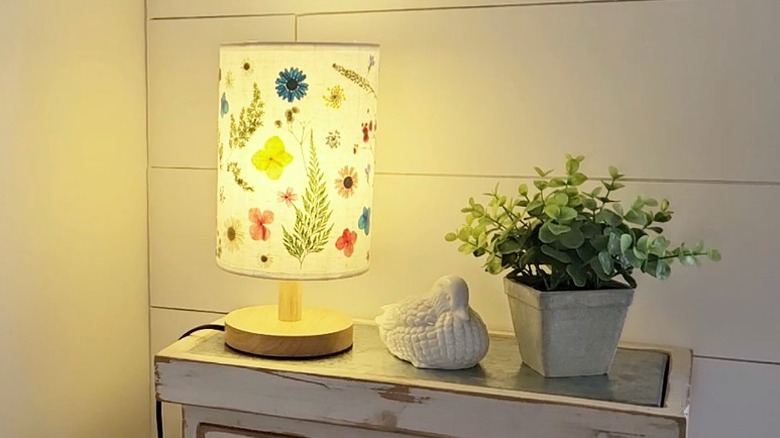
First, pick your design. Remember, whimsy is the name of the game, so don't be afraid to play with the layout. For cottagecore-inspired decor, lean into roses, daisies, or peonies for your pressed flowers. Minimalists may prefer a simple line of flowers along the base of the shade, while maximalists might want to cover the entire shade in flowers. Mix up the colors and tones, or go with one shade family to create a color-drenched effect.
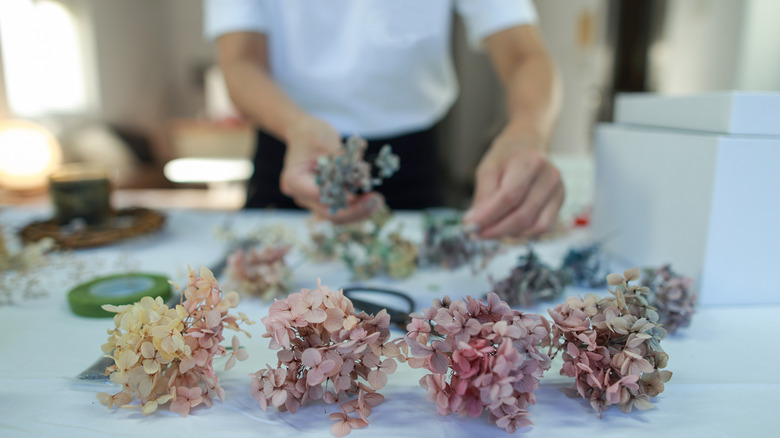
Then prep your flowers. Pressed flowers are ideal for this DIY for two reasons: their vibrant colors are preserved, and their shapes are flattened during pressing. Dried flowers, on the other hand, tend to retain their shape, making them harder to glue to the lampshade. If you don't have any pressed flowers on hand, you can press those dead or wilting flowers in your vase with this quick trick. Arrange the flowers between two pieces of grease-proof baking paper, then use a dry iron on medium heat to press down. You don't need to push hard; medium pressure for 10 to 20 seconds will do the trick. Flip the flower packet over and repeat. The flowers are ready when you don't see any wet spots on the paper.
Once cooled, wipe any dust from your lampshade, then use your paintbrush to apply a thin coat of glue to where you want to place the flowers. Transfer the flowers into place with the tweezers. Apply another light layer of adhesive on top to seal them in place and let it dry before installing the shade on a lamp.