Give Your Old Satellite Dish New Life By Turning It Into A Bird Bath. Here's How

Not many households are using satellite dishes to receive TV content these day. Millions of satellite TV subscribers have dropped their subscriptions since 2014, yet plenty of satellite dishes still cling uselessly to homes. In recent years, though, clever DIYers have realized they could transform these dishes into functional — and often beautiful — bird baths. It's almost as though dish designers had bird baths in mind because the shallow depth and gradual slope of the concave dishes are perfect for birds, who prefer water just 1 to 2 inches deep.
You'll find multiple variations on satellite dish bird baths on the Internet. Some are purely functional, remaining unpainted and not upgraded, while others are decorative feasts for the eye, painted in bright colors or covered in mosaic. Two basic styles of satellite dish bird baths seem to have emerged from the minds of DIYers. In the dish-only approach, all hardware and extra pieces are removed, and only the dish itself is used for the birdbath. The second approach involves retaining most of the hardware and re-purposing it as part of the function of the bird bath. Let's look at how to create both types, noting that instructions for both styles assume the satellite dish has already been removed from your house; see this video from Learn, Save, DIY for instructions for detaching a dish from your home.
Create a simple bird bath with just the satellite dish
Virtually all DIYers, even those retaining other parts, remove the piece called the low-noise block downconverter, or LNB. If you plan to remove all the parts, you can get rid of the LNB by taking off the feed arm entirely. The arm will be attached to the dish with two to four hex bolts that you'll need to remove with a wrench or socket set. This action will leave the dish with holes that you'll need to plug with silicone caulk or waterproof epoxy to ensure the dish is watertight.
You'll then need to separate the dish from the mast — the pole the dish was mounted on. Loosen the bolts on the mounting clamp and slide the dish up and off the mast. Finally, you'll want to detach the back assembly of the dish. Loosen the bolts and nuts holding the dish to the mounting bracket and gently lift the dish off.
While it's possible to place your transformed dish on the ground (and birds like ground-level baths), people who know about ground birdbaths, caution against exposure to predators. Thus, you may want to place the dish bird bath on a base or stand. One DIYer used a tree stump as a stand so options don't need to be fancy as long as the base is sturdy and stable.
Working with the dish's components for your bird bath
Some DIYers that keep parts of the satellite hardware use it to solve the base problem. They fashion the feed arm into a stand by loosening the bolts on the arm, moving the dish into a horizontal orientation, and tightening the bolts back. You could also use the mast pole to attach the dish bird bath to a tree.
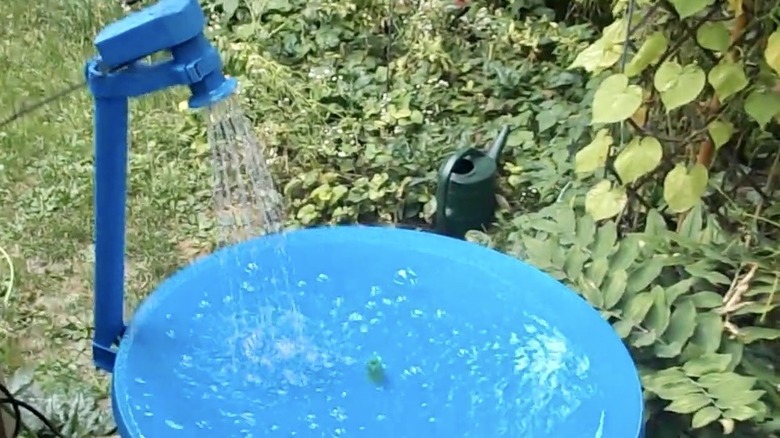
Other hardware enhancements include using the arm as a stand and mounting a bird feeder or perch on the mast pole or threading a hose through the mast pole to create a shower spraying into the bird bath. A simpler alternative to the shower idea would be to place a solar fountain in the center of the bath. The sight and sound of moving water is known to attract more birds to your birdbath.
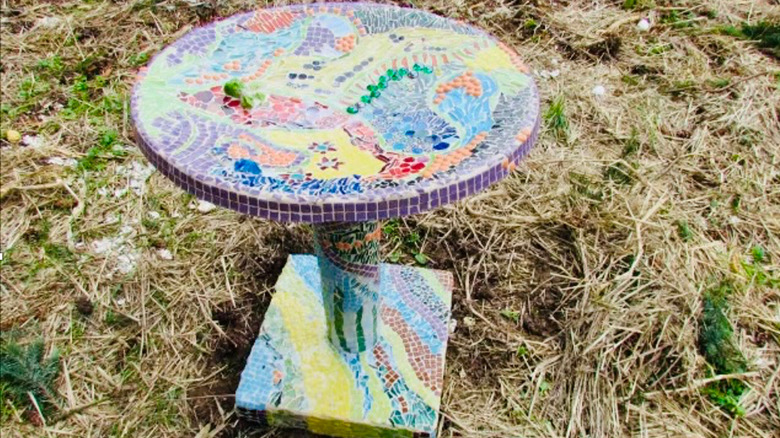
Whether you use just the dish or also integrate other parts into your design, you'll want to decide if and how you'll give it a decorative look with paint, mosaic, or something else. Several DIYers used spray paint since it's easier to apply . Consider painting with a light, reflective color so the metal bird bath surface doesn't get too hot, as well as using textured paint since birds prefer a rough surface they can get a grip on. For mosaic, you can use anything from stained glass, to marbles, to mosaic tiles. You can even DIY a mosaic bird bath using thrifted or broken plates. Seal the paint or mosaic with several coats of clear waterproof acrylic or water-based sealer, allowing it to dry for up to two weeks before filling it with water.