Turn An Old Smart TV Into A Bathroom Feature You'll Wish You Had Sooner
We may receive a commission on purchases made from links.
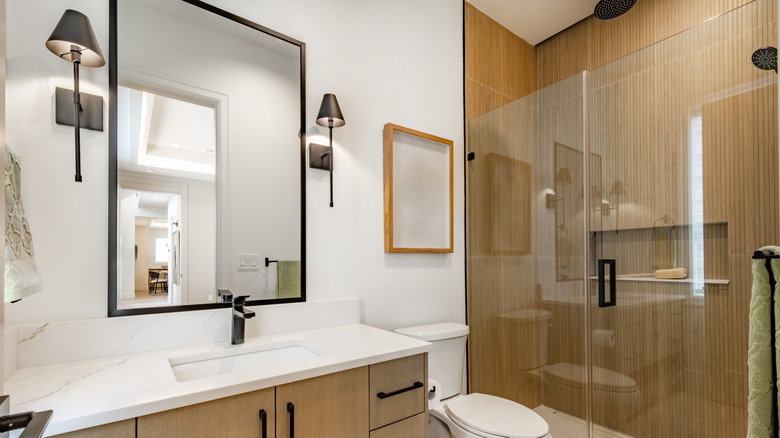
When people think of ways to integrate smart tech into their homes, not many consider the bathroom. However, a smart mirror can do a lot in your bathroom. Smart mirrors look just like regular mirrors; the only difference is that they feature two-way reflective glass, so while they show you your reflection, they can also display live information like the weather, news headlines, traffic updates, and even your to-do list for the day.
You could go ahead and order one from Amazon, but if you have an old TV and you enjoy a good weekend project, you can actually make one yourself. To convert it into a smart mirror, you'll need a Raspberry Pi and the free, open-source MagicMirror application. The fun part is that there are so many creative ways to customize your smart mirror to make it your own and fit your routine.
For example, you could have it display a new word every day if you're trying to build your vocabulary or learn a new language, sync it to your Google Calendar so you don't forget important events, or pair it with a virtual assistant to control your smart home devices. That way, you can adjust the temperature, turn on the kettle, or activate other unexpected smart home devices before you leave the bathroom. It can even recognize your face and switch to your personalized display automatically, or respond to voice commands so you don't even have to touch the screen.
The materials you need to make a smart mirror
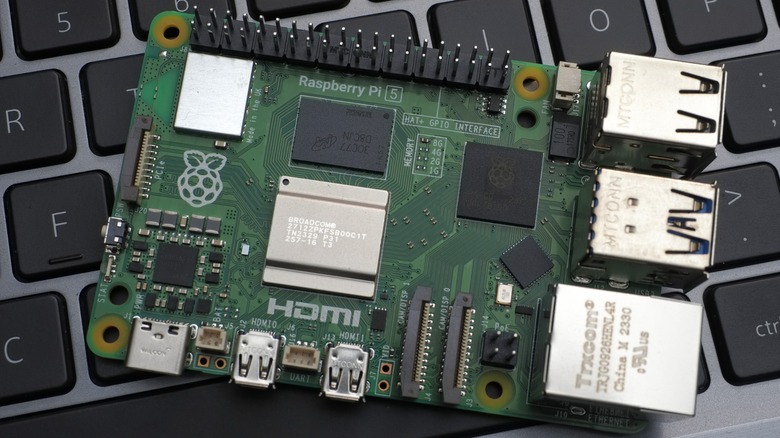
This project primarily requires three things you probably don't already own and two things you likely do. Start with an old TV and a computer. Before anything else, confirm that the TV screen still works and has an HDMI input. If it does, you're already halfway through. Next, you'll need a Raspberry Pi. It's essentially a computer the size of a credit card that you connect to your TV via the HDMI port, and that runs the MagicMirror software.
You can go with a starter kit like the CanaKit Raspberry Pi 5 or the Vilros Raspberry Pi 5, since it comes with most of what you need in one box. That typically includes the board itself, an HDMI cable, a microSD card with the operating system preloaded, a power supply, and a case. The next thing you need is two-way mirror glass, the same size as your TV screen — you want actual glass rather than acrylic panels since they're generally more durable.
If you want face detection on your setup, you'll also need a Raspberry Pi camera module. Otherwise, you can skip it. Two more optional upgrades that can elevate your mirror are an IR touch frame, which makes the display fully touch-responsive, and LED strips, which you can program to light up in different colors. Be sure to follow the tricks for easy LED installation.
How to set you your smart mirror, step by step

Start with the software. If your microSD card didn't come with the OS preloaded, use the Raspberry Pi Imager app on your computer to flash Raspberry Pi OS onto it. Next, insert the card into the Pi, connect the Pi to your TV via the HDMI cable, and power it on. You'll be prompted to complete the initial setup, which involves choosing your country and language, connecting to your Wi-Fi network, and creating a username and password.
Once that's done, open the Terminal app and follow the installation commands on the MagicMirror documentation page. When the installation is complete, run the final command to launch MagicMirror. You should see the default display with the clock, calendar, weather, and news feed modules already loaded. You can browse the MagicMirror module library to install additional ones.
For the hardware, you'll need to cut the plywood backing to the exact size of your TV. Then mount the Pi and its components onto it. If you're adding LED strips or a camera module, install them inside the frame before anything else goes in. Once the components are in place, set the two-way mirror glass in front of the TV screen and lay the IR touch frame on top of it if you want a touchscreen setup. Secure everything inside the wooden frame using screws and wood glue, hang it in your bathroom, plug it in, and you're done.