Get Organized On A Budget By Turning A Scrap Wood Pallet Into A Storage Shelf
We may receive a commission on purchases made from links.
Do you want to increase storage space in your home, garage, or shed, but are worried it will mean buying a whole new bookshelf or storage unit, putting extra strain on your wallet? It's a problem many of us face as we collect tools, memorabilia, and decor over time. However, getting organized doesn't have to break the bank. There are a few budget-friendly wood pallet DIYs to add extra storage around the house, including one that uses scrap pallet wood to create your own shelves to hold whatever you need.
There are a few key advantages to taking on this clever project. Firstly, this DIY is budget-friendly because there are likely plenty of places to find free wood pallets near you, such as at home improvement stores, garden centers, and online sites such as Craigslist and Facebook Marketplace. Secondly, its steps are relatively straightforward, requiring only a few materials and tools: a pallet, a hammer, a drill, some paint, spackle or joint compound, brackets, and a spirit level. This DIY is also incredibly versatile, as you can use it in practical spaces such as closets, sheds, or garages to store unsightly clutter. Alternatively, you can choose a paint color and brackets you like to create a shelf that fits the decor in your living room, bedroom, or bathroom.
How to make a pallet shelf
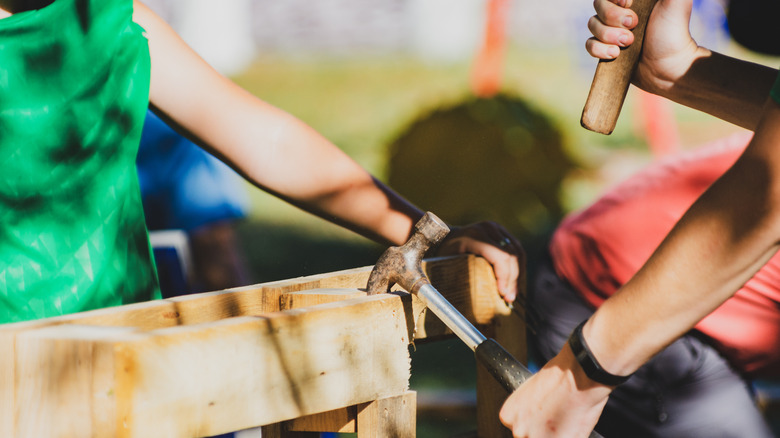
Like many renovation projects, this DIY starts with disassembly. First, use the back of a hammer to carefully remove the nails holding the pallet together. Make sure to choose wood that is in good condition, free of cracks or splits. It is a good idea to wear gloves and eye protection during this process to prevent injury. You will then need to fill the holes left by the nails using spackle or joint compound. However, the latter takes longer to try and is generally used for larger projects, so something like this Boncart Wall Spackle with Scraper is likely a better fit for this DIY.
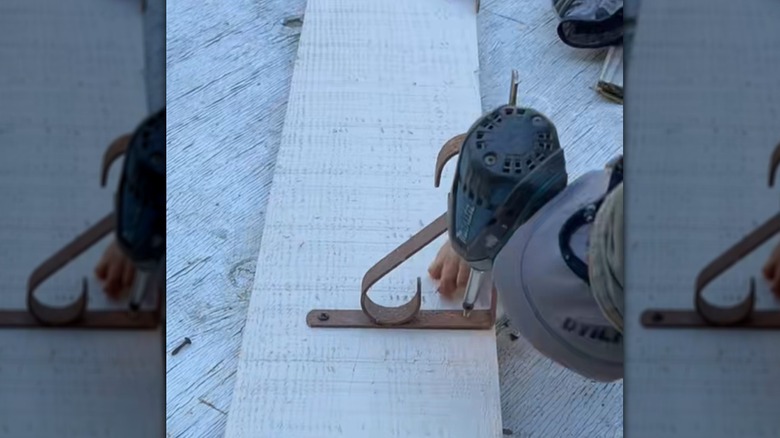
You can then paint the wood in whatever color you want the shelf to be. It's a good idea to do this step before hanging the shelf to prevent drips on the wall or floor. After the paint has dried, you can attach your brackets. Check that the brackets can withstand the weight you intend to place on them, especially if you plan to store heavier items. If you want a cleaner look, you can drill holes into the narrow side of the wood and slot it onto invisible floating shelf brackets instead. Alternatively, if you want even more storage and have plenty of wall space, you could leave the pallet intact and hang the whole thing, using the horizontal boards as multiple built-in cubbies. Either way, you will want to use a spirit level to make sure your shelf is level before drilling into the wall, and perhaps check out ways to find your wall studs so the shelf is extra secure.