This Easy DIY Gives Clunky Bifold Doors A Sleek New Look
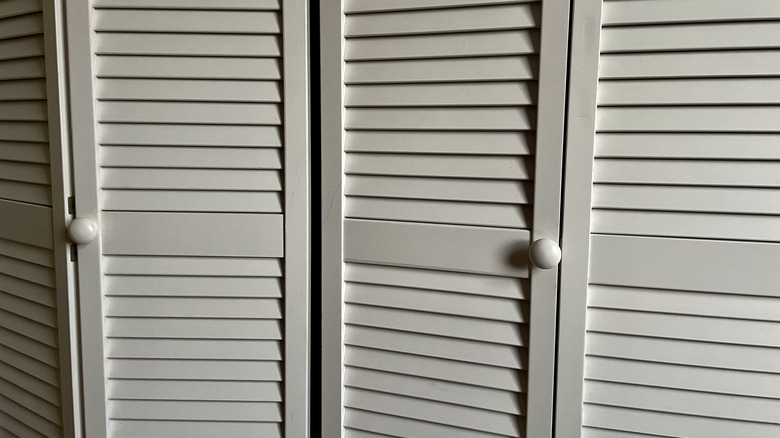
Your home is wonderfully lived in, but you're ready to upgrade a few things, like those bifold doors in your bedroom closet. Or maybe you have them in the pantry or laundry room. Regardless of where they are in your home, you are all too familiar with the bifold closet door disadvantages. You're tired of them getting stuck on the track and constantly fighting with them when pulling clothes out of the dryer. Maybe you're honestly just not loving the dated look anymore. If that's you, this easy DIY can transform those clunky doors into sleek new French doors.
French doors are the modern DIY alternative to traditional-looking bifold doors that give your space a whole new look. Not only are French doors more aesthetically pleasing, but they are also safer if you have kiddos in the home whose little fingers can easily get pinched in bifold doors. Additionally, they create more space for you to access the enclosure, be it a closet or pantry area, since they do not fold in on themselves and take up doorway space when opened.
This DIY is budget-friendly because you're transforming the doors you already have, so there's no need to purchase new ones. You will, however, need to pick up a few basic supplies, including door hinges, screws, and a magnetic catch. As for tools, you'll need a drill, screwdriver, measuring tape, and pencil. Optional supplies include new door knobs, wood filler, sandpaper, and paint.
How to turn old bi-fold doors into sleek new french doors

Start by removing the bifold door from its track. The best method for removing your old bifold closet doors is to lift them off the track, then slide the bottom out, followed by the top. Remove all of the track hardware from the doorframe, using a drill or screwdriver as needed. Take off all hinges, door knobs, and any other attachments that are on the doors. An optional step at this point is to paint the doors — either a whole new color or simply touch up the spots where the hinges and knob were. You can use wood filler to fill any holes left by the screws. Lightly sand the area to smooth it out, then touch up with paint or repaint the entire door. This is also a good time to add some new doorknobs.
Once the doors are ready, it's time to add hinges. Measure 10 inches from the bottom of the door frame and mark it with a pencil. Measure 5 inches from the top of the door frame and mark it as well. Attach a hinge at each marking on the door frame. Do this for both sides. Then, line up one door along one side of the door frame and screw the hinge into the door. Do the same with the second door on the opposite side. Attach the magnetic catch to the top center of the door frame, then secure the magnets to each door so they align when closed. The result is an easier, more functional setup that finally works the way you want it to.