14 Do's And Don'ts Of Growing Gardenia Plants In Pots
We may receive a commission on purchases made from links.
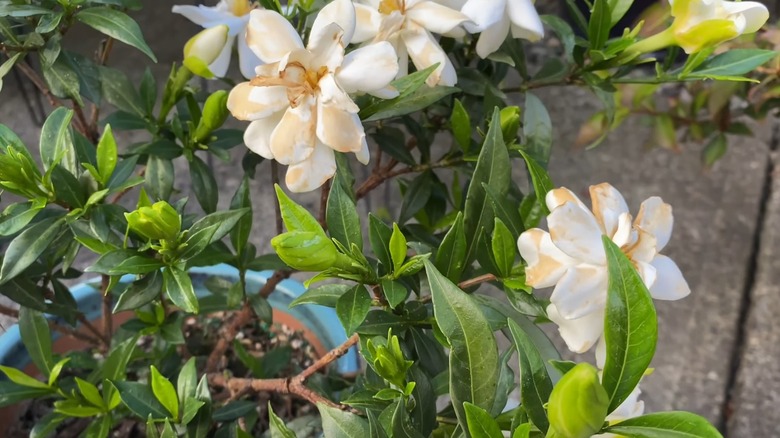
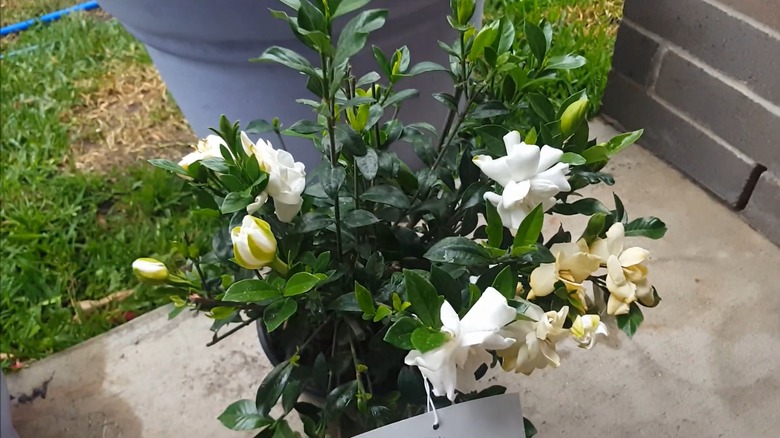
Waxy ivory petals, an intoxicatingly sweet fragrance, and luscious, evergreen foliage that deer detest make gardenias (Gardenia jasminoides) a dreamy addition to home gardens. Sadly, they aren't easy to grow. Like most things beautiful, gardenias make you work for every bloom. If you mess up their lighting, watering, feeding, or soil demands, they drop their buds or leaves. Growing them in pots sorts out some of these concerns to an extent. Since you have greater control over their potting medium, you can offer the right pH and drainage, without soil tests or amendments. Plus, you can relocate them to a sheltered area whenever it gets too windy or sunny.
On the flip side, they turn dry and run out of nutrients faster in containers, thanks to the limited amount of soil. Compensating for that requires frequent watering and fertilization, which raises upkeep costs, apart from putting them at risk of rot or burn if you overdo it. Worse, gardenias can lose at least one hardiness zone from their label range because roots feel colder in containers. For example, a zone 7 variety may only survive the winter through zone 8. Unless you live in the warm south, where it's safe to keep your containers outdoors year-round, you must move them inside before the first frost. Ensuring their desired requirements are met inside can be arduous. Thus, to help you grow strong and fragrant gardenias, here's a quick roundup of things you should and shouldn't do when they're in pots.
Do: Look for compact varieties
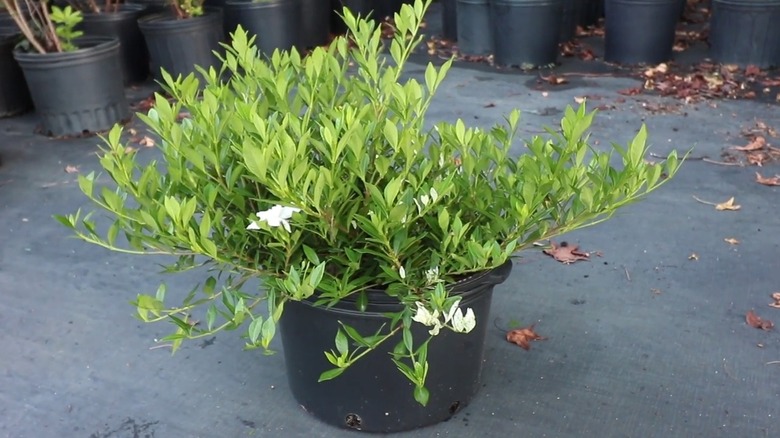
Gardenias and their cultivars come in various forms, shapes, and sizes. And some of them can grow quite large. Factor in the soil, and the pots become super heavy by the time the plants are fully mature. This makes them harder to move without a rolling support. In addition, it's a constant struggle to pot them up in bigger containers or prune them to the desired height for better management, especially indoors.
Avoid these issues altogether by growing compact varieties. Think of dwarf cultivars like 'White Gem' or 'Radicans' that stay snug at under 2 feet. Or, if you're looking for varieties of gardenia that can tolerate the summer heat and winter frost yet make an larger impact on the patio, opt for 'Crown Jewel' or 'ScentAmazing'. You may also break away from the white palette by growing 'Golden Magic', whose flowers take on creamy to golden yellow tones with age.
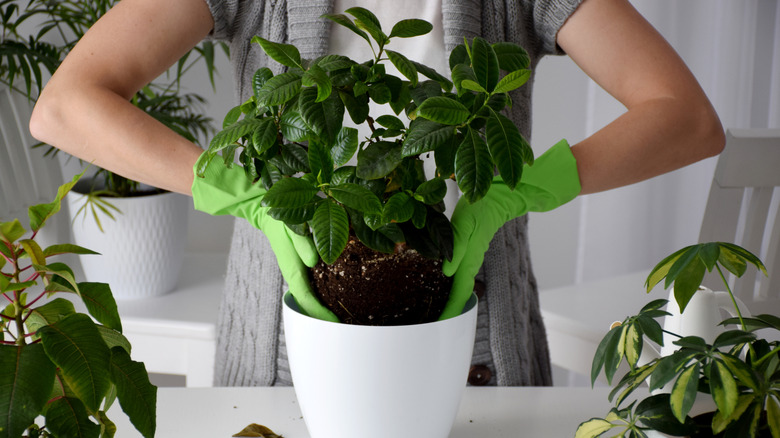
Don't: Pot up gardenia in too large a container
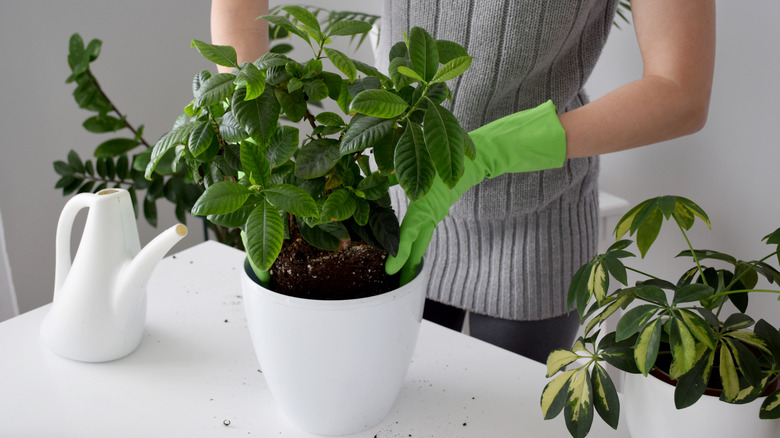
Surely when you bring a gardenia home, you'd be excited about removing it from its ugly nursery pot and shifting it into an ornate planter that better complements its beauty. However, you shouldn't pop it immediately into a large container. This is because large planters contain lots of soil, while nursery plants have small roots. Since they can't immediately absorb water entirely, the soil remains wet for longer, possibly creating waterlogged conditions. This prevents roots from breathing. It also creates ideal conditions for rot. It's worse for plants being repotted in the fall, as they grow more slowly when it's getting colder and require less water.
This is why when you're repotting new gardenias, stick to containers about one size up from the original vessel. This means you can at most accommodate them in planters about 4 to 6 inches wider. That way, your plant will have the space to develop and spread its roots, allowing you to delay repotting by at least a year or two, without risking overwatering.
Do: Give them adequate light exposure
It can be tricky to give gardenias the right sun exposure, as their requirements vary across locations. Leaving them in a hot spot with the sun on full blast all day long burns the buds black, causing them to drop. The foliage, too, becomes scorched, turning yellow, wilting, or dropping en masse. Poor sun exposure, on the other hand, reduces bud development and blooming, which is usually the case when they're grown indoors as houseplants.
If you live in the south, pop the containers on the east side where they receive morning sun. If such a spot is hard to come by, cover them with a shade cloth, like Fantang's Pop Up Plant Cover Tent. Otherwise, move them to a lightly shaded or dappled spot where they're protected from the afternoon heat, especially during summer. However, if you're growing and taking care of gardenias in the north, you can leave their pots in a full sun site, as the rays aren't as intense. But don't forget to keep the soil mulched. Indoors, prop them next to a south or southwest window that receives at least six hours of direct sunlight. But draw a sheer curtain to filter out midday light. Consider supplementing with grow lights on dark and cloudy winter days so your plant continues to thrive.
Don't: Water the plant unless the soil feels dry to the touch
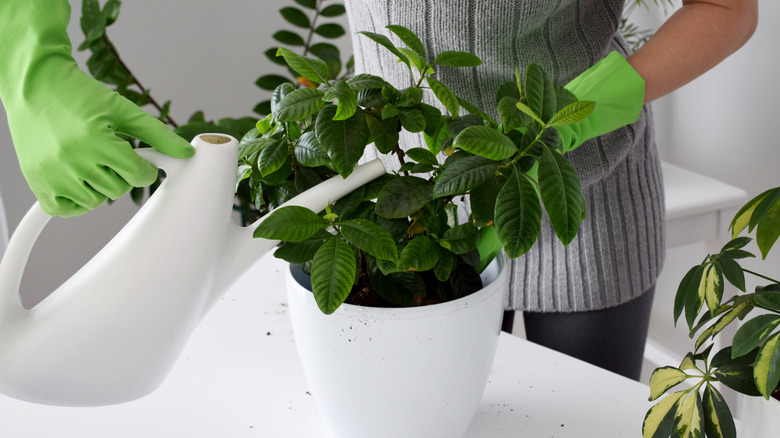
Gardenias require consistently moist soil, but that's not an invitation to overwater them. When forced to stand on wet feet (read: in "waterlogged, soggy soil"), they start shedding their yellowing leaves, which adversely affects their health and vigor. Meanwhile, rot-causing fungi set in the soil, greatly damaging the plant roots, usually turning them brown and mushy.
To make sure you never overwater your plants again, poke your finger into the soil and check whether it's fully dry. Don't just check the top layer; insert a digit down to ½ inch to be 100% sure. If it feels dry to the touch, soak the soil in warm water until it runs out of the drainage holes. After some time, empty out any water puddling on the saucer plate so the soil doesn't continue to soak it up, damaging the roots. However, during cooler months from October through February, space your watering sessions even further apart. That's because gardenias tend to grow slowly during this season, so they don't require as many resources. Plus, they don't receive much sun. Wait until the top 2 inches feel dry to the touch before watering. Remember, gardenias are drought-tolerant and can handle short, dry spells. So, it's best to err on the side of underwatering, rather than overwatering.
Do: Use a well-draining potting mix meant for acid-loving plants
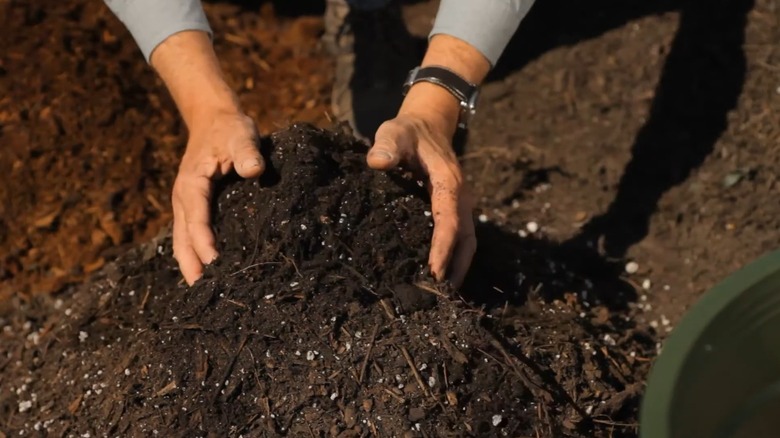
When selecting a potting medium for gardenias, make sure it drains well and remains acidic. For these plants to effectively absorb nutrients, the medium should have a pH range of 5 to 6.5. If you don't maintain this, the leaves may turn yellow and appear droopy. They may even fall off during extended stress.
Although many manufacturers produce special soils for gardenias, you can make use of any potting soil meant for acid-loving plants, like camellias or rhododendrons. Mix in some compost for an extra boost of nutrients and improve drainage further. Organic gardeners may like Coast of Maine's Organic & Natural Planting Soil, as it has a low pH level, and offers decent drainage.
Don't: Soak gardenias in water that's cold, heavy on salts, or contains lime
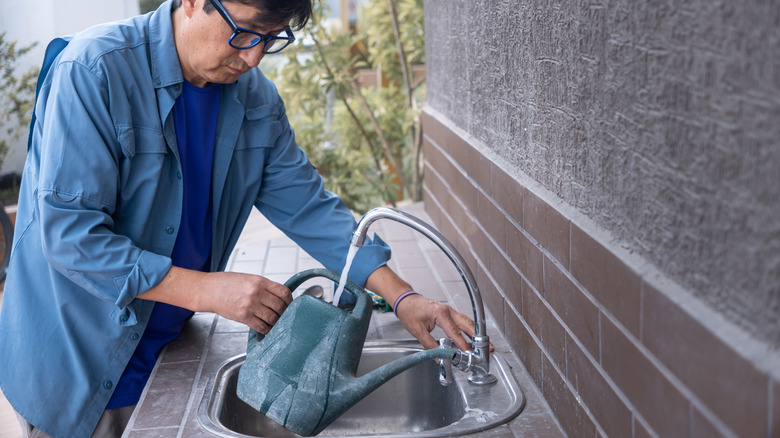
Gardenias are also finicky about their water. If your local water supply is hard, meaning it's heavy on lime or mineral deposits, it can gradually raise the potting medium's alkalinity levels. This, in turn, limits access to nutrients, triggering deficiencies that show up as yellow or wilting leaves (chlorosis). Conversely, if you soften the water, a process that replaces minerals with salt, you can still damage the plant. That's because the mineral eventually accumulates in the soil, changing its overall texture. Even water pulled from a reclaimed or salt-intruded well is going to be unsafe over an extended period. Also, avoid using very cold water, as it can shock the roots.
The best way forward is to collect rainwater and use it on gardenias whenever they're thirsty. But since rainwater is scarce during the summer and difficult to store for long, you can use purified or distilled water instead. In fact, if you grow gardenias, you should never pour dehumidifier water down the drain, as it's suitably purified. In the off chance you use tap water, make sure it's tepid or near room temperature.
Do: Fertilize your gardenias every two weeks during the growing season
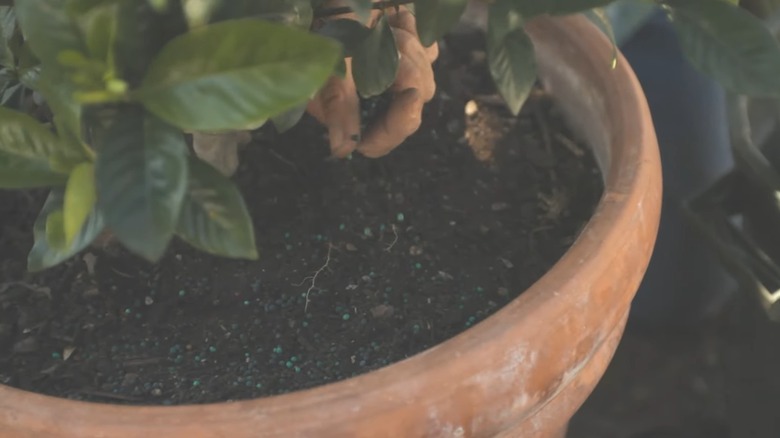
Gardenias require large amounts of nutrients to produce blooms. Due to the potting medium, their supply is already limited. Worse, if you overwater, they may run short even sooner, as nutrients and fertilizer can leach out. This also causes the foliage to turn brown, rather than staying a healthy green.
So, during spring and summer, when gardenias are actively growing and blooming, feed them a slow-release fertilizer diluted according to the manufacturer's instructions. Use the one meant for acid-loving plants, such as Espoma Organic Azalea-Tone 4-3-4, so it won't mess up the pH levels. You may also look for formulations enriched with iron (like chelated iron) to future-proof gardenias against chlorosis, or minor minerals for healthier growth. Repeat this process every two weeks. However, taper off or completely stop feeding fertilizer during fall and winter. Even though gardenias are evergreen, they slow down during the cold season and require fewer nutrients. Resume fertilizing in late winter or early spring.
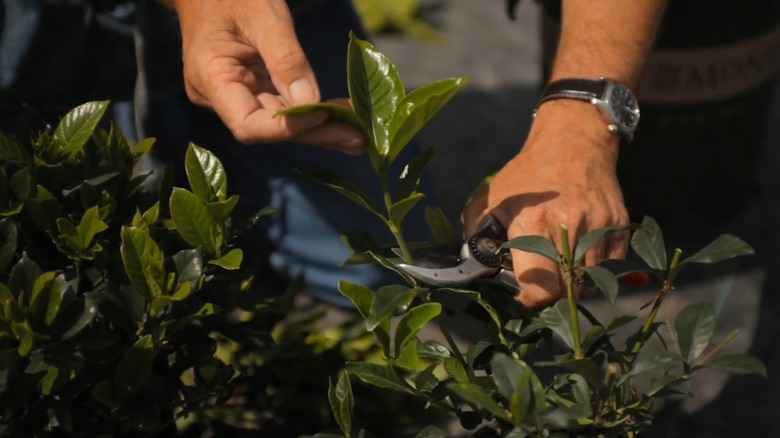
Don't: Forget to deadhead and prune them
Most gardeners grow gardenias for their bountiful blooms. But if you'd like to continue to enjoy their effusive display, you must deadhead them by regularly removing their spent blooms. This helps redirect resources into flower production, extending the display. For that, simply snip off the stem holding up the dead flower at the closest leaf node.
Additionally, you must prune gardenias right after flowering. Timing this right is essential, as some varieties are a one-and-done show, while others, especially hybrids, often produce a second flush in the fall. If you delay, you may lose new buds, and this pruning mistake can cause your gardenia not to bloom next season. This time is also ideal to get rid of any dead, decaying, diseased, or damaged portion that may be impeding plant growth. However, if you wish to control its size, rejuvenate it, or encourage a fuller shape through lateral branching. But wait until early spring, as you don't want to risk encouraging new growth that may be killed by frost. Trim the stems by ⅓, making sure buds face away from the center. Otherwise, the plant may grow overcrowded in the center, making it susceptible to pests and diseases.
Do: Move gardenias to a protected spot before expected frosts
Gardenias aren't particularly frost-hardy and can't tolerate staying outdoors if temperatures dip below 40 degrees Fahrenheit at night. Even if you grow specimens like 'Frostproof' and 'Chuck Hayes' that are known to tolerate some sub-freezing temperatures, they're unlikely to be as hardy when potted up.
To avoid damaging your gardenia shrubs, it's best to bring them inside right before an expected frost. Even if you don't have the spare space near a window, put them in an unheated basement or garage until the freeze passes. If kept out, their foliage may be frost-killed. This forces the plant to expend resources on leaf production, as opposed to bud development, which can result in fewer (or zero) flowers in the next season. Besides, when gardenias can retain healthy growth through the winter, they have a higher chance of flowering early in the season. That being said, if you live in a mild climate where frosts are largely uncommon, you may just wrap the plant in frost cloth and remove it once the danger passes. But if you receive plenty of winter rain, move them to a covered area, as wet soil can damage the roots.
Don't: Expose your gardenias to drafts

Another mistake to avoid if you want healthy gardenias is exposing them to drafts. Gardenias are sensitive to fluctuating temperatures and grow stressed if they experience them too often. The damage usually starts at the buds, which are dropped whenever the plants feel unhappy, thus sacrificing next year's flowers. Leaves follow soon enough if the conditions aren't improved, endangering the plant's health.
For this reason, whenever you winterize gardenias indoors, choose a spot that is unlikely to experience any short hot or cold spells. This means avoiding areas around the radiator, zoning or floor vents, and doors that see frequent indoor/outdoor traffic.
Do: Pinch off the tops before bringing gardenias inside
Like most plants, gardenias aren't enthused by surprise movements. So, even though bringing them indoors during fall is in their best interest, they don't take this move well and may drop their buds. As such, indoor conditions aren't conducive enough for flowering, especially if the pot is placed in a dimly lit or dry area. With some of the buds gone, any hope for white blooms is dashed, too.
Fortunately, by pinching the tops, you can make the indoor move easier on your gardenia shrubs. Simply remove the new green growth around any emergent or still-developing buds. This refocuses the plant's resources into the buds, making them stronger and fortifying their position atop the plant. If you manage to provide them diurnal variation within the confines of your home, you may get lucky with fresh blooms in the winter. Otherwise, you're still assured of a stunning display when spring arrives.
Don't: Skimp on mite inspection
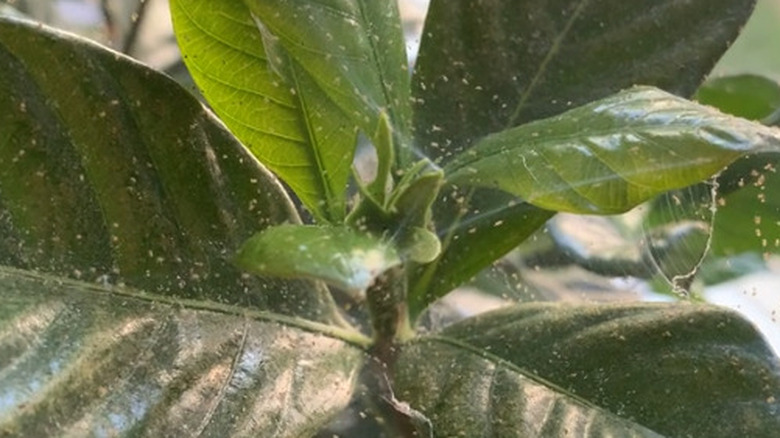
Gardenias are vulnerable to a host of indoor pests, especially spider mites. The worst part is that, unless the infestation is extreme, these tiny bugs can't be tracked without a magnifying lens, though their damage is a whole different story. Where spider mites suck the plant sap, the foliage is punctured with whitish-yellow spots, with the leaves turning wholly yellow if the infestation continues unabated. They may eventually drop, along with buds which may seem misshapen. As their numbers increase, you will notice silky webs on the undersides or between the leaves.
Controlling spider mites in a timely manner is important for a healthy plant. Regularly monitor the growth for any fine webbing or moving specks. At the first signs of yellowing, tap the leaves onto a piece of white paper and swipe the paper down with your finger. If it leaves streaks, spider mites may be at play. Initial control involves spraying down the foliage and stems with water to dislodge them. You may apply insecticidal soap for further relief and repeat the application as many times as necessary (but in line with label instructions) for complete eradication. To minimize chemical damage to the foliage, be sure to water the plant a day before.
Do: Raise the humidity during winter
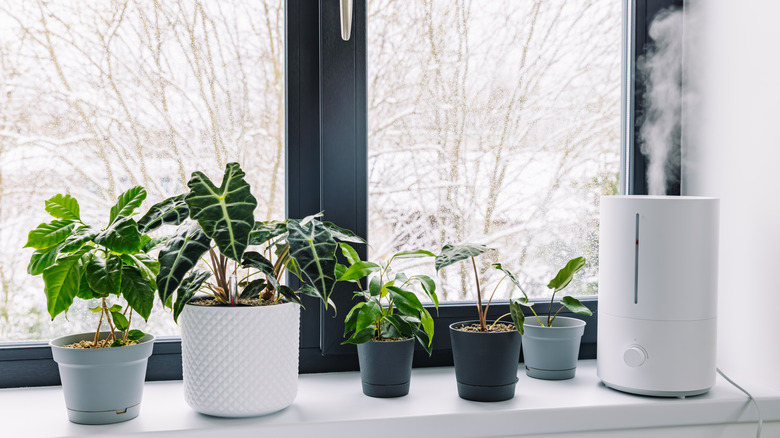
Gardenias love humid air and thrive when relative humidity levels fluctuate around the 60% mark. However, with a home heating system constantly pumping out hot air during the winter, the indoor air can become extremely dry. Due to this, the shrubs may drop their existing buds and stop producing new ones, thus lowering their flowering potential. This also makes the conditions ripe for a spider mite takeover, as they thrive in dry areas.
To keep the buds intact, raise the room's humidity by running a humidifier, like the Levoit Top Fill Humidifier. Alternatively, bring in a large tray topped with pebbles. Add water and place the container atop this tray, while making sure the bottom doesn't directly contact any water. Refill it whenever the water level sinks too low. While misting plant foliage can also temporarily increase humidity, there's a risk you may end up misting the flowers, too. Gardenia's blooms grow discolored if they get wet, which spoils their overall aesthetic. So, think twice before taking this route if your plant is actively blooming.
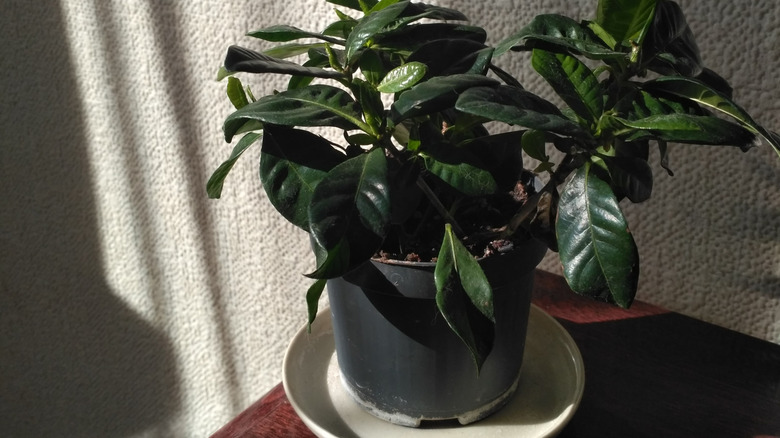
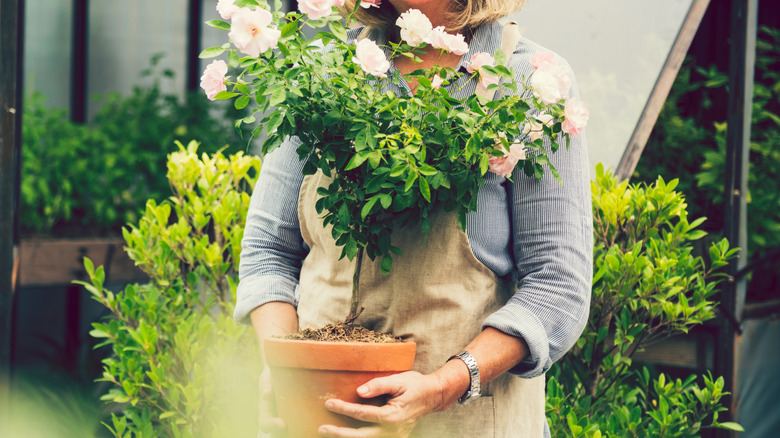
Don't: Forget to repot the plant every couple of years
Like many plants, gardenias dislike being pot-bound. That's because when the roots outgrow the area, the plant struggles to produce new growth. Such plants often feature brown spots or dead necrotic tissue on the leaves, since they struggle to absorb water. Moreover, repotting helps refresh the soil.
When you notice roots growing out of the drainage hole or see the roots taking over the top, repot your plant. The best time to do it is in early spring when the plant is putting out new growth and has sufficient time to reestablish itself. Slowly tease out the plant from the container and examine the roots for any damage or pests. Healthy roots are usually creamy white. After cutting out any damaged portions, place the plant in a bigger pot and lightly firm the potting medium around it. Remember, pot only one size up or the soil may stay wet for too long, creating conditions akin to overwatering. Repot in a peat-based planting medium, similar to the one it was in before for best results.