Turn Scrap Wood Into Stunning Wall Art That Looks So High-End
We may receive a commission on purchases made from links.
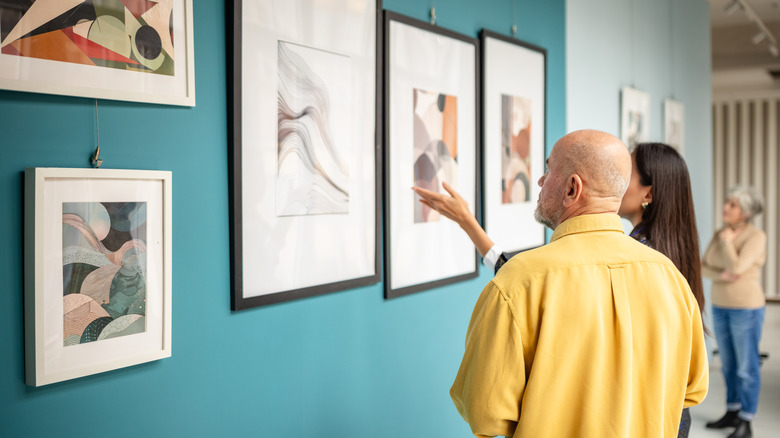
One of the simplest ways to style a blank wall is to hang beautiful wall art pieces. But what do you do if you want custom wall art but don't have the budget to match art gallery prices? Well, you can still achieve that high-end look by going for a clever DIY wall art upcycled from leftover materials. Just don't toss your scrap wood, turn it into chic minimalistic wall art instead, similar to a wood slices art. And if designing DIY custom wall art sounds like a daunting task, you'll be pleasantly surprised at how uncomplicated this project is, even for beginner DIYers.
Firstly, you only need a few key supplies: Paint, a thin sheet of plywood (cut to the size you want), and a 4-by-4-inch wood post, which you can salvage from a home renovation project. Secondly, for this particular woodwork project, you don't need to spend money buying expensive power tools if it doesn't fit your budget. For example, experienced DIYers like TikToker @livingwithley might already have specialized power tools like a miter saw, but if you don't have that, a manual alternative like the Kobalt Saw with Miter Box from Lowe's will work just fine, and it goes for less than $30. The only other items you need are heavy-duty wood glue, like Titebond Ultimate Wood Glue from Amazon, and hanging hardware, like a sawtooth hanger for hanging the finished piece on the wall.
Putting together your artistic DIY scrap wood wall art
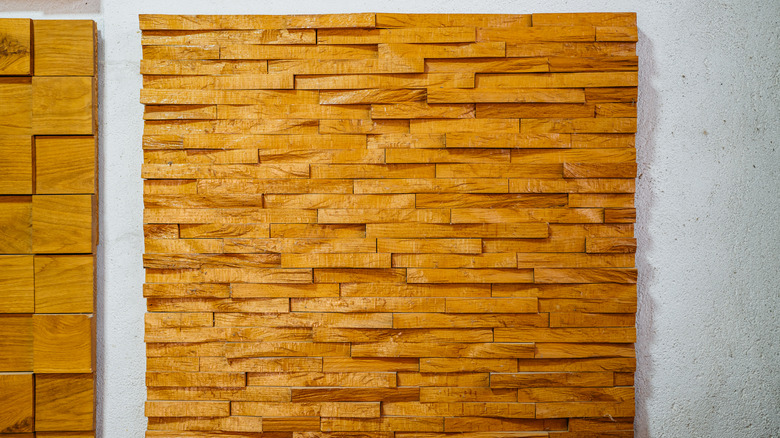
Protect your working area first by covering the surface with a large drop cloth or poly tarp. Start your DIY process by cutting the 4-by-4 piece of lumber crosswise into slices. The key here is to slice the pieces into different widths of about ¼ inch to 2 inches, since that's what will give your artwork depth. You can also slice some of the pieces at an angle to make your artwork more dynamic. Next is arranging the wooden pieces on your plywood sheet to see how they fit and if you have enough. Alternate the different widths to create a beautiful, contrasting pattern.
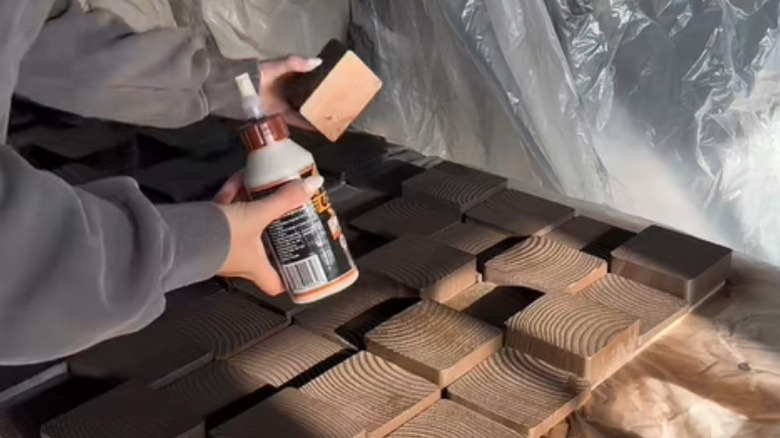
The last step, before you glue the wood slices on the plywood, is to add visual interest. You can do this by spray painting the wood slices using Krylon's Spray Paint and Primer in glossy black color (or any other color you prefer). The paint helps to add texture, enhances the durability of the wood, and will also infuse the finished piece with an elegant dark aesthetic. To create contrast, leave a few of the pieces bare, and also spray some with a different hue, like brown. Leave everything to dry completely.
After about one to two hours, the spray-painted wood pieces will be dry to the touch, and you can play around with their placement a little more until you are satisfied with the final design. The last step is to attach the wooden blocks to the plywood. Place some wood glue at the back of each piece and press it down firmly onto the plywood sheet. And you are done. You are now the proud owner of a beautiful DIY wall art that looks high-end (but costs almost nothing). Just give the glue enough time to set, after which you can mount the artwork on your wall.
Mounting your stunning DIY wall art and some customization tips
Mounting this DIY wall art is a breeze using hanging hardware like sawtooth hangers. Ensure you purchase the size that will accommodate the weight of your wooden wall art. Simply attach the sawtooth hanger to the back of the plywood at the midpoint on the upper edge using small nails. Next, drill a long screw into the wall where you want the art to go. Put this screw at a 45-degree angle for a more secure hold. Also, for heavier wall art, make sure you aim for a stud in the wall for extra support. Finally, hang up your wall art on the screw, and you're good to go. This can be one of the clever DIY ways to turn scrap wood into a beautiful entryway statement piece, so consider hanging your finished art piece on your foyer wall for an eye-popping first impression.
The good thing with such DIY decor pieces is there's always room for customization. For example, you could make this wall art stand out by framing it with differently colored border planks. You'll need to attach these frame borders to the plywood sheet before gluing the wood slices in place. Another cool idea is, instead of completely covering the rectangular plywood with the wood blocks, space them out to create a pattern, e.g., a cross design or simply a couple of vertical lines across the entire art piece. Make it even more unique by cutting the plywood base into the shape you desire like a stair-like design, and then staggering the wooden slices on it.
You can also try a different method of adding contrast to your wood slices without using paint: Char the wood pieces using a digital heat gun. Be warned that this will be a much slower process, but the unique results with different levels of charring will be worth it.