Free Up Kitchen Countertop Space With An Easy Dollar Tree DIY
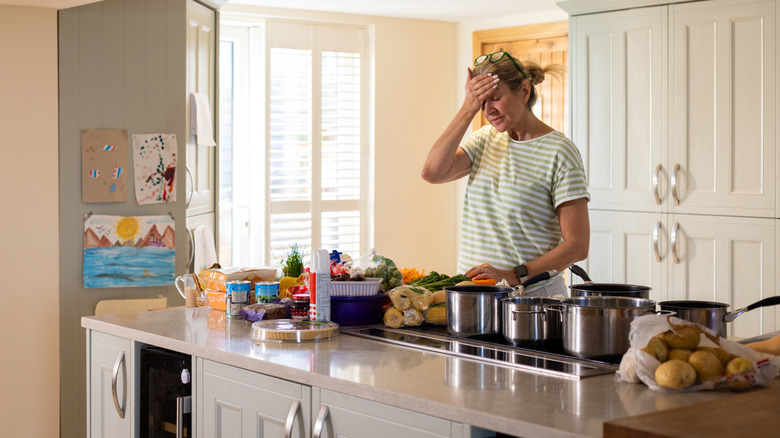
If your kitchen counter feels like it's being overtaken by random snacks, unruly fruit, and loose tea packets, we have the DIY for you. You don't need a fancy or expensive organizer to bring order to the chaos and reclaim your space. Instead, you can use affordable Dollar Tree bins and create an organizer that can free up kitchen counter space.
This idea for this hack, which comes from Instagram creator @tipsdelina1, is to use two plastic hangers, three small plastic baskets, and six binder clips to create an organization tool that's great for kitchen counters. They use this to store tomatoes, limes, and onions, but you can use it for much more. It's a space-saving idea that organizes produce in your home on a budget, but it can also be used for utensils, coffee pods, tea bags — you name it. If you've got odd clutter taking up counter space, like phone chargers, elastic bands, pens, or post-its, you can use this DIY, too.
To do this DIY on a budget, head to the dollar store. Look for three small plastic storage baskets, which should all cost around $1.50 each. Dollar Tree has several models of these, including their Essentials Plastic Woven-Designed Storage Baskets, and their Rectangular Slotted Plastic Storage Baskets. You can choose based on what's available at your location and what matches your interior design style best, since the baskets will be visible. While you're there, grab a pack of binder clips. They can be black or colorful based on your preferences, but you'll need six. And finally, you'll also need two plastic hangers. You can get these from Dollar Tree, or repurpose old hangers you already have at home.
Assembling a Dollar Tree counter organizer
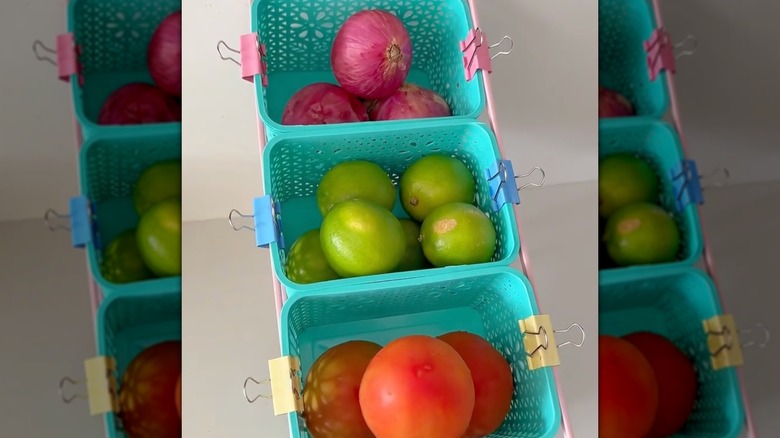
For this hack, grab one of your plastic hangers, and attach the baskets to its bottom edge (the longer one) using binder clips. You'll want to attach the baskets to the hanger on their short sides, so that the long sides are touching each other. The hanger's hook should be facing downwards, underneath the baskets. When it's done, add another hanger to the other side, parallel to the first one, using the remaining three binder clips.
Then, place the DIY structure on the counter. The hanger's hook should be placed on the counter, with the baskets facing you. Because of its triangular shape, the hanger causes the bins to sit at a slant. The bins at the back are higher up than the ones at the front, which allows you to easily see and grab whatever you've decided to store in each basket.
The great thing about this DIY is that it's not permanent. In fact, you can take it apart anytime by unclipping the baskets, and reuse all the parts for their intended purposes. This is especially helpful if, let's say, you need a temporary organizer after you've just done a massive produce haul at the farmer's market. It's also helpful if you're planning a lengthy recipe and need to keep produce organized and separate while cooking. You can even use this DIY method to make temporary organizers for other rooms. For example, use it in the garage or craft room while doing a DIY project to keep different screws separate. In the bathroom, you might use it to keep hair ties and hair clips organized, too. And during a kid's birthday party, use this same hack to keep snacks and candy tidy on the table.