Turn An Old Shoe Box Into The Cutest Storage Basket With A Fun DIY
When you stumble across a good upcycle project, it can inspire you to consider all kinds of creative ideas using different types of materials and techniques. Whether it's making a bookshelf out of an old grandfather clock or turning trash into succulent planters, some ideas really bring out your inner crafter. Even the simplest of starting points, such as an old shoe box, can be the beginning of something special. That's exactly the case with a cute DIY storage basket from YouTube creator FastDIYs, which takes an old shoe box and turns it into a charming and affordable storage basket that can be used anywhere in your home.
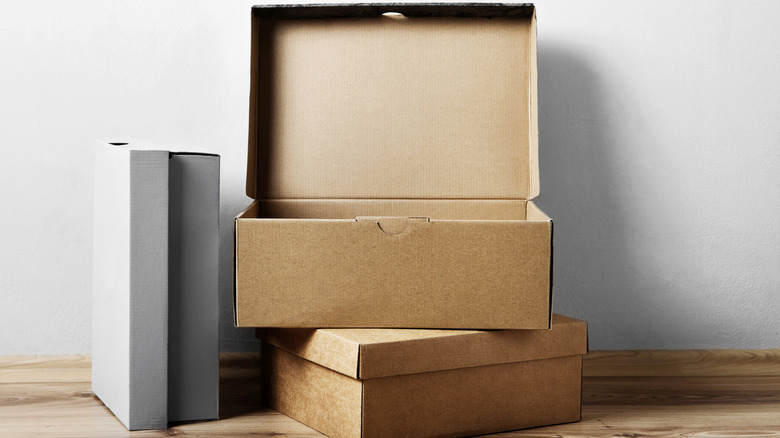
For this project, you want to start with a sturdy shoe box with a lid. Cut the lid off and place the bottom of the shoe box on a flat space and use a box cutter to make a V-shaped notch in the center of each of the long sides. Turn the box over and use a hot glue gun to place glue on half of the bottom of the box, then fold the other half onto it. This turns the bottom of the shoe box into a divider for your storage basket. Next, take the lid of the box and cut it in half to make a cap for each end of the storage basket, placing the lip of the lid towards the center. Glue everything together, and then use strips of contact paper as tape to secure the seams together.
Explore ways to decorate an old shoe box turned into a stylish organizer
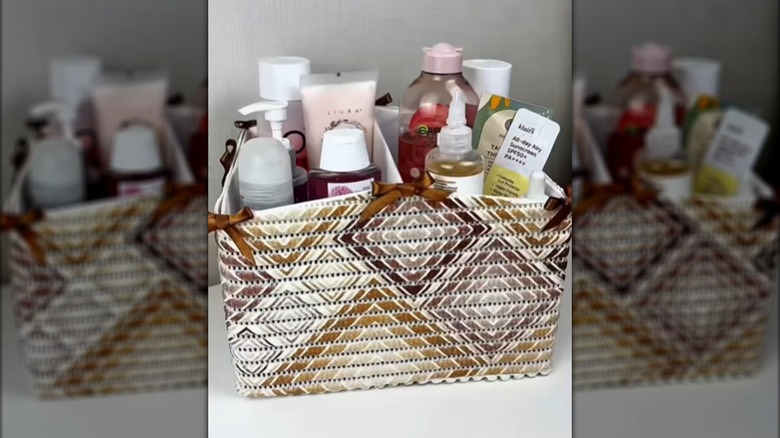
Once you've turned the shoe box into a storage container with a divider, now you can start decorating. FastDIYs uses white contact paper to line the inside first, which is perfect for creating a wipeable surface. You could use this storage container for everything from bathrooms to kids' art supplies. When you're cutting the contact paper for the lining, make it long enough to fold over the cardboard so that every edge is covered. Then, when you cover the outside of the container with fabric, you end up with a polished look that really pulls this project together. After you add embellishments like twine or ribbon, you can call your piece finished.
Decorating is where this DIY gets really fun. There are a lot of different materials you can play with to finish this off and truly make it a one-of-a-kind piece that fits the aesthetics of your home. For example, you could cover it in chalk paint , then make your own inexpensive metallic paste to create a stenciled design for a vintage glam look. Or, if you like a boho style, you could finish it off with papier mache using brown paper bags, then use some rope or macrame cord for embellishments. Pair it with a fun glass jar upcycle that's straight out of a Boho lover's dream for matching decor. You could use pink fur fabric for a little girl's bedroom, or even try your hand at a faux leather wrap for a modern minimalist style.