Turn Egg Carton Scraps Into The Cutest Carrot Garland Decor
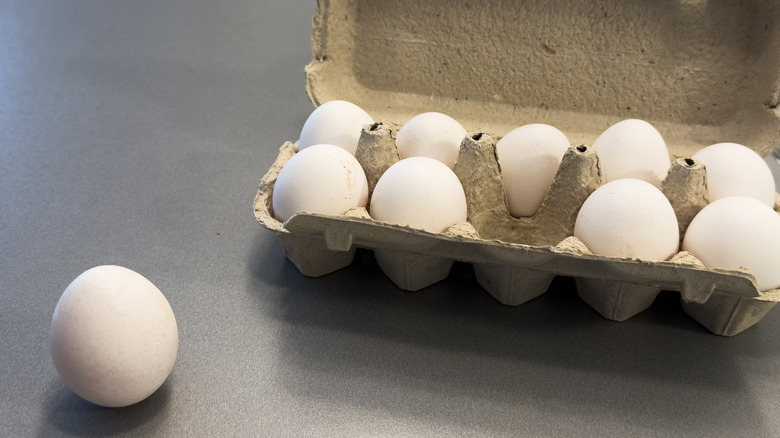
The arrival of spring and the upcoming Easter holiday can only mean one thing: It's time for a simple Easter DIY that will elevate your decor. It may be tempting to hit up your local home decor shop or thrift store for some cute finds, but you likely already have what you need at home. You can make your designs with items you already have in your kitchen, saving yourself some money. If you've already bought or plan to buy eggs to dye, then you're halfway there to making a fun craft — a carrot garland.
This is an easy project that's fun for both adults and children. It can be recycled after the holiday has passed or saved for next year. You can customize your garland with orange glitter from LEOBRO for a jazzy look, or use Mod Podge to glue wrapping paper or magazine scraps to give the carrots a unique orange color. So gather two egg cartons, orange and green paint, a paintbrush, baker's twine, and a hot glue gun, and you're ready to go.
How to make carrot garland
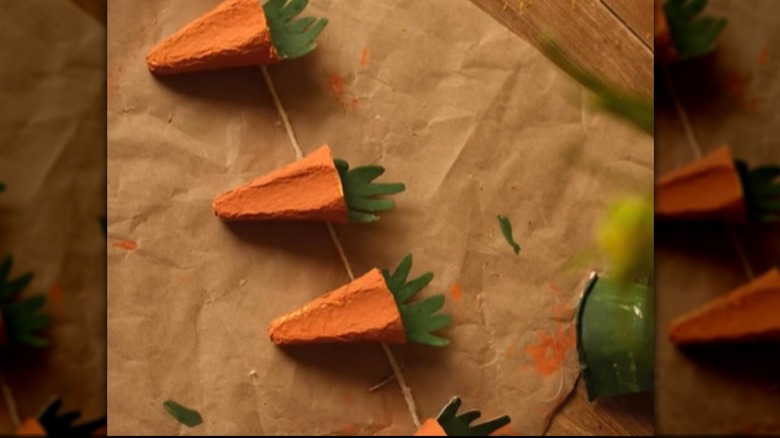
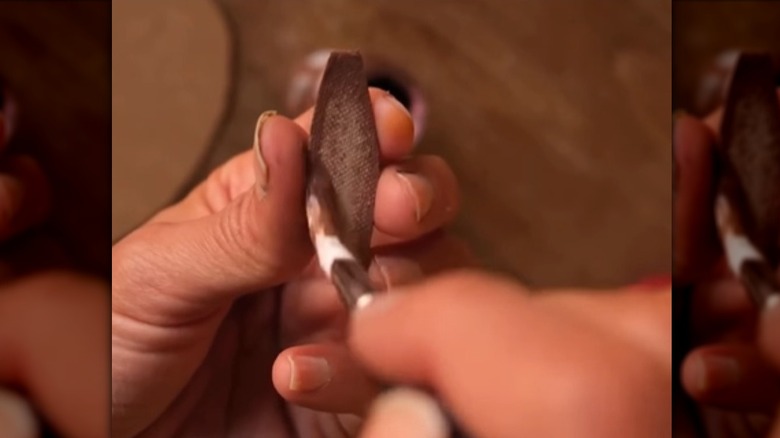
To make your carrot garland, cut out the pointed dividers from your egg cartons. Paint them orange or decoupage an orange-themed design using magazine or ad cutouts for a little more flair. While the carrots are drying, cut the remaining pieces to create the green stems, leaving a tab below each stem to be glued to the inside of the carrot. You could also use green tissue paper or crepe paper for the stems if you prefer. Once the stems have been painted and everything is dry, glue them to the carrots, and you're ready to string your garland.
For this step, you can try several approaches. The easiest way would be to use a hot glue gun to put a dollop of glue on the back of each carrot and set the baker's twine. The carrots must be evenly spaced before gluing, as you won't be able to move them once the glue has set. Another option would be to poke holes through each side of the carrots and then run the twine through them. This does require even spacing between holes and carrots so they hang straight and even, but you can move the carrots around after they're strung. Now you're ready to decorate your home for Easter and hang your garland in front of the fireplace or along the stair railing.
How to make other egg carton scrap projects
The crafting fun doesn't have to stop if you have more empty egg cartons. To make mini egg holders for your dyed creations, cut out a divider with a seat attached. This is where your egg will sit. Paint the divider and holder white or yellow, and let it dry. Then, on the divider, add a bunny face and whiskers using paint or a black marker if preferred. Paint a tummy for the bunny and cut and paint ears from the carton. Glue the ears on, and you have a cute display for your favorite dyed eggs.
For a larger display and a creative egg carton storage hack, keep the carton in one piece and cut off just the top half. Now get creative with the base! You can paint it a bright pink or yellow so that it stands out against your other decor. Or you can use Mod Podge to wrap them in decorative napkins or wrapping paper. Once the carton is decorated and dried, drizzle hot glue from your hot glue gun onto the holders, then lay down Spanish moss or Easter grass. This will give your project an Easter basket look and help cushion the eggs. After the glue dries, you're ready to add your eggs. If you're hosting Easter brunch, place your dyed eggs here so guests can grab them as they fill their plates.
For a purely decorative display, add fake eggs here instead. You can put a drop of glue on their bottoms if you plan to reuse this decor next year, or just nestle them in the Easter grass and recycle the carton after the holiday.