How To Upcycle Cardboard Boxes Into Decorative Plant Stands
Whether you have an ever-growing collection of greenery or just one plant to care for, you'll want to find a good way to display the flora. Plants can bring a room together, adding color and life to any space, and you get to add even more creative flair with a pretty planter or plant stand. The right plant stand, in particular, can make a large difference by improving the health of the plant and making the plant more of a focal point in the room. There are many styles of plant stands and a wide range of prices to match, but if you want something perfectly customized to your space, DIYing your own stand using old cardboard boxes may be worth a try.
A project as simple as this small plant stand can be altered to your heart's content, and thanks to the fact that it uses repurposed items, you can save some money while upgrading your home. YouTuber Million Ideas demonstrated their process of DIYing a plant stand in a cube shape with open sides.
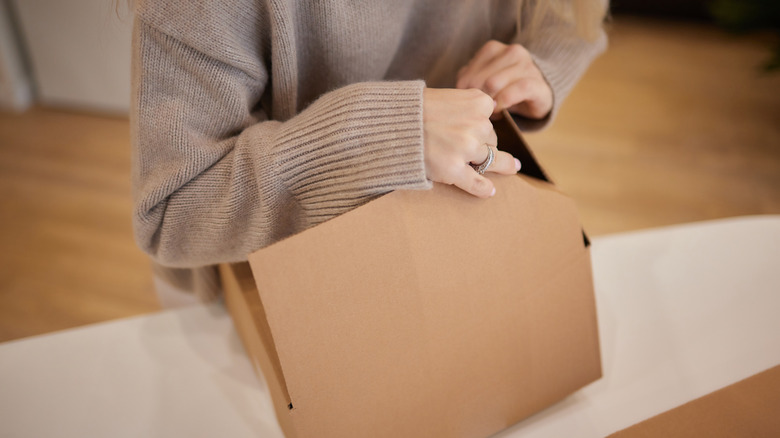
If you have a number of cardboard boxes sitting around in your home, this project is a great way to make use of them. You'll also need a hot glue gun, masking tape, and materials to decorate. This could be patterned tape, patterned contact paper, or acrylic paint. Stickers or items to glue on the outside are optional, but they can help to create more interest and dimension.
How to create a plant stand using a cardboard box

The amount of cardboard you need will depend on the size of the plant stand you want to build. Check the size of your planter to determine what size square would hold the planter up. Just make sure that your planter is narrower at the bottom and widens to a point where it can sit inside the plant stand, or else you may need to learn ways to repurpose items in your home as adorable planters to get the right fit. Once you determine the measurements for the square at the top (and bottom, since they match), you can find a height you like.
Next, you will cut your cardboard into strips. You will need some cut to the length you want for the upper square sides and some in the length you want for the height. The cardboard strips will then be glued together to create a strong base for the plant. To achieve a polished look, enough strips should be glued together to make the cut width of each strip equal to the width of the pieces glued together. For example, if your strips are cut to be 1 inch wide, then you may need to glue together four pieces of ¼ inch thick corrugated cardboard until it is 1 inch thick as well.
Next, glue the pieces together. There should be four pieces at the bottom forming a square, a piece sticking up from each corner, and a square on top to form a cube. Allow the glue to dry, and secure everything with a layer of masking tape.
Customizing and caring for your DIY plant stand
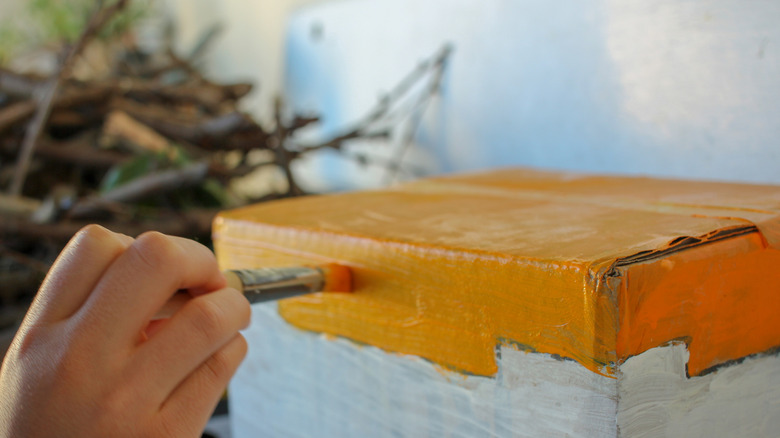
After covering the cardboard surfaces in masking tape, you can move on to decorating. Applying a layer of acrylic paint is one way to customize your stand. Plus, when dry, acrylic paint is water resistant, making your cardboard plant stand able to handle an occasional bit of moisture. Unfortunately, it will not be completely waterproof, though, so be sure to remove your planter from the plant stand to water it. Using a towel to wipe away any moisture from the sides of the planter that will touch the plant stand should help prolong its life.
When choosing paint, use neutral colors for an elegant look or go bold with bright colors to make the plant stand pop in any room. If you are artistically skilled, adding a pattern is also a great idea. Three-dimensional patterns will make the stand especially unique. For example, you can cut straws into small pieces and glue them to the planter. Paint the straws gold or silver and the planter black, and your planter will be stunning. Or, for a faster finish, try contact paper. Finally, be sure to carefully choose what plant goes in the plant stand. As this stand isn't very weather-resistant, stick to houseplants that are perfect for growing indoors.