Upcycle An Old Pot Lid Into A Rustic Storage Rack
We may receive a commission on purchases made from links.
Have you ever noticed it's easy to separate pot lids from their matching bottoms? You move house one too many times, and the next thing you know, you have a few extra lids with no pots to pair them with. Instead of throwing them out, why not turn the old lids into a storage rack? Upcycling them doesn't take much — just a piece of your repurposed scrap timber, which provides a frame for the lids to hang on; some chalk paint; and of course, the lids. Just make sure the lids have the knobs; those become the rack's hooks.
Like many rustic do-it-yourself projects, this rack is an amalgamation of second-hand pieces and textures. To that end, tap something like an old cupboard door or a piece of driftwood (provided it's large enough) for the storage rack's base. The same goes for the pot lids. Choose several kinds and sizes. And because this project is meant to match your rustic decor scheme, it's also okay if the lids are banged up a bit. You additionally need something like the Gussker D-Ring Picture Hangers and some screws for this piece.
To give it a distressed look, gather at least two or three colors of chalk paint, like white, red, and teal, and some paintbrushes and clear varnish. Salt and a metal scraper tool will give the DIY more of an aged appearance. Finally, grab a circular saw, a drill, sandpaper, and some screws from your tool box.
Attach old pot lids to a wooden base
Turning your pot lids into an adorable storage solution starts with prepping the base. Cut the wood with the circular saw so that all of the lids will fit on it, with room left over around each lid to create a border. Sand out any rough spots, and then clean the lids of any leftover cooked-on residue. Wash them with soap and water. If that doesn't work, boil each one in a big pot, along with some vinegar. Finally, scrub the lid with some baking soda, and rinse.
@our_upcycled_life "Never look at old pot lids the same again 👀✨ This DIY is easy, rustic, and SO satisfying to make! Would you hang this in your kitchen? 🫶 upcycle diydecor ourupcycledlife
Next, treat the wood with the chalk paint. Paint it first with white. Then sprinkle some of the salt on it to add texture. Once that dries, repeat this process with your second and third paint colors. Top with varnish. Afterwards, scrape the top layers of the paint off with the scraper tool and an electric sander (if that makes the job easier).
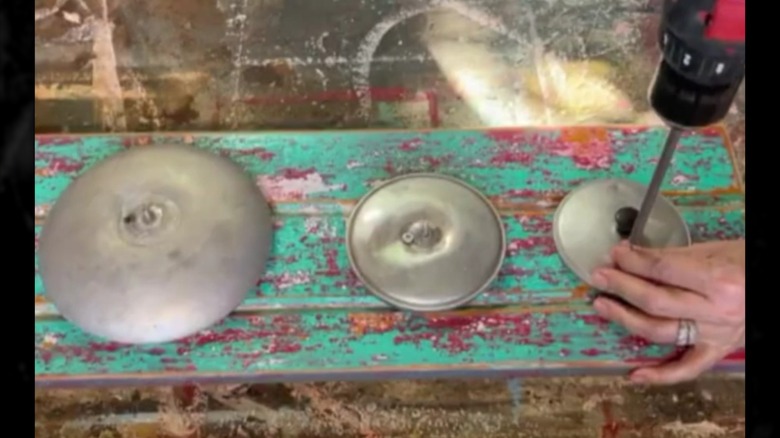
Remove the knobs from the pot lids. Then, drill pilot holes in each lid, about an inch away from its center. Reattach the knobs, and then add screws to the pilot holes. Mount the lids onto the wood base, arranging them so that the knobs all look level. Lastly, some D-ring picture hangers attached to the back of the wood allow you to mount the rack onto the wall. Hang towels, spoons, and other items on the hooks.