15 Best Budget-Friendly Fertilizers For Popular Garden Vegetables

I loathe spending money I don't have to, so if I can grow it, ferment it, or rot it down in a bucket rather than buying an expensive and potentially harmful chemical substitute, I will. As a master gardener who specializes in permaculture, I have learned that nature provides a ridiculous amount of goodness that can feed your soil and your plants without you having to spend all your hard-earned cash.
I use all kinds of budget-friendly fertilizers for my vegetables, including comfrey and compost teas, seaweed feed, and more. Many are good for lots of different veggies, others need careful application for certain vegetables at specific times. All of them are free or cheap to make yourself. The basics are really simple. Leafy crops need nitrogen to fuel growth, but fruiting crops need less nitrogen when they are setting fruit but more potassium and phosphorus. Root crops like the balance to shift toward phosphorus to develop big, healthy roots. In general, aim for healthy, well-balanced garden soil.
Seaweed feed for tomatoes and peppers
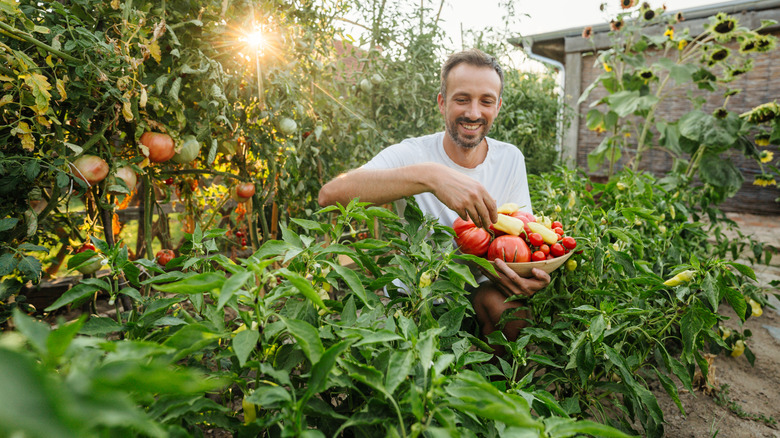
I don't tend to fertilize my tomato plants often, especially early on, aside from adding eggshell powder to the bottom of the planting hole. But, I've had success with adding seaweed liquid feed to help support flowering and fruiting. Seaweed is really rich in potassium and important trace elements, including iron, magnesium, and zinc, which are often low in residential gardens that haven't had much effort put into soil replenishment. Seaweed's also full of hormones that help with fruit set and stress tolerance.
You can buy commercial seaweed fertilizer concentrate, or you can make your own liquid seaweed fertilizer for free, if you live near the coast. Collect a bucketload of seaweed, take it home, and rinse it thoroughly to remove the salt. Then cover the seaweed with water, weigh it down with a brick, and cover the bucket with a lid. Stir the mix a couple of times a week, and be prepared for a pretty potent smell. In about three weeks, you've got a wonderfully rich liquid feed. Dilute it 1:20 before you apply it to your plants to avoid burning the roots. Feed once or twice a week while fruits are swelling.
Comfrey tea for potatoes
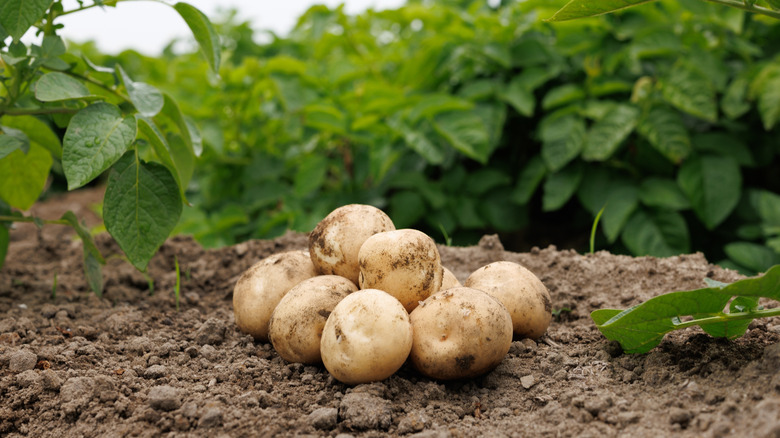
Comfrey is often considered a weed, but I actively cultivate it for its companion planting properties and because I use it a lot as a fertilizer. It's a dynamic accumulator, pulling up vast quantities of minerals from deep within the soil with its long, deep taproot. It also sequesters a huge amount of potassium in its leaves, containing larger amounts than composted manure. And potatoes need potassium to grow and produce large, healthy tubers. So comfrey is a brilliant choice for feeding a potato crop.
There are two options with comfrey. You can make a tea for repeated feeding throughout the season in the exact same way you make nettle tea, brewing it for four to six weeks. But be warned! Brewing comfrey tea smells spectacularly, eye-wateringly awful, so if you do go this route, keep it in a lidded bucket well away from the house or your patio seating. I cannot describe how bad it smells, but I still brew buckets of this concoction every year because it works super well. The other thing I do with comfrey is harvest some leaves and bury them at the bottom of potato trenches and plant right on top of them, as the leaves break down slowly and release their goodness into the soil. Comfrey is invasive in some regions, so check before planting for homemade fertilizer.
Nettle tea for kale and lettuce
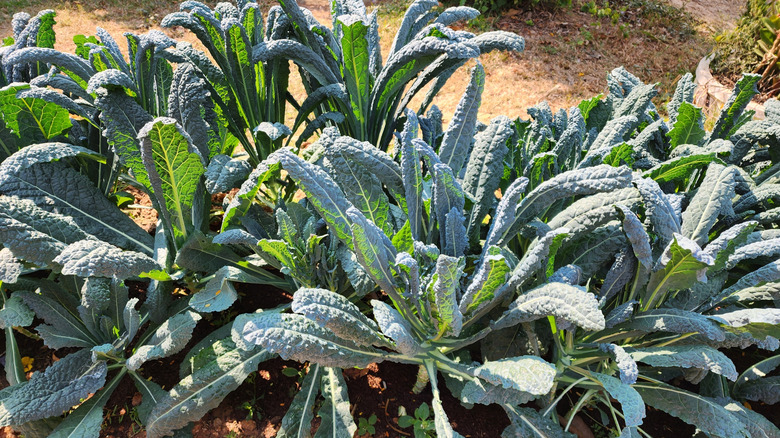
You grow kale and lettuce for their leaves, so you can give them a little boost with a homemade nitrogen fertilizer. My go-to for boosting nitrogen and trace minerals is nettle tea. It's free and easy to make. And there are always nettles somewhere nearby. Nettles, like comfrey, are dynamic accumulators, which means that they pull lots of different minerals into their leaves from deep in the sub soil. Along with nitrogen, they are rich in iron, potassium, and calcium. Once it's brewed, it's a quick-release nitrogen-boosting, mineral-rich liquid feed.
Just like with the seaweed, fill a bucket with nettles, but avoid picking when the nettles have seeds on them, as you don't want to spread the seed to your beds. Weigh the nettles down, cover them with water, then cover the bucket. Leave it to stew for at least two weeks, preferably four. Make sure you dilute it with a 1 to 10 ratio so you don't burn the plants, then gently water around the bases of the plants every week or two during the growing season. You can also use it as a soil drench to replenish the soil before planting.
Wormery liquid or worm castings for spinach and chard
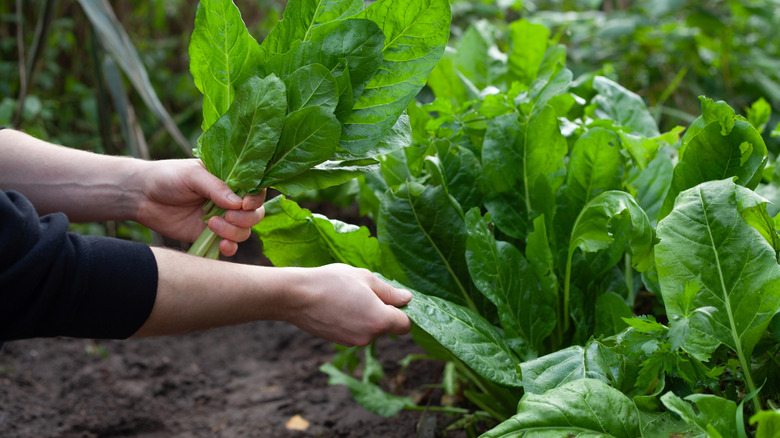
Spinach and chard like slow, steady feeding. A sudden or heavy influx of feed can cause bolting and finish the crop quickly. Diluted wormery liquid or a light application of worm castings is a great option. The nutrients are well-balanced, with moderate nitrogen levels, and they release slowly and feed the soil and the plants gently. While you can buy worm castings commercially, if you already have a vermicomposting system set up, then the castings are free, as is the liquid that gets produced.
From your composting kit, collect the liquid that drains from the bottom, also known as leachate or "worm juice." Dilute it 20:1 to use it on leafy veg like spinach and chard so you don't overwhelm them and cause them to bolt. With worm castings, place a thin layer in the bottom of planting holes. You can also use them as a light, slow-release top dressing.
Compost tea for leaf lettuce in containers
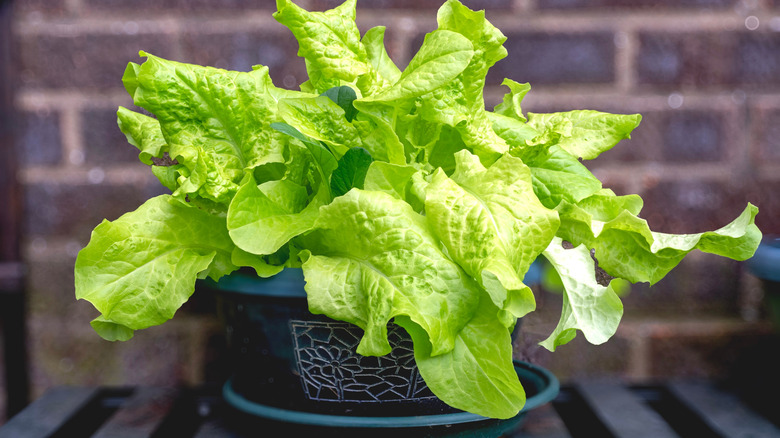
Leaf lettuce plants grow fast and require little care. But, in containers, because there's so little soil, they deplete it pretty quickly. So, in my raised leaf lettuce beds, I use compost tea to keep the soil well-nourished. The other benefit of using compost tea in containers is that it's gentle and won't end up depositing heavy mineral salts in the soil that eventually damage plant roots. If you've got a compost heap, this is another freebie.
Get or make an old cloth bag. I use an old hessian potato sack. Fill said bag with a generous amount of compost. Put the filled bag in a big bucket of water, and leave it to steep for at least 48 hours, preferably a week. Remove the bag and empty it onto a part of your garden that needs a boost. Then use the liquid, diluted with a 10:1 ratio, to water your leaf lettuce once per week. And, when you've finished a crop, before you plant the container with lettuce again, drench it with the liquid to fully replenish the nutrients.
Bokashi liquid for cucumbers, especially those in containers
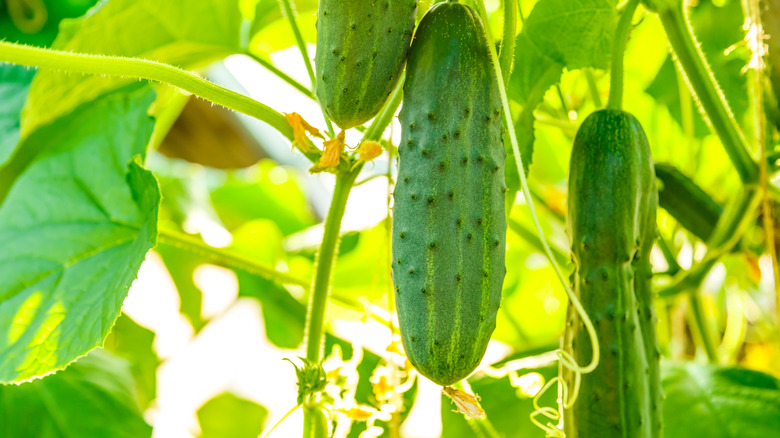
Cucumbers are hungry, hungry plants — specially those in containers, because they have such limited soil to feed from. If you have a bokashi bin, you'll already have a steady supply of potent bokashi liquid on a regular basis. It's rich in nutrients, enzymes, and antioxidants, but it's very acidic and very strong. So you may need to amend the soil with potash or lime. You can test use a simple soil test to check. Alternate feeding bokashi liquid with something like comfrey tea gives a more balanced feed through the growing season.
When you drain your bokashi bin, don't just discard the liquid. You can add it to your compost pile, and it will speed up the decomposition process. To use it on your cucumbers, dilute it at least 1 part bokashi liquid to 100 parts water. If you plan to use it every week, dilute it 1:200 to avoid overwhelming and unbalancing the soil. Otherwise you risk burning the roots and causing mineral salt buildup in the soil.
Blood meal for sweet corn
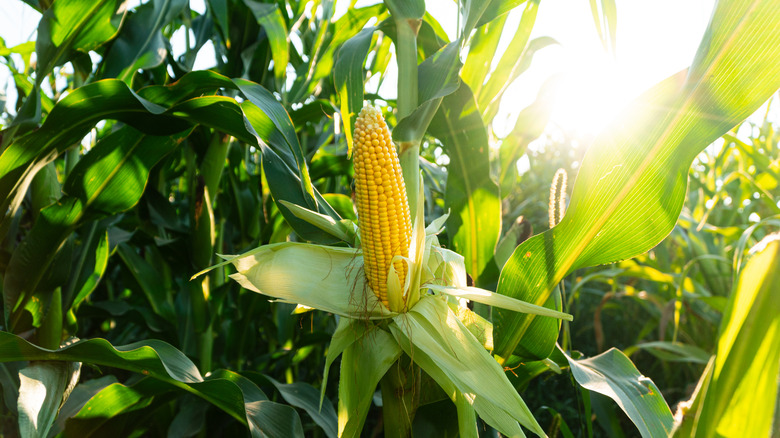
Sweet corn is a surprisingly heavy feeder. It needs a lot of nitrogen as it's a tall, fast-growing grass. The nitrogen is necessary to help the corn build and maintain its stiff, upright frame. Most home growers don't realize just how much nutrition corn needs, and they end up with sad, stunted corn stalks with yellowing leaves and few cobs. Enter, blood meal. It is exactly what the name implies. Dried blood. And it's a highly concentrated form of nitrogen. Blood meal is also inexpensive and natural and can give your corn and other nitrogen-hungry plants a solid boost.
Be careful with blood meal. It's around 12 percent pure nitrogen, so it's easy to give too much, which is as problematic as not enough. Follow the package instructions closely. Apply it at the base of your planting hole or as a top dressing after planting. It's fast-acting and very potent, but breaks down after about 8 weeks, so you may need to reapply it if your corn still looks like it needs a bit of help. However, repeated applications can lower the pH of your soil, so it's a good idea to get yourself a soil test kit so you can amend it if necessary. If you have dogs, just be aware that they may be very interested in blood meal. If you work it deep into the soil, though, it should be less of an issue.
Feather meal for cabbage and broccoli
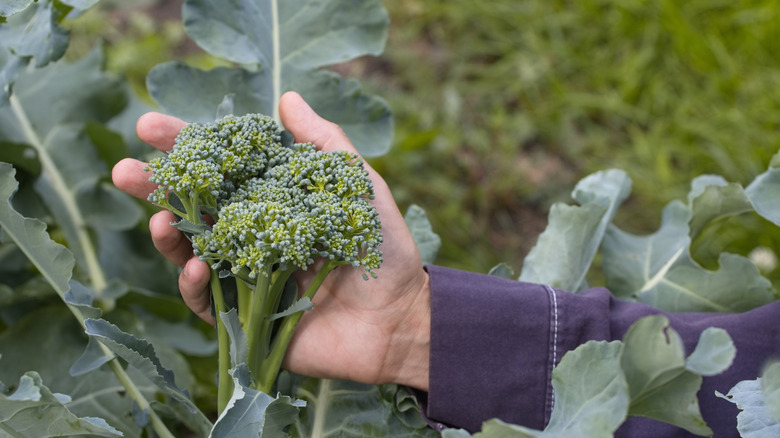
Cabbage and broccoli need plenty of nitrogen to produce leafy growth before they can form respectable heads. But they need a slower, continual supply, so blood meal isn't the best choice here. Instead, I go with feather meal, as it releases its nitrogen slowly, so it provides nutrients over a longer period, without overwhelming the plants. However, it is also incredibly potent, so you must use it carefully.
When I'm using feather meal, I generally aim for a tablespoon per square foot. A little really does go a long way. Lightly rake it in, then gently water. With feather meal, if the soil is cold, it gets off to a slow start. So, to give your plant the best head start, apply the feather meal about two weeks before you plant out your brassicas. This gives the soil microbes time to start working on the feather meal so it releases its goodness.
Bone meal for garlic
For the best, healthiest bulbs, garlic needs phosphorus for early root development. You plant them in fall, so they need to develop a solid root system before winter truly hits. Once it roots and anchors in, winter will arrive and do its thing, and the garlic will break the soil line and start to grow after a good couple of months of cold. Without strong roots, there's a high chance the bulbs will rot over the winter.
I use bone meal for my garlic, as it's natural and affordable. It has around 4% nitrogen and 15% phosphorus, so it's pretty strong and should be used with care. I grow lots of garlic, so I dig a shallow trench for mine, then sprinkle a thin layer or bone meal and plant the garlic cloves right on top so they have immediate access to the nutrients they need to put out decent roots. It's a slow-release fertilizer, so you won't need to reapply it. The garlic will still have access to plenty of nutrition from the bone meal well into spring.
Fish emulsion for celery and celeriac
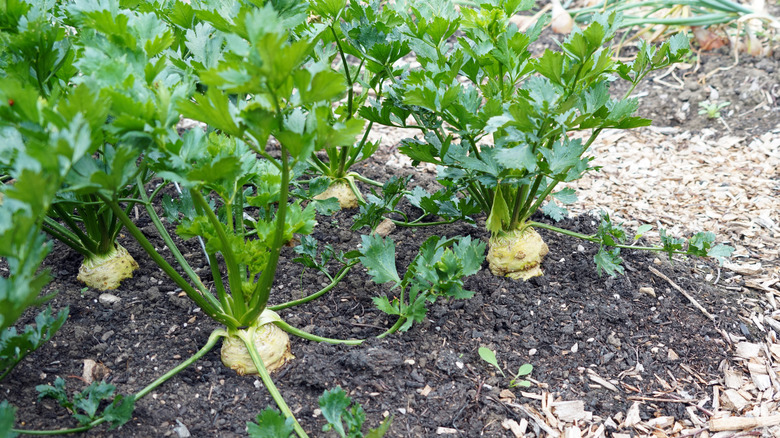
Celeriac and celery are slow-growing crops, perfect for mild regions. While they aren't as hungry as something like pumpkin, they do need a consistent supply of nutrients to fully develop and be worth growing as a food crop. And, because they are long-season growers, they need this consistency over many months. Fish emulsion is a good choice here because it's reasonably well-balanced, is a nutrient-rich liquid feed but isn't excessively high in any one thing. The only caveat is that it stinks. It's literally made of fish and very concentrated — it smells exactly like it sounds.
The dilution ratio will depend on the concentration of the specific formula you buy, so be sure to follow the manufacturer's directions. You can apply this liquid feed every two to three weeks during the growing season as a consistent nutrient boost for your celery and celeriac. Regular heavily diluted applications are better than random one-off heavier feeds for these plants because they develop so slowly. Being heavy handed can result in a tall, weak, stringy, flavorless harvest.
Fish, blood, and bone for cauliflower and Brussels sprouts
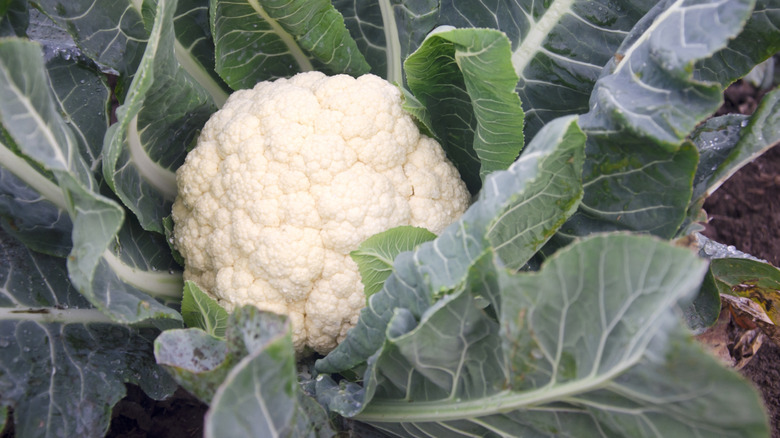
Cauliflower and Brussels sprouts are heavy feeders and long-season crops. Both can be a little sensitive to nutrient imbalances, though. They'll bolt, button, or produce loose heads. I should note that even if they do fail like this, they are still edible, they just don't look as good and don't reach their full potential. Fish, blood, and bone smells utterly disgusting but is a brilliant, natural, slow-release fertilizer that can deliver consistent nutrients to your long-season brassicas.
Fish blood and bone is super budget-friendly and is widely available. It also gives a solid nutrient mix, including phosphorus, potassium, nitrogen, and a broad spectrum of trace minerals. Follow the manufacturer's directions, as formulas vary, and mix in the recommended amount to the top inch or two of soil before planting. You may also want to add a light side dressing in midsummer if the plants are still looking a little hungry.
Alfalfa meal for zucchini and summer squash
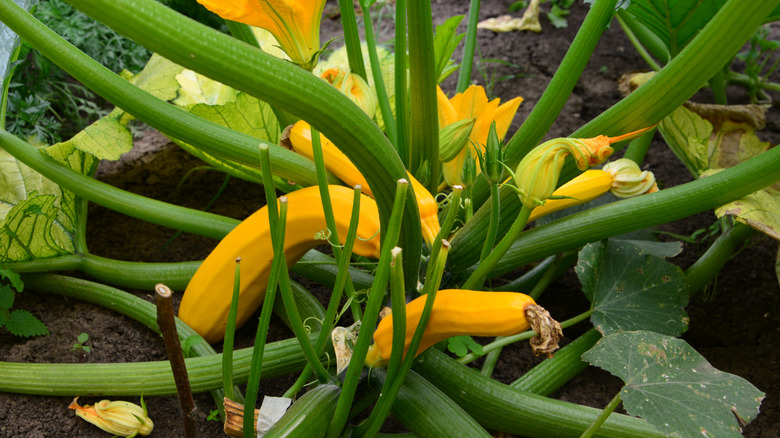
Zucchini and summer squash grow fast, so they need good fertility to maximize production during their comparatively short growing season. They do not, however, do well with an extreme hit of nitrogen in the same way something like sweetcorn does. Instead, they like balance, which makes alfalfa meal a great fit. This is a fairly mild fertilizer, with an NPK ratio of around 3-1-2. So it gives summer squash a nice, gentle lift without pushing too much of any one thing.
Sprinkle a generous tablespoon into the bottom of each planting hole when you're planting, and mix in a little compost. If your soil isn't already nutrient-rich or if you don't use compost as a top dressing, it's also a good idea to apply more alfalfa meal as a top dressing once the plants are established, and potentially, another later in the summer when the plants are still cropping heavily. If they're still producing, then they are consuming nutrients at a quick rate, so offering a gentle balanced feed helps maximize the growing season.
Composted poultry manure for cucumbers and melons
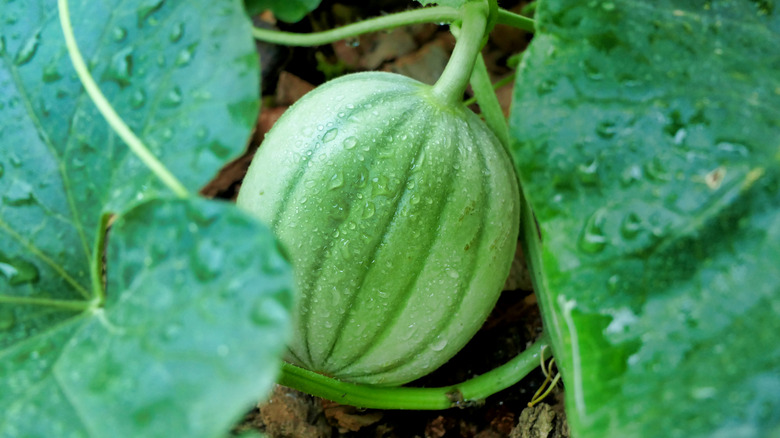
Melons and cucumbers like fertile, moisture-retentive soil, and they are surprisingly nutrient hungry. They have fairly short seasons, so they need lots of nutrients available early and consistently. Composted poultry manure is ideal. You can also buy chicken manure pellets that are ready to use if you don't have your own chickens. My girls give me plenty of lovely, nutritious poop — it's one of the ways my flock earns its keep.
If you're using actual manure, not pellets, it needs to be fully composted or rotted down for at least a year so it doesn't burn your plants or introduce potentially harmful pathogens. I mix it with plenty of compost and add it to the planting holes. Once the plants are established and growing well, I add a mulch or top dressing of compost and rotted chicken manure to help increase fruit yield. I also mulch with rotted chicken manure and compost in late fall in beds where I know I'll be planting quick cropping hungry plants the following season.
Well-rotted farmyard manure for pumpkins and winter squash
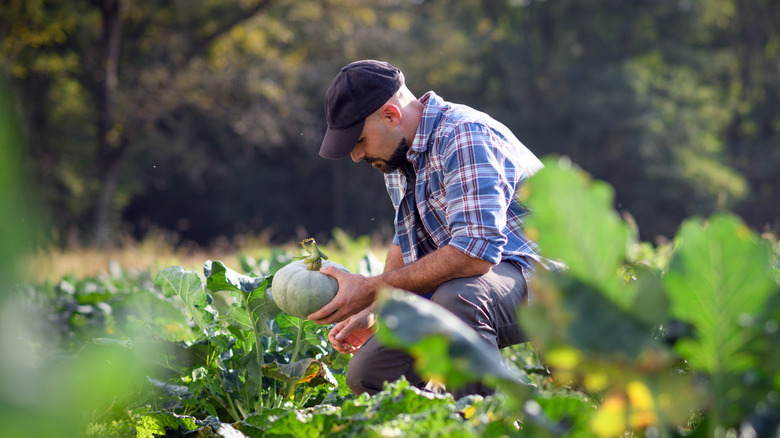
Pumpkins and winter squashes are the ultimate long-season heavy feeders. It takes a lot of energy, nutrients, and water to grow those massive leaves and dense, beautiful fruits. They need a deep bed that's full of rich organic matter. Well-rotted manure provides a huge amount of nutrients and improves soil structure and moisture retention. But again, it must be rotted down for at least a year to kill off pathogens and let it mellow so it doesn't burn your plants.
In fall, I mulch heavily with rotted manure, and I let nature break it down and work it into the soil over the winter. Then, once my pumpkins and squashes are ready to plant out after the risk of frost has passed, I add a generous scoop to the bottom of the hole and plant right on top. Once the plants get settled, I mulch again with a layer of rotted manure, and top with a generous helping of straw. Avoid manure from animals grazed on pasture where herbicide is used, as you don't want to introduce that into your vegetable garden.
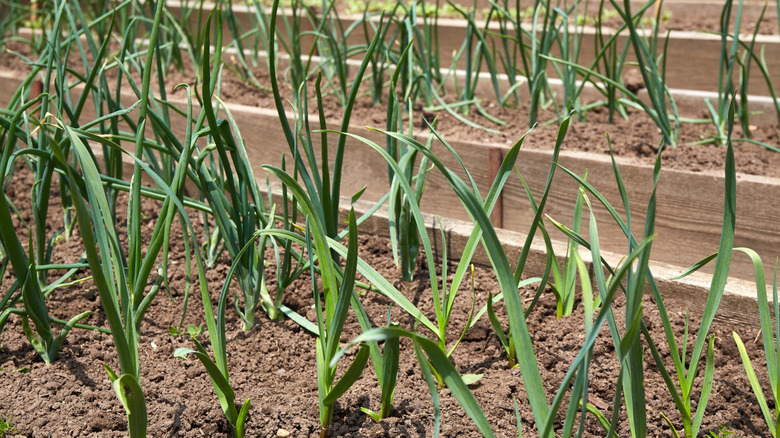
Homemade compost for onions and leeks
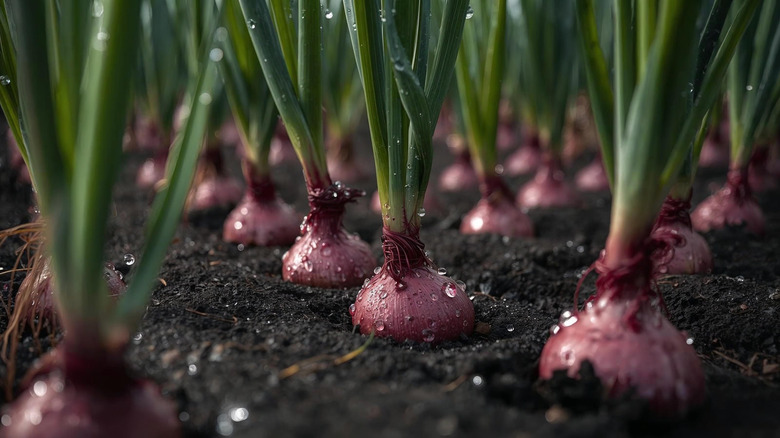
Onions and leeks are easy to grow but a little fussy. They like fertile, well-balanced soil that doesn't retain too much moisture. They don't like an excessive amount of nitrogen, as this causes them to bolt or become more prone to disease. Balance is so important for big, fat leeks, and full, round onion bulbs, which is why I use healthy quantities of compost. It doesn't cost a thing and compost is so easy to make, plus it reuses a lot of your kitchen scraps.
Mulch the bed thoroughly with compost a few weeks before you plant so worms and other soil life start to draw it down into the soil. Make sure you give it a nice, deep layer of at least a couple of inches. You can just plant right into it as soon as you're ready. If your compost isn't ready or you're off to a late start, you can try trench composting by adding fruit and vegetable scraps to a trench dug between planted rows. Cover a section of the trench every time you fill it, and it'll compost in place slowly and feed the alliums all season long.