The Easy Scrap Wood DIY That Creates A Unique Garden Border On A Budget
There are so many useful ways to repurpose scrap wood around the home — from turning it into wall art to DIY projects that help organize cluttered kitchens. You can do almost anything with those old lumber pieces sitting around the house, and save money by turning them into something practical. Today, we're taking it outside to transform scrap wood into a unique garden border.
Garden edging, also called landscape edging, is a way of separating flowers in the garden bed from the grass in your yard. Sometimes lawn grass roots can creep into flower beds, but a physical barrier like a garden border can help prevent that. Plus, it makes your landscaping look more natural and sharp. While you can purchase your own pre-made wooden garden edging, it can be a bit pricey. So we're going to make our own out of scrap wood for a custom look at a fraction of the cost.
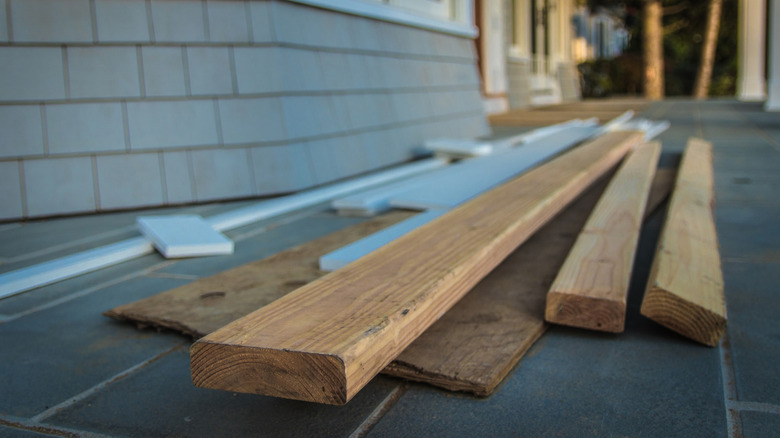
For this garden DIY, you'll need scrap wood and a rubber mallet. If you need to adjust the size or shape of your scrap wood, you'll also need a saw — either a reciprocating or miter saw will work. Optional supplies include sandpaper and paint.
How to turn scrap wood into a money-saving garden edge border
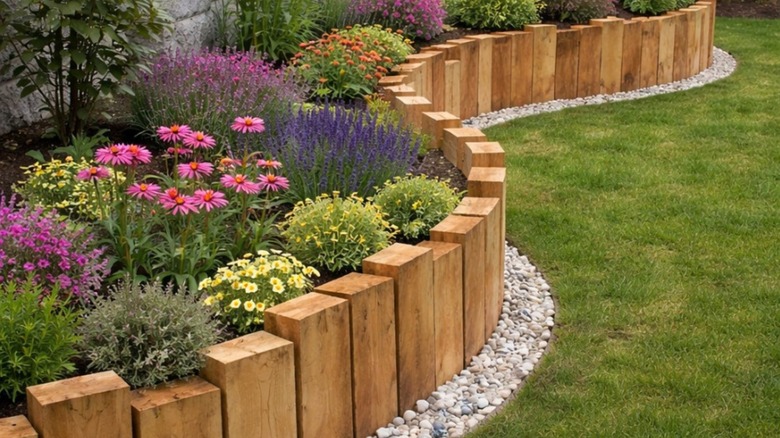
First, decide how tall you want each piece of scrap wood to be and whether or not you want them all the same size or varying heights. When deciding on height, keep in mind that you want them to go 4 to 6 inches below ground level to prevent grass roots from spreading. Measure each piece of wood and use a pencil to outline or mark the measurements. Then cut your scrap wood to the desired height and width. To make it easier to push into the ground, you can cut the corners off the bottom of each piece, creating a V-shape. Repeat this process until you have enough pieces to line the edge of your flowerbed.
To help the edging last longer, apply a waterproof wood finish to maintain the natural wood look or use outdoor paint for a customized color scheme. You can also paint designs on the wood panels, like stripes, polka dots, flowers, or bees. If your scrap wood is a bit rugged, use sandpaper to smooth it down before painting. Once your pieces are completely dry, line them up along the edge of the garden bed. Measure and mark each piece 4 to 6 inches from the bottom to indicate how far they should go into the ground. With the V-shaped side pointed down, use a rubber mallet to push them into the ground, side by side, until you see the marking level with the ground. Finally, sit back and enjoy your beautiful garden edging.