Want To Add To Your Spider Plant Collection? Here's How To Grow Them From Seed
We may receive a commission on purchases made from links.
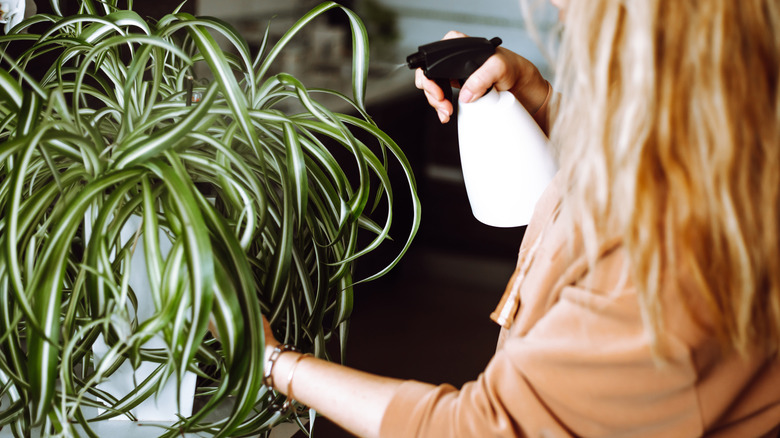
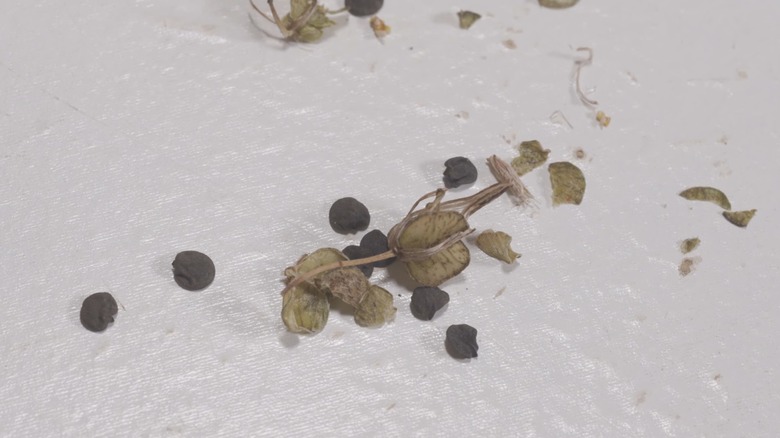
Cascading down hanging baskets or rooming in a cute pot, spider plants (Chlorophytum comosum) instantly brighten any spot with their beautiful, strappy foliage. Plus, since they're so easy to grow, even by neglectful plant parents, it's simple to expand their collection when your target is to perk up your indoor space. What you may not know, however, is that spider plants are one of the many beautiful houseplants you can grow from seed. After their dainty, white flowers terminate, they make way for three-lobed, leathery, green seed capsules. These capsules contain black seeds, which you may sow in a loose, potting mix for new spider plants.
Before growing spider plants from seeds, know that the whole process, from seed formation to new sprouts, may take over two months. That's because they're slow to germinate, though they pick up speed after sprouting. So, walk down this route only if you don't mind the extra wait, and are up for a cool experiment. Otherwise, stick to propagating their babies (or plantlets) or dividing the mature clumps for immediate results. Also, seed-grown spider plants are not the exact clone of their parent plant, and may revert to a plain green hue, sans any variegation.
Harvesting seeds from spider plants
Spider plants actively bloom for a short time around spring or summer. If your spider plant isn't flowering, it may be due to insufficient exposure to light. While spider plants can tolerate heavy shade, they must receive bright light (though not direct exposure) for blooms. If that isn't a factor, they may still be immature and may not have reached flower-bearing capacity — in that case, you'll have to wait until they grow slightly root-bound for seeds.
If your spider plant stays indoors year-round, it's unlikely to get pollinated because it's not exposed to much wind or pollinating insects. Temporarily summer the plant outside (after slowly acclimating it) so bees can wield their magic. But if you live in an urban area, in a high-rise building, or have only a small collection of plants that don't attract many pollinators, try hand pollination. Use tweezers or a Q-tip to pick up pollen from the yellow stamens and gently transfer it to the piston emerging from the flower's center. Repeat this action on all flowers and expect to see seed capsules once the flowers start to fade and disintegrate. After the capsules turn brown and shrivel up (this may take a month), strip them from the plant and remove the seeds. Alternatively, you can tie a bag around the pods and wait for them to self-release the seeds.
Sowing seeds for more spider plants
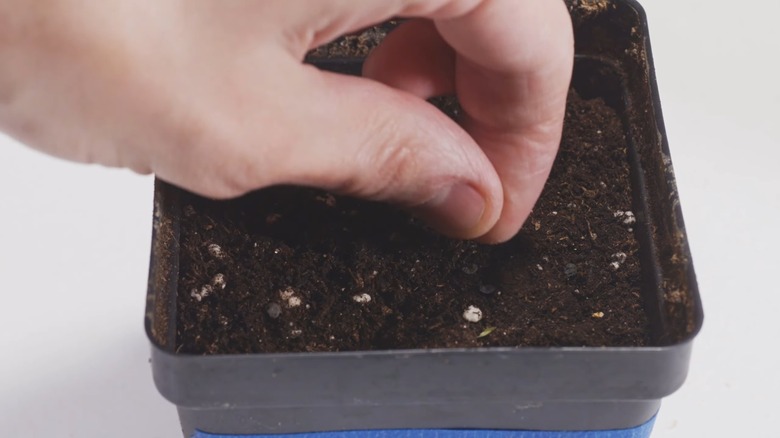
Seeds harvested from spider plants do not remain viable for long, and so must be sown immediately. Take a small pot and fill it with a well-draining, all-purpose potting mix, like the Miracle-Gro Indoor Potting Mix. Drop in the black seeds and lightly cover them with a ½ inch layer of potting substrate. Lay the seeds thickly, as not all of them will successfully germinate. This also gives you a greater chance of filling out the pot fast.
Water well until the medium is fully soaked and place the pot in a warm, brightly-lit window. Keep the potting mix consistently moist (not wet) until you see any sprouts, which may take over 20 days to emerge. Afterwards, resume standard spider plant care, which means allowing the soil to dry in between soakings and feeding a water-soluble fertilizer every quarter. Ideally, you should avoid transplanting seedlings into a new pot to avoid shocking them. But should you feel the need to, wait until they grow several pairs of true leaves to give them a greater chance of surviving the relocation.