12 Ways To Turn Dollar Tree Cutting Boards Into Useful Storage Racks And Shelves
Storage racks and shelves can come in handy when you're trying to get organized or update your home decor. But when you're trying to keep it easy on the wallet, that can be tricky. If you don't want to spend a ton of money on big fancy storage units, you can make your own shelves and racks using budget-friendly cutting boards from Dollar Tree that look just as nice.
From floating and tiered shelves to cube storage and shoe racks, these DIY ideas can help you get organized and maximize your space. Some of these options work well for smaller areas, like hanging crate racks or a portable shelf unit. Others offer more functional storage for larger areas, like the shoe rack and cube shelves. If you need to optimize vertical space, floating and hanging shelves are great options.
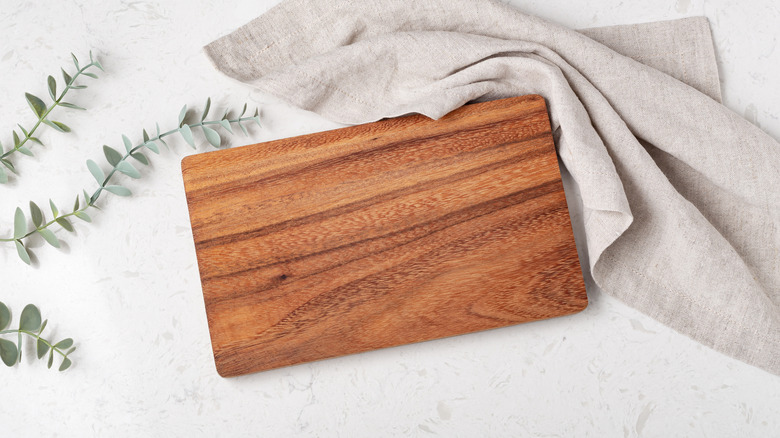
Each of these projects requires a variety of tools and supplies, but they all center around Dollar Tree's Cooking Concepts Bamboo Cutting Boards. These wooden boards measure 9.8 inches by 6.9 inches. A single cutting board costs $1.25 and can be purchased from your local store or in bulk online.
Hanging shelves
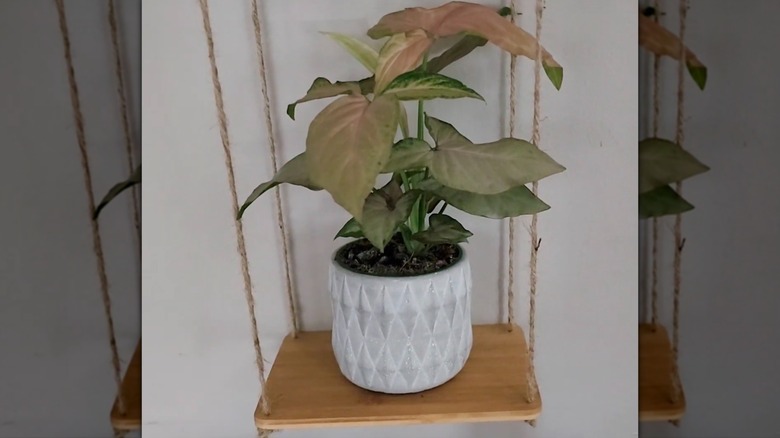
This 2-tiered unit will elevate your decor with a hanging shelf hack using Dollar Tree cutting boards. You'll need two boards, a drill, jute cord (or your preferred alternative), and glue. Drill a hole in each corner of both boards. String a piece of rope through each hole of the first board, and tie them all together at the top. Tie a knot in each piece of rope underneath the board, then string the rope through all four corners of the second board and repeat the knots underneath. Cut any excess rope and hang the unit from the top knot.
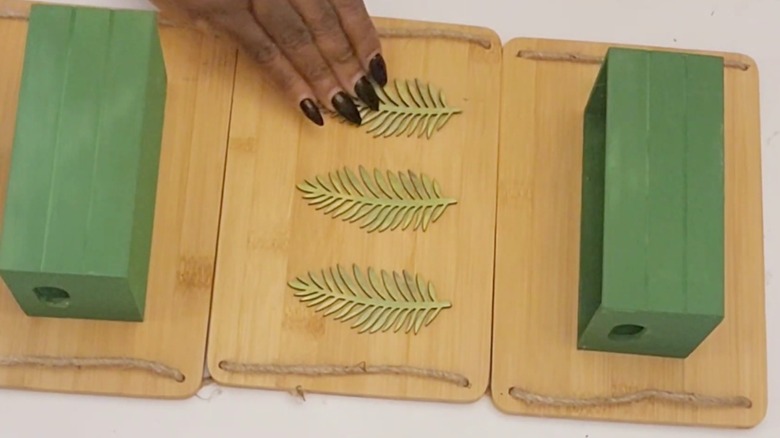
Tiered shelves
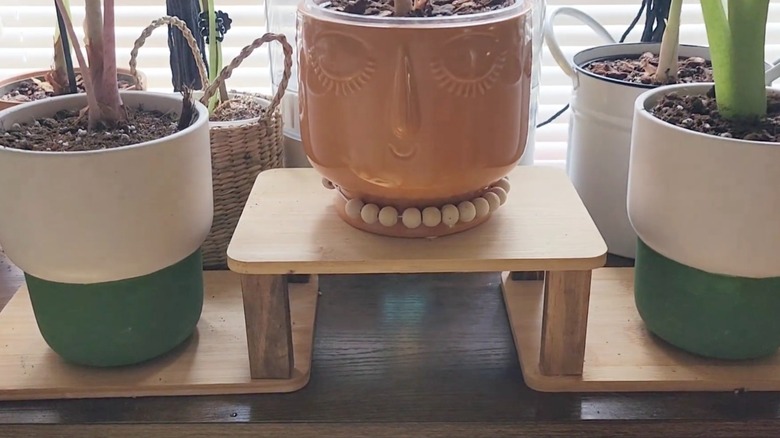
These tiered shelves are great for horizontal spaces. We're using 3 cutting boards, 12 wooden blocks, and glue. Optionally, you can paint the boards and blocks, letting them dry completely. Glue a block onto each corner of the cutting board, and once it's dry, flip it over like a table. Repeat the process with the other two boards. Then set two boards side by side, leaving enough space between them to stack the third board on top like a pyramid. Glue two of the top board legs onto each of the lower boards.
Hanging crate rack
Make a cute hanging crate rack with the Dollar Tree cutting board and their Crafters Square Wooden Crate by gluing one of the crate's long sides to the lower half of the cutting board. Attach a sawtooth hanger to the back of the board to hang on the wall. Or make two or three boards with crates and connect them with jute cord. Drill a hole in all four corners of each board, then lace the cord through each hole to connect them. Tie each cord at the bottom, then tie the tops together to hang it up.
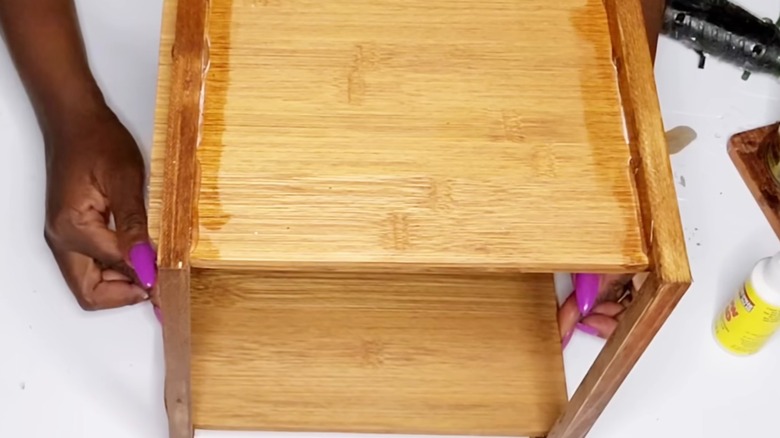
Countertop organizer
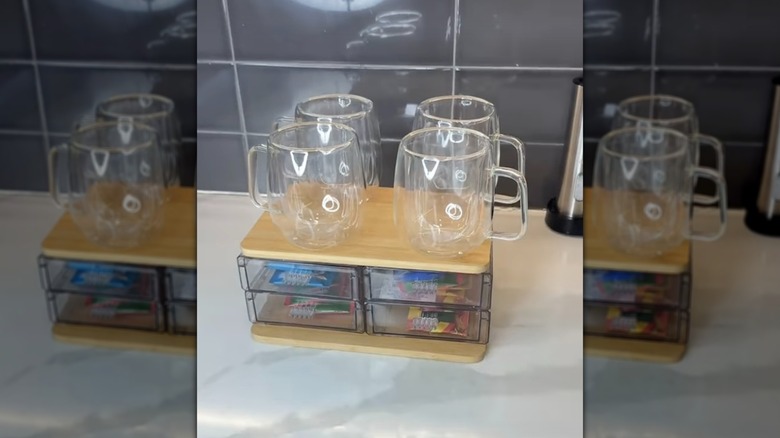
This Dollar Tree DIY turns affordable items into a useful storage solution, and all you need are two bamboo cutting boards and four Essentials Clear Plastic Desktop Organizer Drawers. Lay the first cutting board on a flat surface and glue two of the plastic drawers, side by side, to the board. Then glue a second drawer on top of each one on the board. Finish by gluing the second cutting board on top. Use it on the countertop for tea or coffee items, or on your desk to sort small work items.
Shoe rack
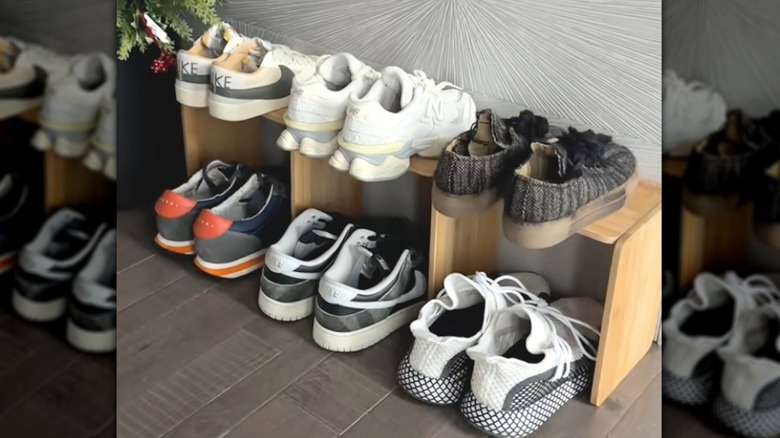
We never thought we'd say you can tame entryway shoe clutter with this clever Dollar Tree cutting board hack, but here we are. Lay a single board on a flat surface. Align a second board with the two short sides together and form a 90-degree angle. Glue them together and do the same thing with a second board on the opposite end. Continue adding a flat board followed by a horizontal board until you've created three open-top cubbies. Flip the entire unit upside down and place it on the floor.
Cube shelving unit
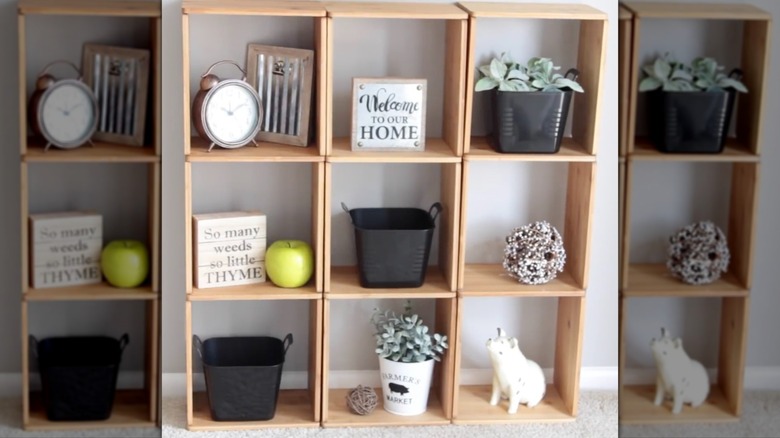
Another amazing DIY using only Dollar Tree cutting boards and glue is a budget-friendly cube shelf unit. The base of the unit is simply four cutting boards glued together in a square with an open front and back. You can build on this by gluing additional cutting boards, making it as tall or as wide as you'd like. These can be made in various shapes and sizes, making it easy to customize your own. You can also paint the boards to fit any room's color scheme, though you should paint them before gluing them together.
Floating V-shelves
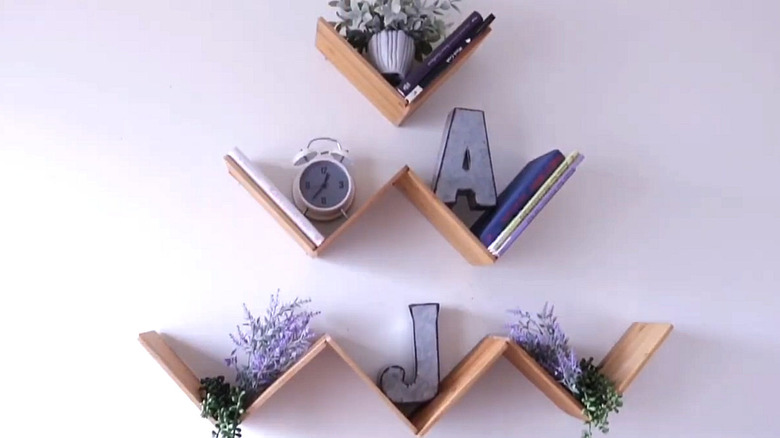
Need shelves to hang on the wall? These stunning floating display shelves are an easy, budget-friendly DIY. Begin by connecting the short ends of two cutting boards and gluing them together at a 90-degree angle. Repeat the process two more times with additional boards. Once the glue is dry, turn each set so it forms a V-shape and line them up side by side. Glue the sets together to make a full shelf. You can reinforce the glued angles with small nails for extra security, then attach the shelf to the wall using sawtooth hangers.
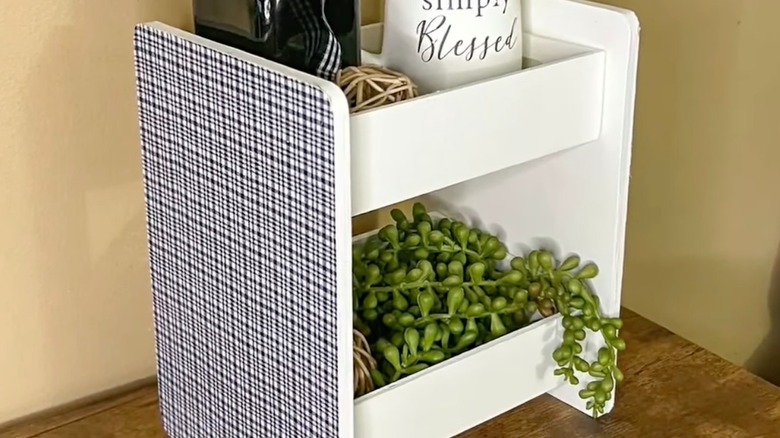
Portable shelf unit
If you happen to have two small wooden picture frames, you can use them along with two cutting boards to create a portable shelving unit. Optionally, before you begin, paint or stain the frames and cutting boards. With one frame upright, glue one end of the cutting board to the inside bottom of the frame. Take the second frame and glue the opposite end of the cutting board to the inside bottom of that frame. Once dry, flip the unit over and repeat the process with the second cutting board.
Wall mounted key rack

This DIY makes an adorable wall-mounted key rack that will keep you from losing your keys while also adding a bit of unique decor to any space. Paint or stain the cutting board, then lay it horizontally on a flat surface. Add a few key hooks along the bottom. Three to four evenly spaced hooks will fit nicely. Optionally, you can add any decorative items on the upper portion of the board, as @TheCrazyCraftLady did with air-dry clay. Then use a sawtooth hanger to attach the key rack to the wall.
Farmhouse style shelf
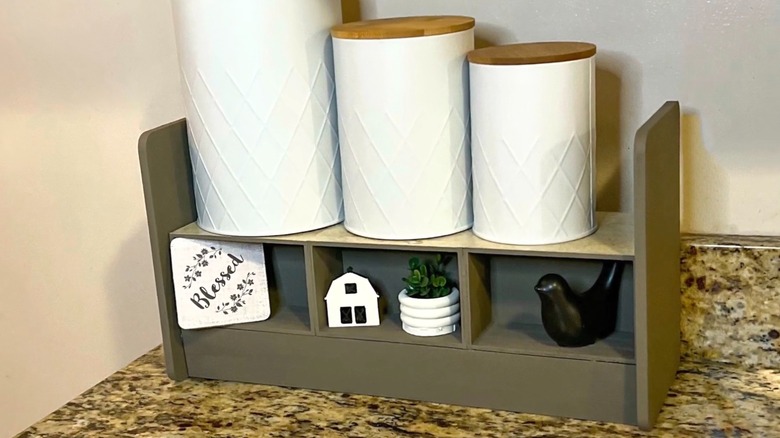
To make a farm-style shelf, you'll need six Square Wooden Crates from Dollar Tree, two bamboo cutting boards, and some glue. Optionally, you can paint all the pieces first. Line three crates side by side with the short ends touching. Glue those ends together and then repeat with the other three crates. Lay both rows of crates on their sides and glue the bottoms together to create a shelf with three front-opening cubbies. Align the shorter side of a cutting board with one end of the shelf and attach it with glue. Repeat on the other side.
Tiered crate rack
This crate rack is perfect for storing odds and ends or displaying decorative collectibles. You'll need two wooden crates and two cutting boards. You can paint the pieces before you begin. Stand two cutting boards on their short ends and place a wooden crate lengthwise in between. Glue the pieces together, then repeat with a second crate on the upper portion of the cutting boards so the two crates are stacked a few inches apart. You can set the shelf on a countertop or use sawtooth hangers to hang it on the wall.
Floating cube shelf
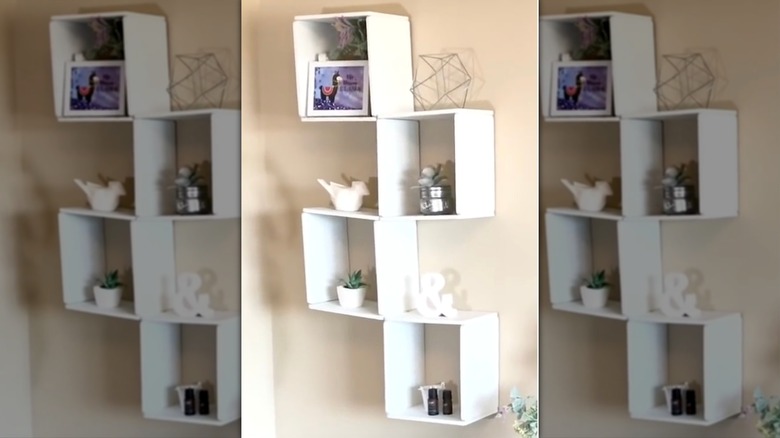
The number of cutting boards you'll need for these floating cube shelves depends on how large you want the shelf to be. Each cube uses four boards, glued together in a square with the front and back open. Then glue each cube together at one corner, alternating corners so they form a back-and-forth pattern. You can hang the floating shelf with sawtooth hangers. You may want to reinforce the glued sections with small nails if you plan to place anything heavy on the shelf.