Stop Taking Up Countertop Space – Shelves Are The Better Way To Keep Paperwork Organized

We may receive a commission on purchases made from links.
Paperwork is one of those pesky necessities that always feels messy, even when it's tidied into a neat stack on the counter. There's been a lot of talk over the years about the best way to organize your household paperwork, but somehow, those papers still stack up on your countertop. No, you don't need to resign yourself to always having a pile of messy paperwork lingering on your counter. Instead, hide the clutter with a paperwork shelf.
For most of us, paperwork presents two problems: visual clutter, and it's hard to find what you really need. The obvious mess of visual clutter is more than annoying; it can actually make it hard for you to think clearly. And trying to find that one bank statement, doctor's note, or school form in paperwork clutter can feel nearly impossible, right? But installing a designated paperwork shelf solves both these issues. Not only is the paperwork finally off your counter (can we get a virtual high five?), but it has a designated place so you always know where to find what you need — fast.
Adding a paperwork shelf (or shelves — you do you) near your household command center makes it easier to not only keep paper under control but put your hands on what you need quickly. And luckily, since household command centers are often located in the kitchen, there's usually a spare cupboard nearby. If not, don't worry; any spare storage area will do.
How to add built-in shelves to organize your household papers
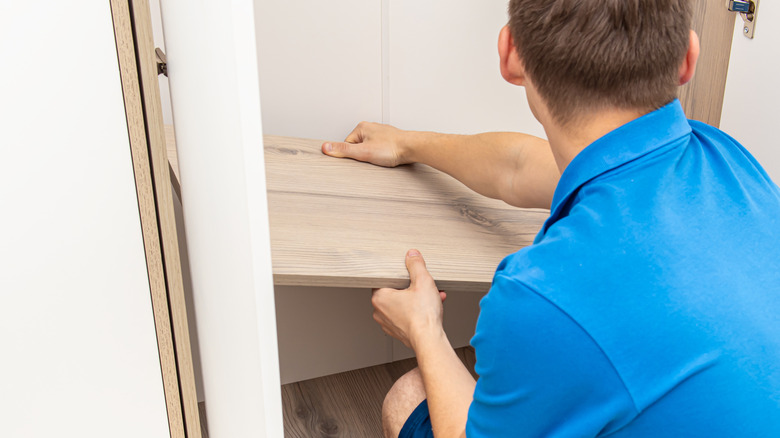
The first step of adding built-in shelves or modifying an existing cabinet is measuring your cabinet. Measure the depth and width of the cabinet for the shelf itself. If you'd like to add a front panel (also called a "lip") to the front of the shelf so you can store papers upright, note how high you need. (Taller lips are generally better here to keep your paperwork tidy.)
Next, pick the wood. Shelf boards are a popular choice because they are already cut to common shelf sizes. You might get a better bang for your buck with plywood and MDF; just keep in mind that you'll need to cut them to the right size. Don't forget your shelf supports: a few 1x2 boards are perfect. The exact amount you'll need will vary on how many shelves you're adding and the cupboard's dimensions, but plan on installing at least two supports per shelf.
Cut the shelves, shelf supports (cut these a ½ inch shorter than the shelves), and front lips to size. Then sand and, if adding the lip, glue it in place, clamp until dry, then nail to secure. Apply an acrylic or other wood-friendly paint. While everything dries, use a stud finder, level, and pencil to map where to install the shelves. While paperwork isn't typically heavy, installing into the stud adds extra hold. If you can't find one (or it's in the wrong place), drywall anchors like E-Z Ancor Twist-N-Lock 50 lbs. Drywall Anchors can help. Then slide your shelves into place and nail them into the supports below.
No-build ways to create your own paperwork storage cupboard

If you're renting or want to take this organization method for a trial run before installing shelves, good news: all you need is a few paper organizers to easily keep your paper clutter organized. Magazine holders, like Simple Houseware 6-Pack Magazine File Holder Box, are a popular choice because, thanks to their structure, they're neat by nature, and they're big enough to tackle whatever your household (or mailbox) throws at you. Plus, you can label the sides to easily find what you need.
File or letter organizers, such as the Kuntine.B Desk File Organizer, are also a popular choice and often come in a variety of sizes, so it's easy to find one that fits your cabinet. However, due to their open sides, they can get messier easier, so we suggest positioning them on the shelf so the dividers face the wall instead of you. This way, it's easy to just slide the paper into the appropriate slot and find what you need fast.