Turn A Thrift Store Canister Into A Rustic DIY Watering Can
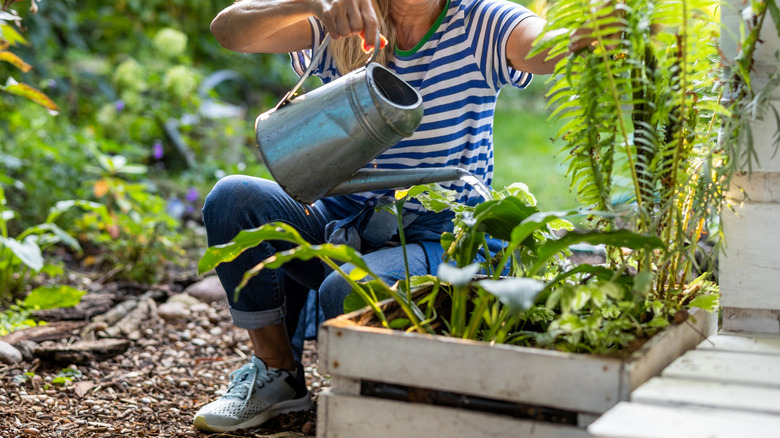
If you're in the market for a new watering can for the garden, and you love a vintage-inspired DIY, head to your local thrift store as soon as possible. Instead of splurging on a watering can, save money and add charm to your home by thrifting an old metal canister. You can turn it into a rustic DIY watering can in just a few easy steps.
Metal canisters make great watering cans because metal ones tend to have a longer lifespan than plastic ones. Any size canister will work, though you want to consider how heavy it will be when filled with water and how much ground you need to cover. This DIY is beginner-friendly and budget-friendly (hello, thrift-store prices). You can even make multiple watering cans to keep around the yard. Don't forget about your indoor potted plants, too.
For this project, we're scouting one of the valuable thrift store items you shouldn't overlook for your garden: an old metal canister. You'll also need a drawer or cabinet pull for the handle, and a drill with screws, nuts, and washers to attach it to the canister. Depending on the thickness of the canister, you might need a hammer to help shape the outer rim. Optional supplies include paint and a paintbrush, along with any other decorative accessories you'd like.
How to turn a thrift store canister into a DIY watering can
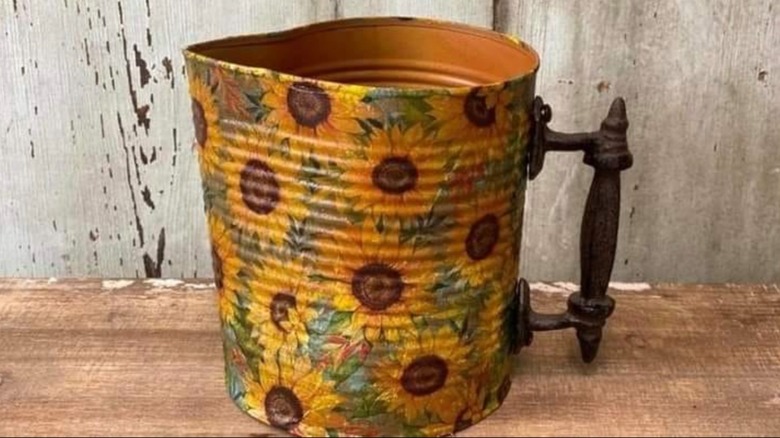
Once you have your thrifted open-top metal canister, give it a good wipe down with a damp cloth to remove any dust or dirt that may have accumulated during previous use or while sitting on the store shelf. If you want to paint or decoupage the outside of the canister, now is the time to do it. Allow all decorative material to dry completely before moving on to the next step.
Lay the canister on its side and hold the drawer pull against the canister where you want it to go, marking the screw holes with a pen. Put the drawer pull aside and drill a hole at each marking. Then screw the pull into the canister, securing it with the washer and nut on the inside. Now, lay the canister on its side again and shape the end opposite the handle into a spout. You might need to use a hammer to help shape it. You're going for a simple V-shape to help the water pour out in a concentrated stream.
Now that your water can is ready to go, make it last by rinsing it out with a light mix of soap and water every now and then. Standing water in the canister can cause rust or algae growth. Follow the number one rule for watering cans, no matter what kind you have, by keeping it dry between uses. You can do that by flipping it over and letting any residual water drain out.