How To Propagate Ivy Plants In Spring For An Endless Supply
We may receive a commission on purchases made from links.
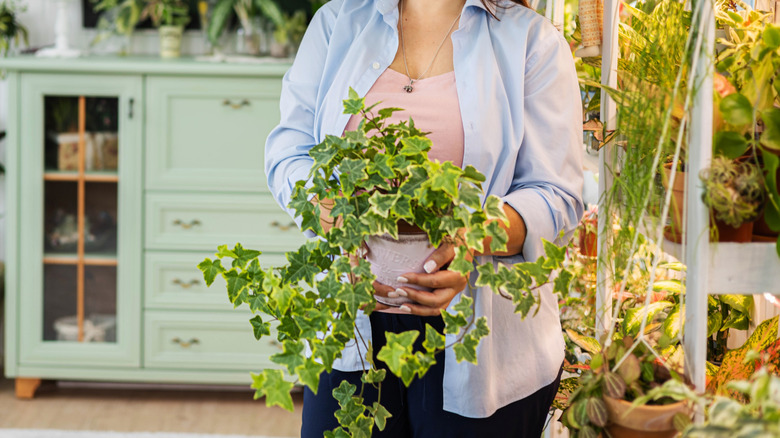
Its glossy evergreen leaves have made ivy (Hedera spp.) and its cultivars a popular planting choice. Some gardeners let the vines trail down beautiful planters placed indoors or out, while others tack them to their living walls for an artful bibliophilic design. But if you would like more ivy plants to deck your house (avoid growing them in garden soil because they're invasive), you can propagate them with stem cuttings and grow them for free. While propagation can take place any time of year with ivy plants, it's best to do so after a plant experiences a period of growth such as in spring. Once you've given these cuttings a start indoors in the spring months, you can bring them outside in pots when warmer weather ushers in an active summer growing season.
To acquire a "stem cutting," all you have to do is make a 4- to 5-inch-long cut on a healthy plant stem with a sharp, sterilized pair of scissors or clippers. Make sure the chosen stem has at least two nodes and plenty of leaves and the cut is made about ¼ inch under the node. Nodes are swollen sections on the stems from which new leaves emerge. These areas hold the potential to develop roots when given a suitable medium, which is why ivy plants are commonly cloned using cuttings. This way, you can rejuvenate an overgrown plant while simultaneously duplicating your favorite variety. Throughout the process, keep your gardening gloves on. Direct contact with ivy can irritate the skin.
Plant ivy cuttings in soilless potting mixes
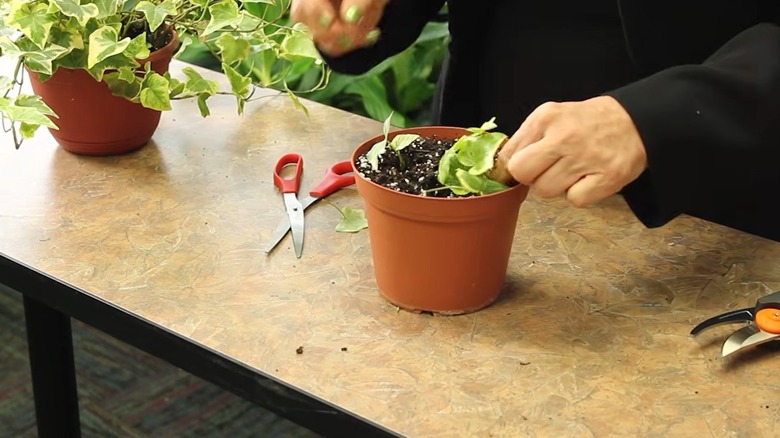
After you've successfully taken several stem cuttings, pinch off the leaves from the lower section. This ensures that they don't rot after touching the moist planting medium. Fill up a 4-inch pot or a spare seedling domed tray with 1 inch of a soilless medium. Consider propagating your plants in sand, as it's loose and airy enough to offer excellent air circulation and drainage, though perlite-based houseplant mixes work just as well. Moisten the medium well, making sure the water runs out of the drainage hole.
Next, get a hold of a rooting hormone, like the Bonide Bontone II Rooting Powder on Amazon. Even though most cuttings can develop roots without additional help, a rooting hormone improves the likelihood of successful rooting. Following the label instructions, coat the cutting's bottom with the powder and tap it afterwards to get rid of any excess. Place the cutting in the pot, ensuring at least one node is in the medium, and firm it. Move it to a bright, indirectly-lit spot, like a north- or east-facing window. Ensure the medium remains moist throughout until you see new growth, which can take about six to eight weeks from the time of planting.
Also, cover the pot in a plastic bag or cheesecloth to minimize transpiration and maintain adequate humidity around the cuttings. Ensure the bag doesn't touch the foliage. Do this for at least a week until the cuttings toughen up. Eventually, as the roots start to edge out of the drainage hole, you may move it into a pot one size larger than the one it's in.
Grow ivy cuttings in water
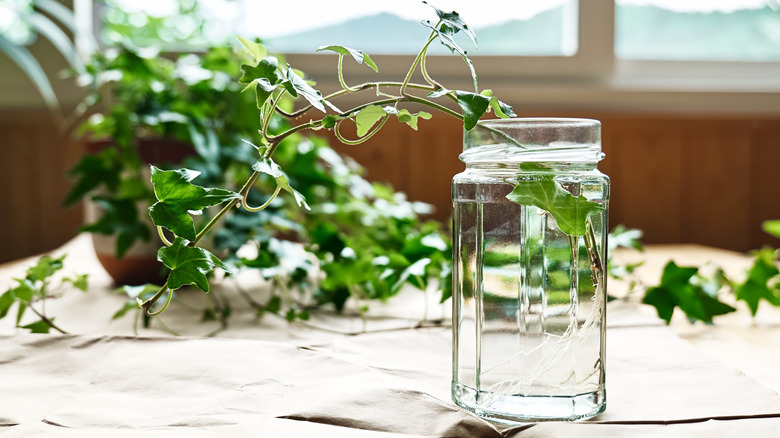
Ivy is one of those houseplants you can propagate or grow in water, albeit not indefinitely. Since waiting nearly two months for the cuttings to grow out can feel unexciting, especially when you have no way to track the progress, many homeowners like to propagate ivy cuttings in water. To make it even more visually appealing, some even make use of propagation stations, like this one from Renmxj. This also dispenses with the need for any rooting hormone.
As for the process, after removing the leaves from its bottom half to prevent submergence, move the cutting into a jar filled with about 3 inches of water. Replace water weekly or sooner if it appears murky to replenish the nutrients and discourage rot. Set the pot away from direct sunlight to avoid algal formation.
Be mindful of one downside: water-propagated ivy cuttings do not develop "root hairs." Instead they develop water roots, which are incapable of absorbing water from potting soil to which the cuttings must ultimately be moved for vigor. So, after the roots grow about 2 inches long, move the cuttings into a plastic bag containing pre-moistened soilless planting mix and perlite in a 1:2 ratio. Keep them bagged until root hairs develop. Open the bag incrementally for longer durations to acclimate the cuttings until ready to transplant in a well-draining potting soil.