Turn An Old Chocolates Box Into A DIY Storage Solution That Looks So Chic
We may receive a commission on purchases made from links.
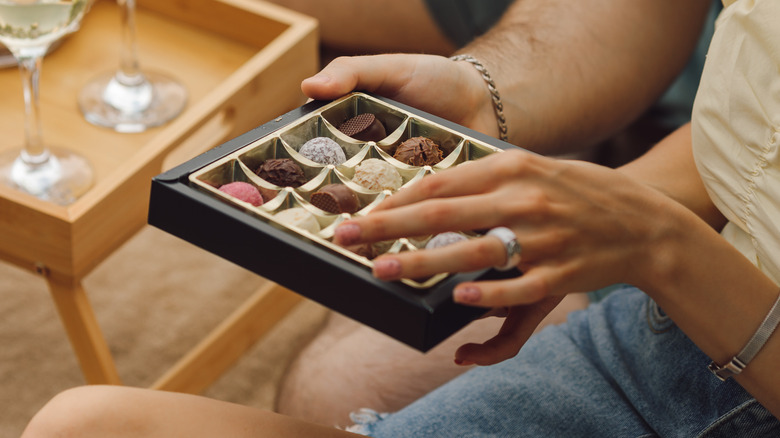
Fancy packaging does so much more than protect a box of chocolates. Done right, it conveys luxury and chicness without a word being spoken. That's why, for example, it's nearly impossible to resist those foil-wrapped gourmet chocolates in their diamond-patterned plastic packages. The see-through designer box and the wrapped chocolate inside convince us that whatever's under the foil is sure to be delicious. And, as Instagrammer @modern.cave discovered, it's also why this style of rigid candy box is such a good candidate for repurposing. With extravagance already built into its construction, the box just needs a few additions to make it one of your home's more stunning DIY storage solutions.
Not all rigid candy boxes are made of see-through clear, hard plastic. However, it's this material, coupled with the box's embossed exterior texture, that evokes the appearance of fine crystal, so look for that type of container for this piece. The Ferrero Rocher brand embraces this type of packaging material. However, any chic plastic box would work for this DIY as long as it boasts a luxurious design.
The bling you add to the repurposed plastic container further augments its opulence. Items like OctinPris Clear Crystal Glass Door Knobs, rhinestone tape, and PETKNOWS Gold Metal O Rings lend themselves to this purpose. You'll also need a glue gun, white cotton gloves, and some clear, plastic packing tape to finish this DIY.
Preparing the container for the build
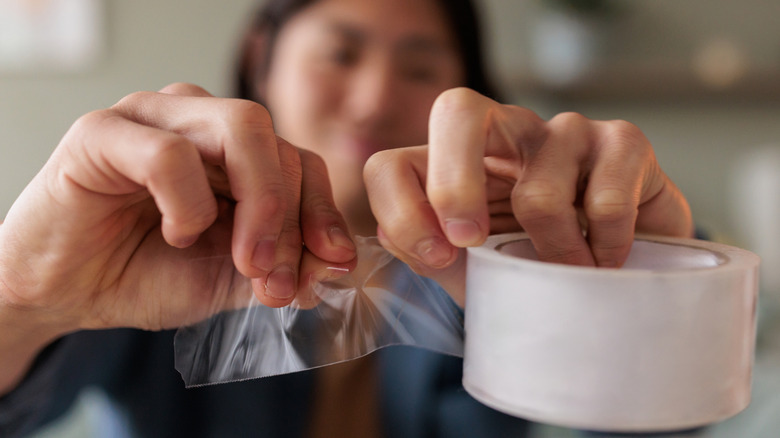
If the box still has the designer label on it, remove it by placing some clear, plastic packing tape over the brand sticker. Rub on the back of the tape to ensure that it sticks to the label. Pull the adhesive off the box; it should take some of the label with it. Repeat the steps if necessary. Or try soaking a cotton ball with rubbing alcohol and scrubbing the label with that. Careful not to scratch the box in the process.
Additionally, a chocolate box is going to smell like chocolate long after the candy has been eaten. It may also still have some of the oily residue from the sweet treats that once lived inside it. Those should be washed out. However, you should take steps to guarantee that the dishwasher won't warp the fancy container, due to the effects of the extreme hot water or the machine's dry cycle on the box.
If you're feeling confident, you can try the dishwasher. Just place the candy box on the machine's top rack and run the appliance at a low-temperature setting. Forgo the dry cycle afterward. Or if you'd rather play it safe, hand-wash the candy box with a mild, grease-cutting soap, a sponge, and warm water, and allow it to air-dry before moving on to the next steps. Lastly, washing the box should also get rid of the final remnants of the label if your other treatments haven't worked thus far.
Dressing up the repurposed candy box
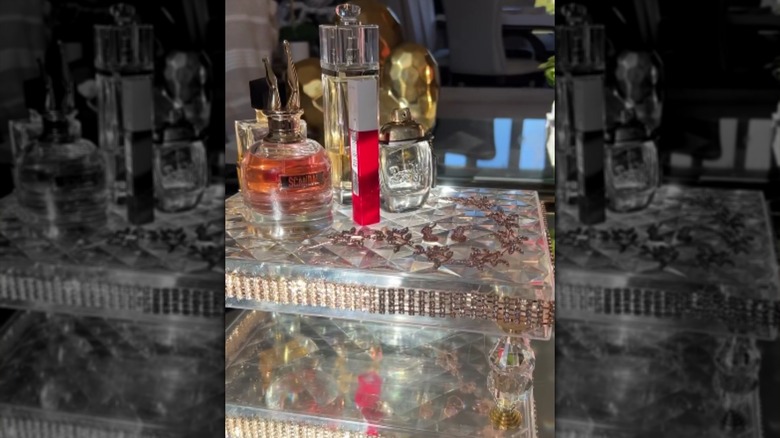
Four fancy drawer pulls glued to each corner of the box with a glue gun give the piece legs to stand on. Crystal knobs fit the design of the box, though if there are cabinet pulls that you like better, such as the Rergy 4 Pack Gold Cabinet Knobs, use those instead. Such an addition gives more texture to the box's design, while introducing another luxury element (gold, in this case), to the piece.
Lining the exterior of the container with some rhinestone ribbon and gluing a couple of the craft O-rings onto each end of the box enhances the design further. If you plan on saying good-bye to jewelry clutter with this beautiful box, consider cutting a piece of black FANCYEASY Self Adhesive Velvet Drawer Liner to fit its bottom. This addition reinforces the storage bin's luxe vibe. There's no need to peel off the back of the adhesive. If it's cut to fit the bottom of the box, it should remain in place, and forgoing the glue lets you remove the liner later should you need the container for other purposes.
Finally, just a bit of housekeeping: Your fingerprints may leave traces on the candy box's surface. In light of that, you may want to wear a pair of white cotton gloves while working on the DIY. The gloves ensure that chicness, not fingerprints, shines through the final product.