Upcycle Baby Formula Cans Into A Kitchen Countertop Storage Solution
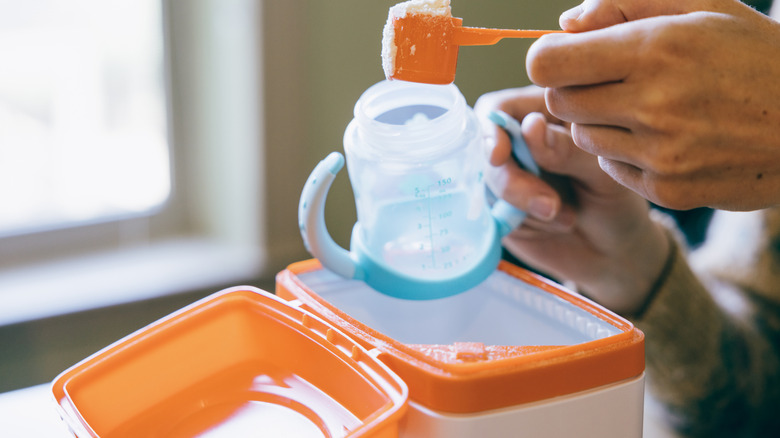
Kitchen countertops can easily get overcrowded with all the things we use throughout the day. Whether it's hauling out the flour and sugar bags to make cookies or your favorite coffee pods that never seem to stay in one place. If you want to keep kitchen counters clutter-free without spending a ton of money on fancy organizers, try upcycling something you might already have on hand. Hint: we're side-eyeing those baby formula cans that have been stacking up.
Before you toss them all into the recycle bin, save a few for a cute kitchen countertop storage hack that keeps everyday essentials tidy. What once held baby formula powder can now store flour, sugar, or other baking ingredients. They can be used to corral all the little things that seem to wander around the kitchen counters and look cute while doing it. This DIY is simple enough for beginners and quick enough for those who are DIYing during their kiddo's nap time.
Along with an empty baby formula canister, you'll need self-adhesive craft paper, scissors, and a crafting paint pen. You can choose any color or pattern of craft paper, just make sure that the color of the paint pen you choose can be seen when writing on your paper of choice. Optionally, you can use chalkboard label stickers to add to the upcycled canisters.
How to turn baby formula cans into cute storage solutions
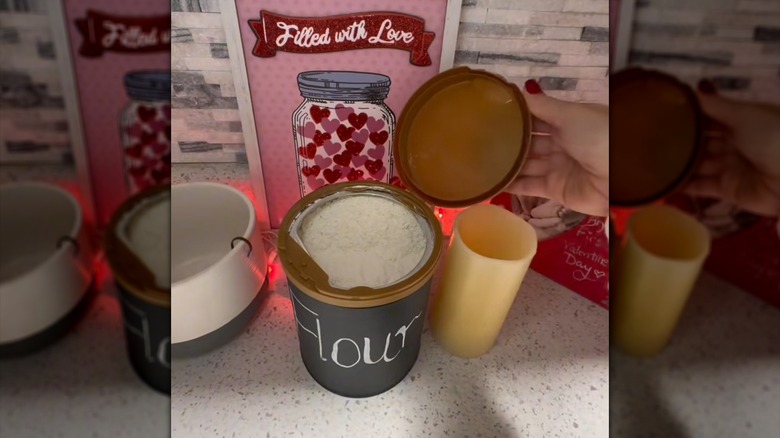
Let's get a jump on keeping kitchen countertop clutter neat and organized with our handy-dandy formula cans. Begin by cleaning out the canister so there isn't any residual formula left inside, then completely dry the canister and lid. Measure enough self-adhesive to wrap all the way around the canister and cut it to size. Peel off a small portion of the paper and begin to adhere it to the canister. Slowly peel the whole paper away from its backing as you smooth the adhesive side to the surface of the container. If needed, trim off any excess craft paper. Label the canister with your paint pen by simply writing a single word across the front, indicating what's inside. Alternatively, add a chalkboard sticker to the front and use chalk to label it so you can easily change it for various uses.
Optionally, you can paint the lid of the container to match or complement the craft paper body. If you want to paint the lid, do that step first, in case you get paint on the body of the container. That way the craft paper will cover it up and you won't accidentally stain the paper. If you don't have self-adhesive paper, use an adhesive spray glue to attach any printed craft paper to the container. You can also use things like washi tape and printed duct tape to decorate the container for even more personalization.