Don't Throw Away An Old Muffin Tin: Use It For DIY Spring Decor
We may receive a commission on purchases made from links.
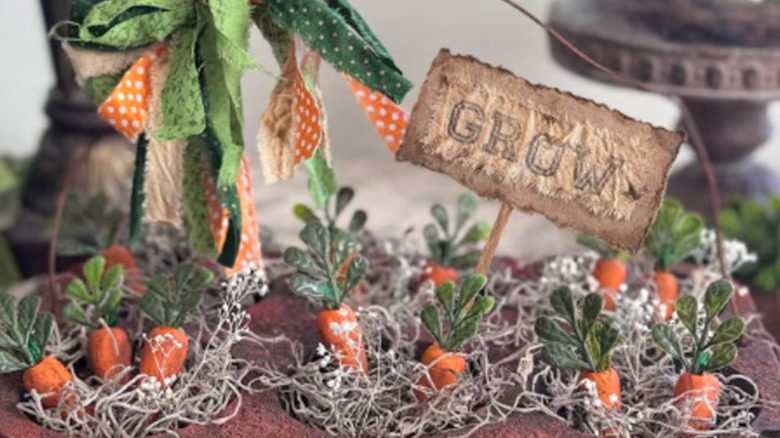
Not all spring decor includes brilliant bouquets bursting with flowers of every shade. Some are quiet and cute and take up no more space than a repurposed muffin tin. Of course, a single baking pan on its own doesn't make a seasonal decoration: It requires some dressing. Enter some dollhouse-sized carrots, fluffs of soft Spanish moss and other flora, twisty bows, 16-gauge wire, and a beat-up sign adorned with the imperative "Grow!" to encourage those mini root veggies to thrive where they're planted. And where they're planted is in the depths of their fairy garden-sized muffin tin. It's an affordable garden-inspired centerpiece originally created by YouTuber Manda Panda Projects that's sure to garner "Ooohs!" and "Ahhhs!" from miniature lovers and might even attract a carrot-lovin' bunny or two.
You'll need a Prima Marketing INC Rust Paste Set to age the muffin tin. The rust paste set has three colors. You'll use two of them — brown and orange — plus a stiff paint brush to distress the tin. Once it's antiqued-up, the moss, carrots, and other items rest inside it.
As for the carrots, buy miniatures like 1shopforyou 20-Piece Loose Carrots Decorative Set. Spanish moss, tiny flowers, such as baby's breath, and snips of eensy weensy tufts of silk greenery give the carrot garden texture. You'll additionally need some pumpkin-colored chalk paint, Kilz Dark Wax, scrap fabric, a hot glue gun, wire, scissors, and a utility knife to make your garden thrive. Finally, you might also need a nail punch and hammer.
Making the muffin tin into a garden
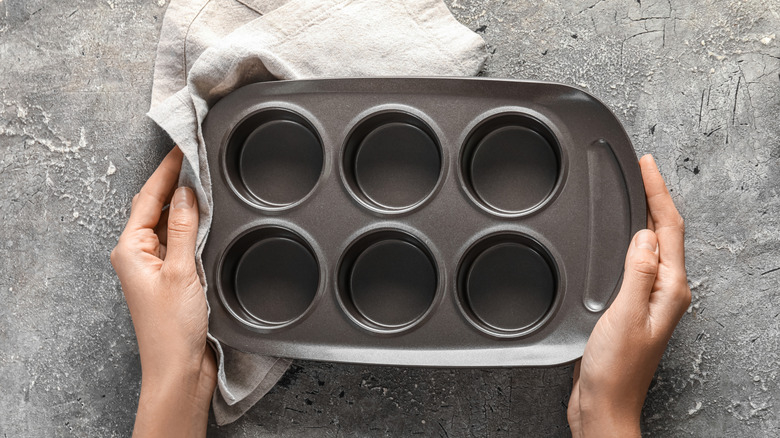
Look for a cupcake pan with six wells for this craft project. That size gives you enough space in each muffin well to create a proper carrot garden. It's even better if both of the shorter ends of the repurposed muffin tin have a hole punched in them. If the tin has none, use a piece from a kit like the Crescent Steel Nail Punch Set to drive a hole into the middle of the two short sides. You may have to turn it over and drive the nail borer in through the backside of the tin rather than the front. This prevents you from bending the ends of the baking tool in the process.
@mandapandaprojects Don't throw out your old muffin tins! Make this instead! Rust it up with some rust paste and turn it into a cute carrot patch for spring🧡 #springcrafts #springdiy #springdecor
Once that's done, stipple the brown and orange rust paint onto the tin with a semi-stiff brush. The rust paste should cover the whole tin, front and back. Once it dries, put a dollop of hot glue in the bottom of each well and place tufts of the Spanish moss on top of that. Make a handle for the tin out of wire and run the ends of it through the two holes you punched.
To give the moss some springtime flare, cut tufts of tiny flowers to plant in its depths. Baby's breath works, though blossoms like ammi, genista, or oregano look lovely, too. Look for dried or silk versions of those. Glue the florals into the moss to keep them from falling out.
Creating the springtime carrot garden
The root veggies in this should look slightly grungy, just as carrots pulled fresh from the dirt would. A good brushing with the dark wax gives them that look. Depending on the type of fun-sized carrots you've purchased for this DIY rustic centerpiece, you may need to glue some frills of silk greenery on the tops of the veggies to make them more decorative.
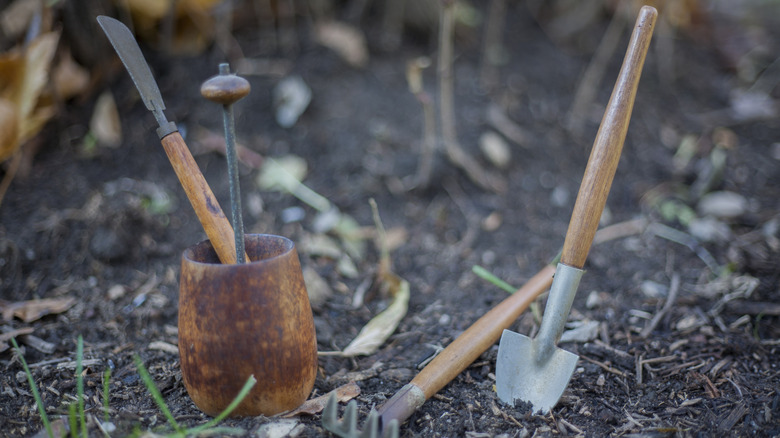
On a related note, since this is a spring craft and could be something that you use for holidays like Easter, it'd be fun to plant additional items like Zornaveli Mini Easter Foam Eggs into the depths of the moss. If you're going with the fairy garden aesthetic, and you're interested in creating a personal touch, try making some tiny rakes and garden shovels for it by hand. You can also use items like Cayway Miniature Garden Tools to add such a detail.
Lastly, decorate the wire handle with a bow and a sign you craft by hand. Tap a Bowdabra Bow Maker Kit if you need help making a bow. Using up paper and fabric from your scrap pile for this. To give the scraps a shabbier look, tear them apart by hand and brush some brown wax on their edges. Once the centerpiece is done, set it on your spring table on something like a rustic burlap placemat to complete the look.