Save Scrap Wood To Create A Clever Way To Organize Eggs
What we often call scrap wood is rarely actually worthless. There are dozens of ways to reuse it around the home and yard, with no end of scrap wood projects that turn cluttered kitchen countertops into organized spaces. A clever way to organize eggs is just one of them. A countertop egg stand is relatively easy to make, and it looks super stylish either stained or painted to match your decor.
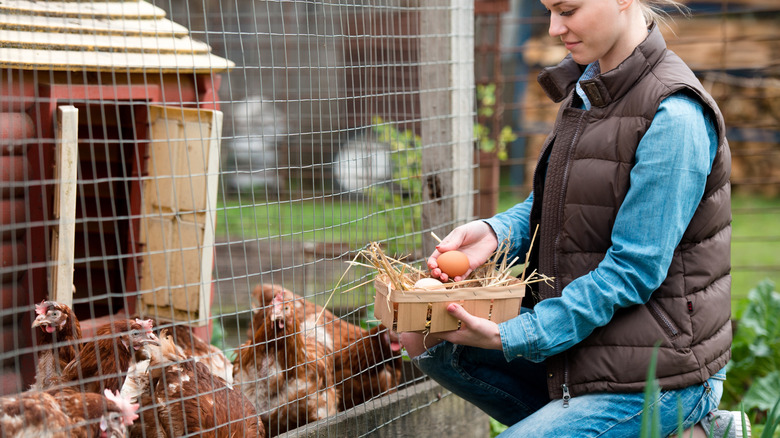
One health note before we start: If you have your own chickens or you buy farm-fresh eggs, it's okay to leave the unwashed, fresh eggs out on a countertop. If you choose store-bought eggs (or wash your fresh eggs), the US Food & Drug Administration (FDA) recommends to always keep them refrigerated. The version of the egg tray that we're building today holds 36 eggs in three layers. If you buy store-bought eggs, you may want to make one that's smaller, so it can go in your fridge.
A pallet is a convenient source of material (as long as it's not chemically treated with methyl bromide and labeled "MB" or is otherwise contaminated or chemically treated), though any scrap of a similar size is just fine. You'll need a cordless drill/driver and a circular saw. These are the top two must-have power tools for first-time homeowners and are a tremendously versatile investment. A small router is useful but not entirely necessary. You'll also want a speed square, a few clamps, 120-grit sandpaper, good-quality wood glue, and some nails or screws. Finally, you'll need either a hole saw or a Forstner bit of about 1-½ inch in diameter. A spade bit would work, but it will produce quite a rough hole.
Making the egg tray from scrap wood
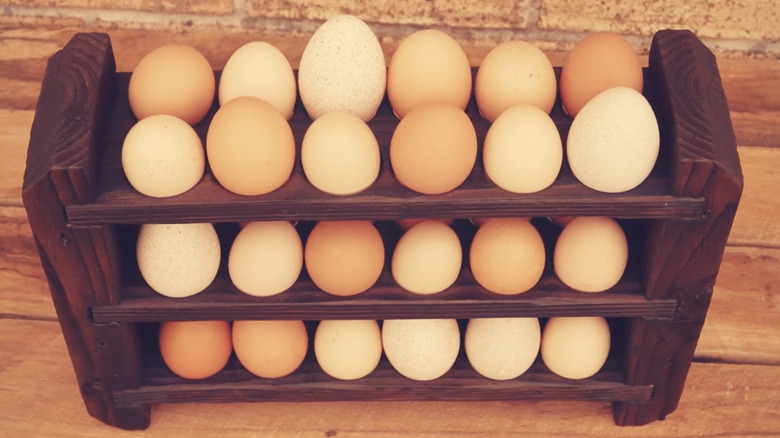
Over on YouTube, Nikita Maree goes through the whole process of building the three-tier egg stand. First, she takes apart a pallet to salvage the wood and save the nails. It's a good idea to wear work gloves to guard against splinters. Once you have the boards (or similar-sized scrap wood), carefully mark out for the egg holes and drill them. Holes that are approximately 1¼ to 1½ inches in diameter work well. Leave about ½ inch of space between each hole. Then, trim each 'tray' to about 1½ inches longer at each end. Use a router to round over the hole edges, or sand them to remove any roughness.
The ends are made from one of the pallet stringers (large supports) or another similarly sized piece of scrap wood. Cut them to the height you like and trim a 45-degree bevel on each end. Then, set the depth of the circular saw to half the thickness of the stringer, clamp it securely, then mark out and cut three equally spaced grooves the same size as the thickness of the trays you made. Lightly sand all the edges to remove any splinters.
Nikita colors the wood using a blowtorch. A much safer option is to stain or paint the egg rack when it's finished, using a product that's food-safe. She also nails the trays into place, which might split them. Using wood glue and driving a couple of screws through the ends is stronger. Drill pilot holes first to make this easier and to prevent splitting. This scrap wood egg rack is just one of a number of small wood pallet projects for your home and garden. They are budget-friendly, useful, attractive, and very satisfying to make.