Turn A Few Pieces Of Wood Into A Built-In Cabinet Solution For Pot Lid Storage
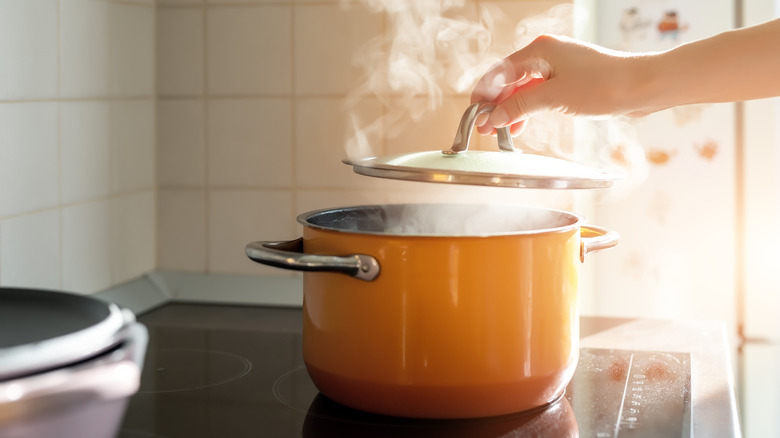
Although pot lids are necessary for trapping heat inside a dish or getting a sauce to boil faster, they're notoriously difficult to store. Their handles make them hard to stack, and you might even lose track of which lid goes with which dish. There are multiple ways to organize your pots and pans for a clutter-free kitchen, but one of the best solutions for stray lids is a built-in cabinet. Not only will it keep them off the counters or from disappearing behind baking dishes, but it will also put them on display, making it easier to find the proper lid when you need it. If you have scrap wood left over from a previous project, this is one of the ways you can repurpose it into a handy storage organizer for your home.
This project should only take an afternoon to complete, but it does require carpentry tools. To cut your boards to fit the cabinet, you can use a circular saw, a table saw, or even a hand saw. Because the built-in will be screwed on the inside of the cabinet, you don't need to worry too much about matching colors. However, you can still treat the wood with a polyurethane or oil-based stain for aesthetic purposes. You'll also need a power drill, a pack of screws, a measuring tape, CA glue, a level, and 180-grit sandpaper to smooth down your built-in.
The steps to building a sturdy pot lid holder
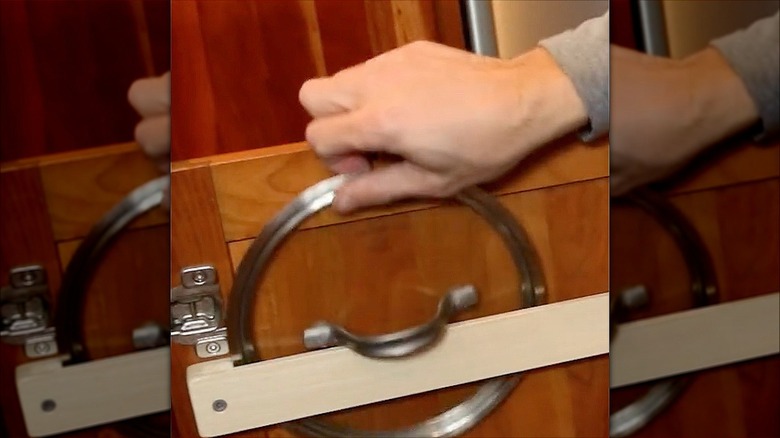
To get started, measure the width of your cabinet door, and mark the same length on your wooden beam. Cut with your saw of choice. You can use a 1-inch x 2-inch x 8-foot furring strip from Lowe's, or scrap wood you've held onto from your last DIY. Next, cut two small squares (approximately 2 inches in depth) from an additional piece of wood. They'll work to raise the main strip, allowing half of your pot lids to slip through, but catch on the handle. If you're using that 1-in x 2-in x 8-ft strip, you'll need to glue two squares on top of one another. If the handle slips through as well as the lid, you'll need to adjust the thickness of your squares.
After this, sand the poplar strip and the squares to avoid splinters, and follow the helpful tips DIY-ers will want to know before applying your stain. Not only will stain give the wood a professional shine, but it can also protect it from water damage. Now, glue a block in place on either end of the wooden strip.
For the final stages, drill a pilot hole through each end of the rack. Then place the rack on the inside of your cabinet door, using a level to make sure it's straight, and screw it into place.
Other places and ways to hang your pot lid rack
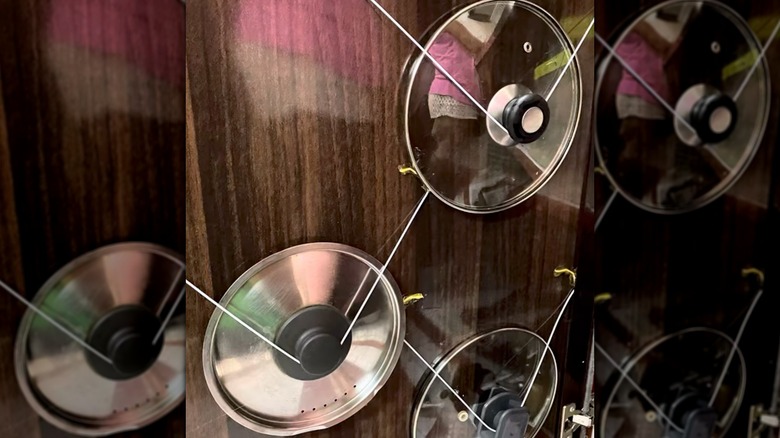
If you've used another budget-friendly DIY to attach a spice rack to the inside of your cabinet, or they're simply too small for large lids, you can always use this hack in other parts of your kitchen. For instance, you can even attach it to a wall near your stovetop for easy access. Add space for more lids by sloping the wooden strips at a slight, downward angle descending outward — this, however, will require a more advanced carpentry knowledge as well as a few more tools. If you're planning to hang your rack on the kitchen wall, you'll want to decorate it to match the room's aesthetic — think about adding a pop of color with paint, or even gluing down mosaic tiles to elevate the look. Whatever you decide, just make sure you're using waterproof materials.
Instead of spare wood, you can try the same hack with thick wire, or even repurpose an old towel rod if it's the right size for your cabinet. Afterward, if you're looking for ways to store the pots themselves now that the lids are taken care of, try hanging them from a similarly-made wooden rack. This time, however, you'll need to screw in zinc hooks after you drill pilot holes. This is also a handy trick for hanging cooking tools like spatulas, spoons, ladles, and pot-holders.