How To Give Sliding Glass Doors A Modern Upgrade (It's Not The Blinds)
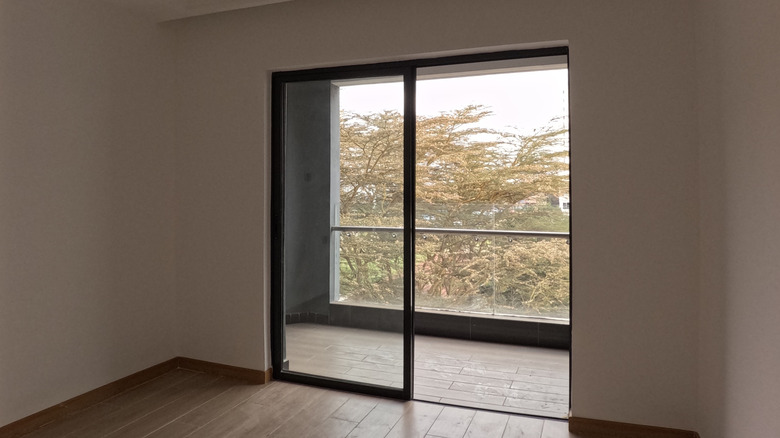
Sliding doors welcome in plenty of natural light, making them a popular feature in the home. Although they can be quite functional, they may not always be attractive. While it can be easy to point fingers at drapes or particularly cheap blinds, the real culprit could be in the style of the door and its framing — or lack thereof. One of the downsides of sliding glass doors that no one talks about is that, without trim, they could appear unfinished. In some builds, sliding glass doors don't have a frame installed around them, or the trim they already have is falling apart. However, on top of other affordable DIYs that transform your sliding doors into works of art, you can use wood or trim pieces to create a gorgeous window casing that adds more visual dimension to this space.
Changing up the window trim can bring your sliding doors out of the '80s. While this DIY may require a bit of handiness, it's possible to achieve on a budget, with some homeowners managing it for under $100. By using wood trim like 1x2s, 1x3s, 1x4s, or 1x6s, you could create a crafted trim around your sliding doors. Alternatively, you could use decorative trim if creating your own crafted piece feels daunting. Other materials you may need for this project also include a nail gun, wood filler, caulk, sandpaper, wood saws, and paint.
Frame your sliding glass door with trim
Depending on the scale and design of your project, your crafted trim needs could vary. In general, you'll likely want to stick to wood trim pieces with a one-inch width. To pull off the project, start by removing any existing trim or baseboards where your new trim will be installed. You may also want to paint your trim pieces before you begin cutting and assembling. If your trim comes in white and that's enough for your needs, you could skip this step — although, there are plenty of other stunning trim colors to use that aren't a tired white.
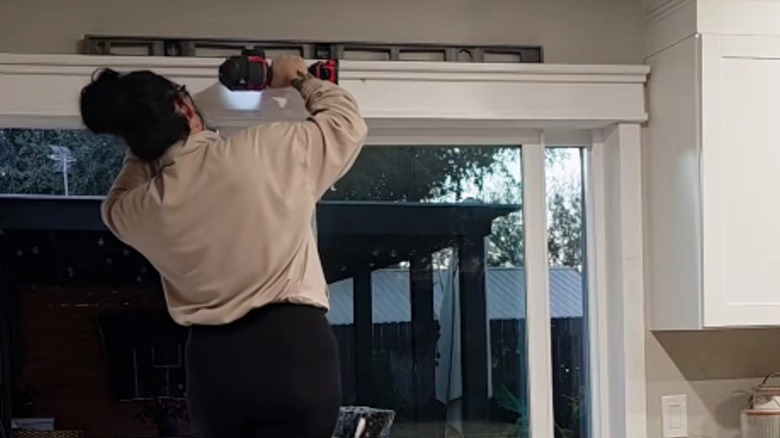
Next, if you have gaps in the sliding door frame between the door and wall, you'll want to cover that area with trim before you begin framing the doors. Then, start cutting and assembling your boards for your frame. For example, you could have a 1x6 base and use a nail gun to attach 1x2s on the slim sides of the board. Then, nail a 1x4 on top of one of the 1x2s to create a gradual stair-step look. Use a level and drill to attach the header board above your sliding doors before attaching your side pieces. 1x4s or 1x6s can be perfect pieces for framing the sides of your sliding door.
Other considerations when adding trim around your sliding doors
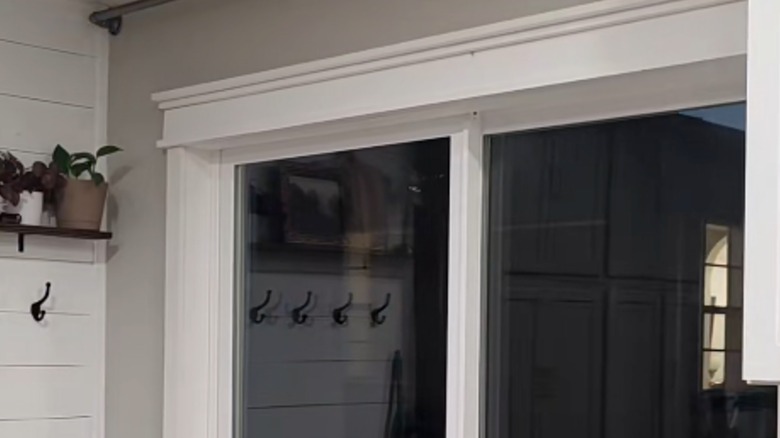
This DIY is versatile and can be achieved in a few different ways. First, if you want added security, you could use glue to attach the boards to the wall before securing it completely with the nail gun. You could also opt for installing the side pieces of the frame prior to the header board. Additionally, you could use a decorative trim with a ribbed or beveled edge instead of a plain 1x2 on the header to invite more texture to the top piece of your frame. You might also choose to forgo the 1x4 for the stair-step appearance and try a simpler approach instead, like attaching only the 1x2s to the 1x6 main header board for a minimal look.
Also, for those with sliding doors that are exceptionally long, there may be a couple of additional steps. If your hardware store has a limit on trim length, you might have to install two separate boards to create an extended header. For this, you may need to use a shim piece to better connect your header boards and keep everything flush and level. It's also important to note that you don't have to paint the boards prior to installation. It might have a more professional look if you sand, caulk, and add wood filler before painting, instead.