Don't Pay An Outrageous Amount For Clear Nursery Pots - DIY Your Own With Dollar Tree Cups
We may receive a commission on purchases made from links.
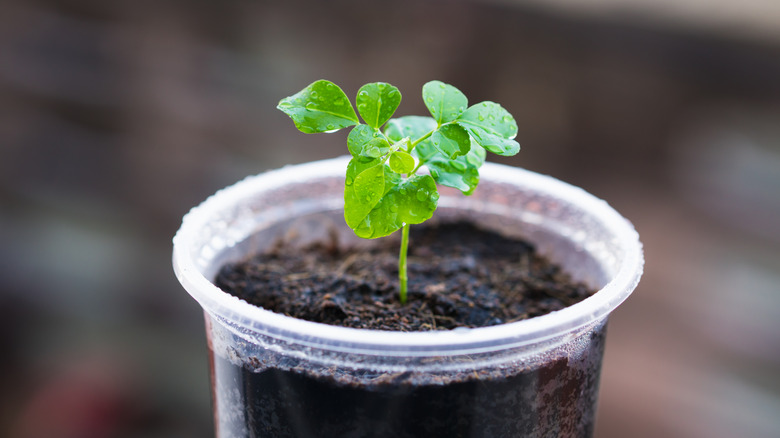
Clear nursery pots are a gardening necessity. These versatile pots can be used on their own or tucked inside decorative planters, and can be placed indoors or outdoors (though they won't protect perennials' roots in winter). While nursery pots come in tons of sizes and materials, the clear kind is especially helpful to monitor pest infestations, soil condition, moisture levels, and root health. But if you're an avid houseplant collector, you probably go through a lot of nursery pots. Instead of continually buying more, you can opt for affordable clear Dollar Tree plastic cups instead.
To transform basic Dollar Tree plastic cups into nursery pots, you can't just fill a cup with soil and call it a day. The key feature of a nursery pot is its drainage holes, which help prevent a type of potentially deadly plant disease called root rot. To avoid waterlogged soil, you'll need to create little holes yourself at the bottom of the plastic cups, which can be done using a hot fork.
Dollar Tree offers a variety of clear plastic cup options, like this pack of 16 basic clear cups for $1.50. Other styles include colored translucent plastic cups or patterned heavy duty plastic cups. If you've already got any of these left over from a party or event, this DIY is a great way to garden on a budget instead of buying new clear nursery pots. To make the drainage holes, you'll need a fork, a heat-resistant glove to hold it, and an open flame to heat it up.
How to add drainage holes to a plastic cup with a fork
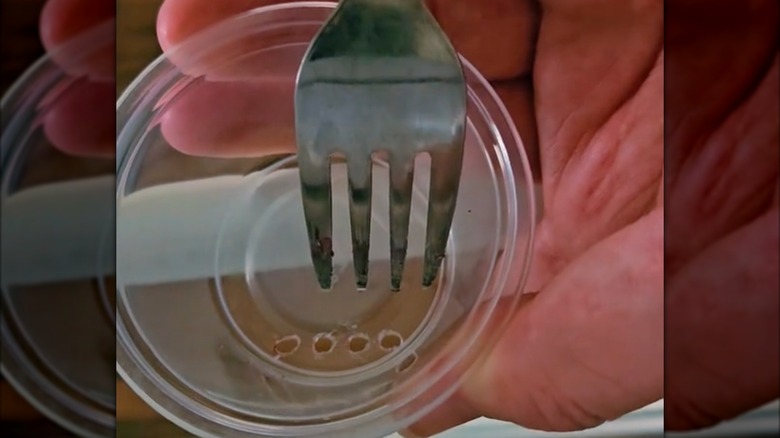
Handling hot metal requires some safety precautions. As you heat up the end of the fork to create the holes, its handle might become too hot to touch. To avoid burns, use heat-resistant gloves like these silicon BBQ gloves to handle the fork. Hold the prongs of the fork over an open flame, like a candle or a gas stove. After about 30 seconds, press the fork into the bottom of the plastic cup. The heat should allow it to pierce right through, but if it doesn't work, heat up the fork for another 30 seconds and try again.
Poking the cup between two to four times should provide enough drainage, though larger cups may need more holes. To make each hole a bit bigger, wiggle the hot fork after piercing. To test whether the holes are big enough, pour a bit of water into the empty cup and make sure it can effectively flowing through.
If you don't have a fork, you can use other kitchen staples to turn plastic cups into planter pots. For example, use a vegetable peeler to cut out the edges of the cup's base and create some drainage holes. You can also use the heat method with the tip of a sharp knife or a metal skewer. No matter what you use, be cautious to avoid injury. Don't hold the cup from the bottom, but instead by the sides, where the metal is less likely to accidentally hit your hand. Always do this outside or in a well-ventilated space to avoid inhaling melted plastic fumes.