Give Your Home The Mid-Century Modern Look With A DIY Slat Wood Storage Cabinet
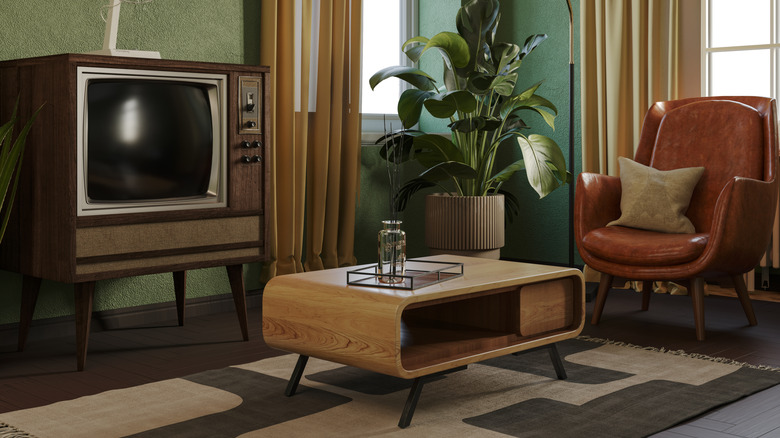
Few interior design styles have lasted as long as mid-century modern. It became popular in the 1940s and 1950s, and there are a number of these furniture ideas for your home that are as stylish today as they were back then. One key feature of mid-century modern is the combination of form and function, and over on YouTube, the DIY Huntress shows us how to create a classic DIY slat wood storage cabinet that epitomizes these principles.
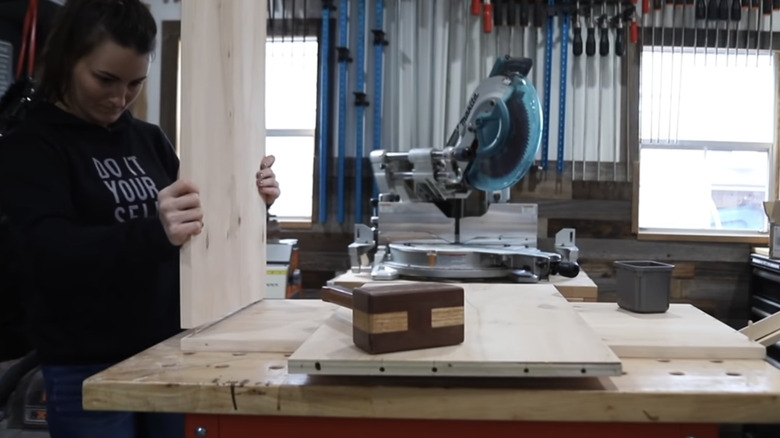
Before we start it's worth pointing out that although there's no complex joinery necessary, the process is quite involved. It's not really a woodworking project for beginners. DIY Huntress also has an extensive set of equipment. Those covered in our article on tools worth investing in to start woodworking at home will tackle many of the steps, but a number of extra additional devices are required. We'll talk about each one as we come to them.
The first tool we see that many home woodworkers won't own is a track saw. It is used to cut large plywood sheets into more manageable pieces. You can achieve the same with an ordinary circular saw and a long metal straight edge, as long as you measure carefully and clamp the straight edge securely. Wear a mask and eye protection whenever you're working with wood because sawdust can be really irritating. You can make the slat wood cabinet any size you like, but it's important to draw up plans before you start.
Building the carcass, stand, and doors for the DIY slat wood cabinet
The carcass is made from ¾-inch plywood. The edges are finished with iron-on edge banding, so it all looks like solid wood. This needs to be trimmed and sanded carefully. A power sander is too aggressive here, so use a sanding block. The four pieces for the carcass use dowel joinery and a special jig. This produces strong, hidden joints, but accurate marking out is vital so everything lines up. Check everything is square when clamping.
Measure the cabinet opening and cut two doors to suit. You can edge band again or use wood filler. If you do the latter, be very careful when sanding that you don't round over edges and corners, which will look unsightly. The cabinet stand mimics the metal legs often used on original pieces but is made from wood, then painted black. Pocket hole joinery, another strong but straightforward joining method, is used here. As with dowel joinery, there's lots of information available online if this is new to you. The stand is glued and screwed together (you need pocket hole screws for this rather than ordinary ones).
After masking one side of the doors, DIY Huntress also sprays these black, then lightly power sands the carcass and uses a different stain on that. You may want to check out our ultimate guide to mid-century modern decor before choosing the tone you want.
Attaching the slats to the doors, and completing the assembly
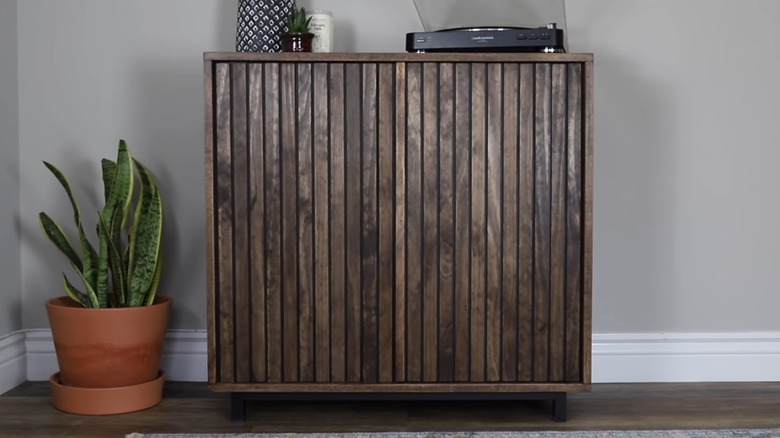
Work out the number of slats and the spacing you need for the doors, remembering to allow for one that overlaps in the middle to give you a handle. Doing it now prevents problems later. You may want to experiment with strips of card first. The slats should be stained before assembly. DIY Huntress uses contact adhesive to fix them. It can get messy and doesn't allow any wiggle room. Driving brad nails just below the surface, adding a dab of filler, sanding, and staining it is an alternative.
Another jig is used to drill holes for the adjustable shelving. Allow clearance for the doors when doing this. Cut and edge band the shelf. Make a recess in the rear of the cabinet for the ¼-inch plywood back using a router, then square off the corners with a chisel. Don't attach the back yet so you have full access to fit the hinges. You can screw on the stand at this stage.
Concealed hinges are used for the doors, and another special jig is used to drill the holes. Because the doors are inset into the cabinet, you'll need spacers to ensure both are level and meet properly. You'll also want to fit a thin molding on the inside of the cabinet to stop the doors folding inwards. Finally, nail the back into place, drop in the shelf, and position the finished piece where it can be admired.