There's Simply No Need For Drawer Liners — Here's A Cuter Alternative
We may receive a commission on purchases made from links.
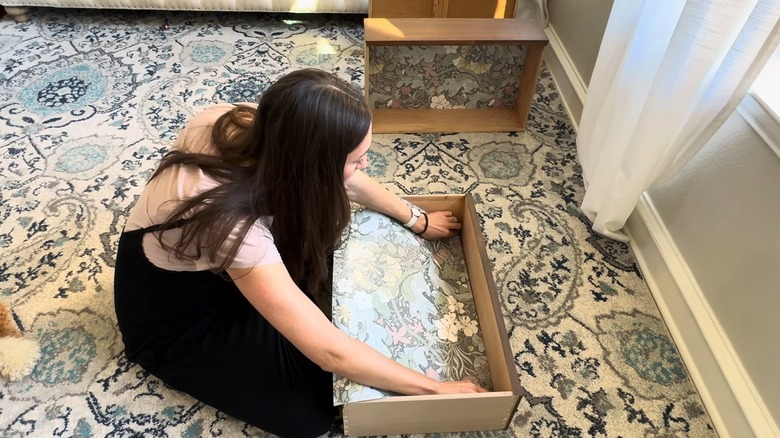
There are multiple reasons why you should be using shelf liners in your kitchen cabinets, bedroom and bathroom shelves, and closet drawers. But the most compelling one, perhaps, is that they make your storage units look good. Plus, they help hide all imperfections, from nicks and scratches to burn marks and unsightly spills. However, you don't need to keep buying rolls of drawer liners, especially if you're tired of limited designs. There's a cuter alternative that will make installation much easier and look better: enter peel-and-stick wallpapers.
Simply cut the wallpaper to size, peel off the backing, and apply it to the bottom of drawers, cabinets, or shelves. But if you'd rather not deal with another bulky roll, get individual sheets and trim them down to size. You can even use any leftover wallpaper from your previous home improvement projects. You'll just have to use double-sided tape or wallpaper paste to glue them down. And don't worry about all your drawers looking different from each other; as long as the basic theme is the same, you can probably weave in a story with different designs and make the liners work to your advantage. That being said, ensure the papers you pick are something you won't mind seeing day in and day out. Once you have that squared away, get a sharp rotary cutter or scissor, a measuring tape, a ruler, a pencil, an X-Acto knife, and a paddle scraper (although a small squeegee works, too) to DIY liners for your cabinets and drawers.
How to line drawers with peel-and-stick wallpaper
Before you start, take out your drawers (if possible) and vacuum them to get rid of lingering dirt, hair, and crumbs. Use a crevice tool to get into tight corners. Then, go over them with a damp microfiber cloth to prepare the ideal surface for adhering peel-and-stick wallpaper. Now, take your tape measure and calculate the depth as well as the width of your drawers. Be precise, or the cutting won't fit in neatly, and you'll have to spend time later trimming it down to size.
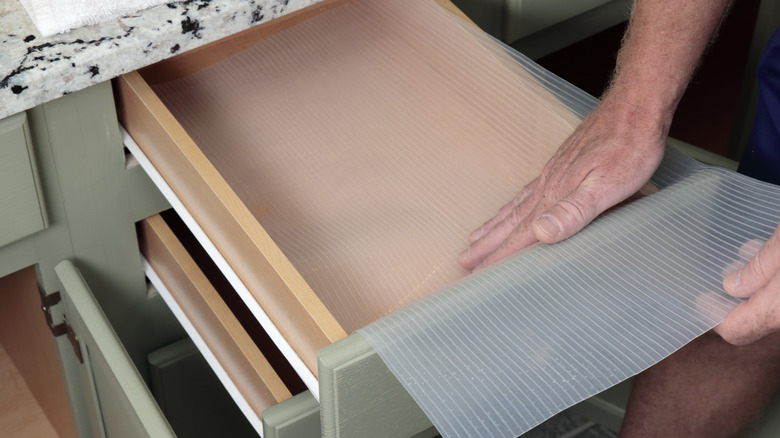
Once measured, mark the dimensions on the backing side of the wallpaper. This will help you stay on course. Next, use a rotary cutter, such as Fiskars 45mm Rotary Cutter, to cut out the required rectangular piece. Don't forget to place a self-healing mat underneath to protect your surfaces. You can use a scissor, too, if you have a steady hand and are sure you can get clean lines. Once you have the cut portion, conduct a dry run and slide it into your drawer to see how it fits. If you notice any major issues (like it being too big or small), fix them at this stage.
Once aligned, peel back about 1 inch of the backing and position it inside the drawer. Smooth out the liner and keep peeling back more as you go. Take your time and continue flattening the surface with your hand or a scraper to prevent bubbles. Finally, take your craft knife and trim off excess, if any. If the wallpaper feels too shiny or you'd like to preserve the design, give it a coat of matte Mod Podge.