Forget The One-Crate Storage Idea: The Next-Level Way To Organize Kids Shoes
We may receive a commission on purchases made from links.
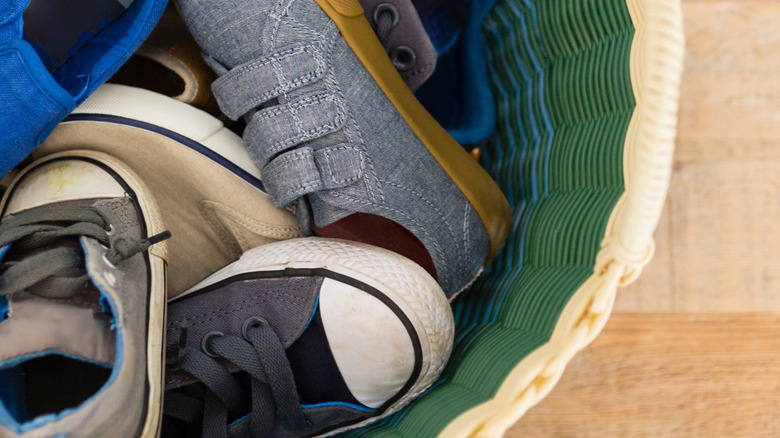
If you have kids in the home, you understand the value of organization and how challenging it can be to keep things tidy. The chaos of clutter can be overwhelming, and the only thing more frustrating than your child's 3,982-piece Lego set all over the floor are their shoes scattered across the living room. How kids' shoes end up in every corner of the home is one of the great wonders of the world. So if you need a creative DIY to keep shoe clutter organized at home, we've got an easy solution: Plastic crates.
But don't worry, we're not advocating that you toss all their shoes into one big crate because no one needs the headache of sorting through a basket of mixed shoes when you're trying to get kids out the door in the morning. Instead, we're using a series of mini crates and zip ties to build our own children-sized shoe organizer. This is a clever way to store shoes without a shoe cabinet because it gives you the same organization as having a designated space for each pair of shoes. You can even customize them so each child has their own crate that is accessible to them and can help them clean up and organize as a part of their daily routines. All you'll need for this project are plastic crates, zip ties, and a sturdy pair of scissors. Optionally, you can use spray paint to personalize the crates.
How to DIY a kids shoe storage solution with plastic crates
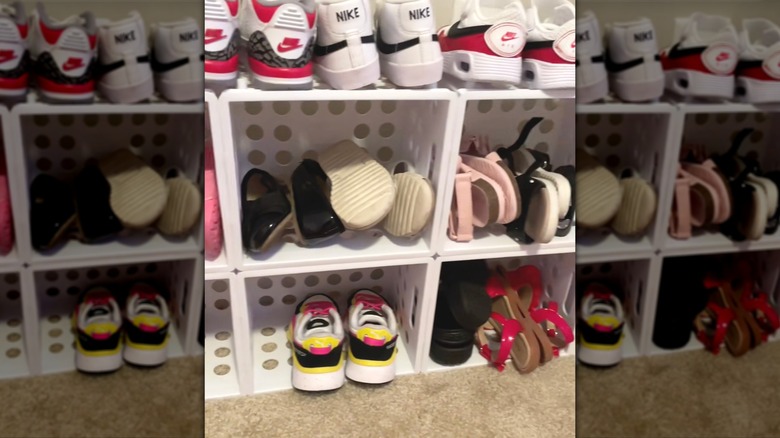
This DIY is a creative way to repurpose milk crates in and around your home, but if you don't have any old crates to use, these Sterilite Mini Crates will work well. We're working with nine crates for this project to make an equal three-crate by three-crate structure, but you can use as many crates as you need. When deciding how many crates to use, consider the amount of shoes you want to store and how much space you have available. Before constructing the shoe organizer, you can spray paint the crates any color you'd like. Paint them all the same color or use a different color for each child, maybe even getting them involved in the color selection process. Always spray paint in a well-ventilated area or outside, and be sure to let the paint fully dry before proceeding.
Once the crates are ready, lay all of them on their side with the opening facing outward. Line three crates up side by side and use two zip ties per crate to secure them together, placing one toward the back and one toward the front of the connecting sides. Repeat this three times to make three equal rows of crates. Then stack one row on top of the other and connect them with zip ties, again using two zip ties per crate and securing one toward the back and one toward the front. Repeat with the third row of crates to create three-crate by three-crate dimensions. Use scissors to remove any excess plastic from the zip ties.