Turn A Plastic Lid Into A Clever Kitchen Utensil Storage Solution
We may receive a commission on purchases made from links.
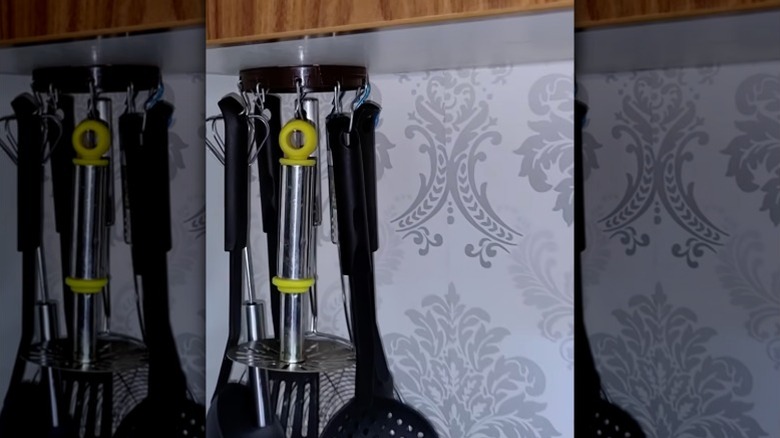
Cooking utensils are often challenging to store conveniently, especially in a small kitchen. Tabletop utensil holders sacrifice valuable counter space. Forks, knives, spatulas, serving spoons, and tongs clutter kitchen drawers, especially since they come in all different shapes and sizes. A bulky soup ladle might even lock a drawer shut from the inside. Fortunately, there are plenty of easy utensil organizing hacks that don't take up cabinet or counter space. For instance, hanging your utensils from the base of mounted cabinets is one way to solve this problem. You can buy all sorts of purpose-built hooks and racks online that will do the trick, but they can be pricey and often require screws. Instead, you can easily upcycle a screw-top plastic container lid into a clever utensil hanger.
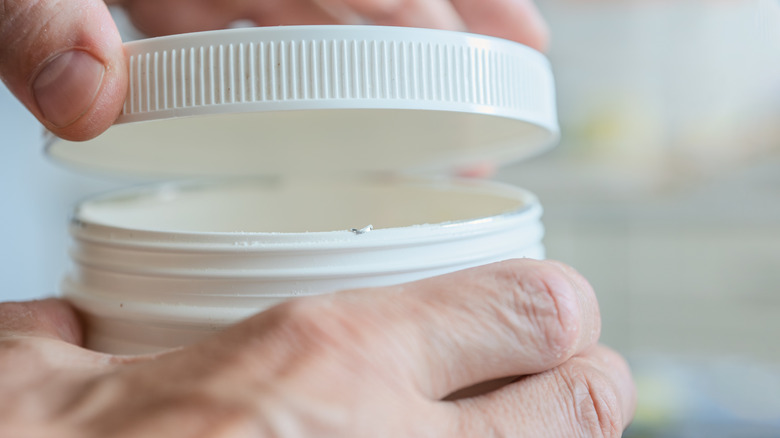
For this project, the first thing you need is a large, sturdy plastic lid. Make sure it has enough space around the rim to accommodate the cooking utensils you want to hang up. It can't, however, be wider than the underside of your cabinet. You'll also need some galvanized steel wire, wire cutters, and needle-nose pliers. Or, if you prefer a pre-made option, buy some Thinp Small Stainless Steel S-Hooks. You'll use a soldering iron or a strong hole-punching tool to make holes in the plastic lid that are slightly larger than the width of your wire. If you use a soldering iron, you'll also need a respirator with P100 filters to protect your lungs from the fumes. To affix the lid in place in your kitchen, you'll need a hot glue gun or some Command Large Indoor Replacement Strips, which will hold up to 5 pounds. A permanent marker and a Grevosea Flexible Ruler will make this project easier to complete, but they're not essential.
How to upcycle a lid into a hanging kitchen utensil storage solution
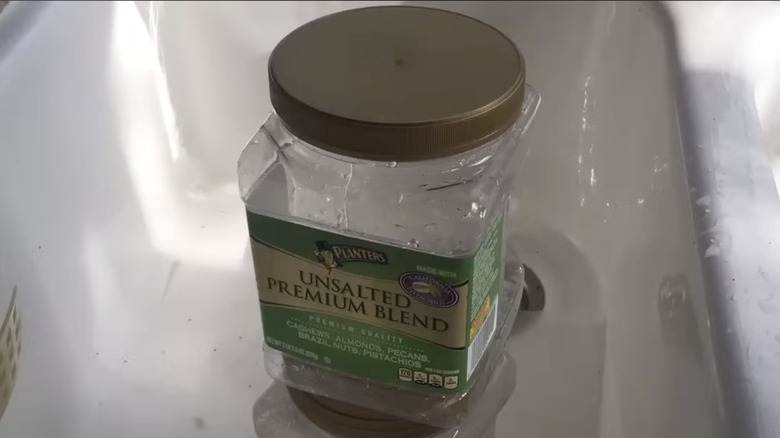
The first step in creating your hanging device is to determine how many utensils you can fit around the rim of your freshly cleaned plastic lid. The holes (and hooks) should be spaced to accommodate each tool with some clearance either side. For example, the lid of a standard-sized jar of peanut butter might fit only three or four evenly-spaced hook holes, while the lid from a 1-gallon jar of Best Foods Real Mayonnaise or container of assorted unsalted nuts would fit considerably more. Use a permanent marker to map out where you will make holes in the rim with a soldering iron or hole punch.
If you're using a soldering iron, don your respirator and start piercing the rim of the plastic lid. If the smoke bothers your eyes, wear a pair of goggles, too. Wait until the plastic has dried and the smoke has subsided before you remove your mask. To skip the smoke and mess, switch the soldering iron out for a Xool Revolving Punch Plier Set.
If you're making your own S-hooks instead of buying them, cut short lengths from your roll of galvanized steel wire — one for each of the holes you just created. Use your pliers to twist each length of wire into an S-hook. If you have one, using a vice grip to hold the wire while you bend it will make this process a lot easier. Loop your handmade hooks — or the store-bought S-hooks — through the holes in the lid's rim. Now, you're ready to attach your utensil hanger to the underside of upper kitchen cabinets.
Ways to attach your new utensil hanger to your cabinetry
Hot glue is one of the simplest ways to attach your new chic and functional utensil holder to the underside of your kitchen cabinet. Apply a generous amount of the glue to the top of the plastic lid and press it onto the underside of your cabinet. Hold the lid in place until the glue dries. If you're worried that the adhesive will damage your kitchen cabinetry, use removable heavy-duty Command strips instead. Ideally, don't hang your utensil organizer too close to the stovetop. Hot glue will start to melt if the ambient temperature exceeds about 158 degrees Fahrenheit and Command strips can only withstand temperatures up to 125 degrees Fahrenheit.
For something more sturdy (though also a bit more expensive), you could also hang the lid using two Niubid Malleable Cast Iron Pipe Flanges and a 2-inch length of Home TZH threaded Industrial Iron Pipe. Simply screw one of the flanges to the center of the plastic lid and one to the underside of your cabinet. Drill pilot holes in the cabinet wood with a bit that's slightly smaller than the screws if needed. Then screw the pipe into the flange on the lid and connect the whole thing to the cabinet flange. Still feeling crafty after completing this project? You can also keep your kitchen utensils organized with the help of a metal cooling rack from Dollar Tree. Pair these storage systems and you'll have your kitchen clutter-free in no time.