The Crafty DIY Project That Upcycles A Plastic Lid Into A Cute Storage Box
We may receive a commission on purchases made from links.
Nothing makes a home feel more unique than sentimental, handmade, or personalized objects. Whether you love souvenirs, handicrafts, or anything else that fills a shelf, vanity, or mantel, collectibles can pile up quickly, leading to clutter. What if we told you there's a way to combine your love of creativity and your tendency to hoard decorative accents? Crafty YouTuber Camelia DIY shows us how to create a box that will make clutter on open shelving less of an eyesore. The project involves transforming a large plastic lid and some scrap cardboard into a fabric-lined storage container that will look gorgeous anywhere in your home. Plus, you can tailor it to your personal style.
To create this DIY box, you will need a large plastic lid, some large sheets of sturdy cardboard, fabric in a pattern you like, some decorative trim, and a large bead. Tools-wise, get a hot glue gun and some scissors or a utility knife. The size of the plastic lid directly correlates with the size of your box, so keep this in mind when choosing a lid for this project. You'll need enough fabric to cover both the inside and outside of the box, though it doesn't all have to be the same pattern. The decorative elements — the trim and the bead — can be swapped out easily to create the look you want. Rope, twine, ribbon, or lace are all great options for the trim around the edges of the box. You can secure the box with a loop of twine and a large wooden bead, as Camelia DIY does, or you could switch it out for a button, a magnet and metal plate, or Velcro. Now you're ready to reap the benefits of reusing household trash rather than throwing it away.
How to transform your plastic lid into a DIY box

Start by cutting off about ¼ of one side of the lid to create a ¾ circle. Alternatively, you could cut the lid in half to create a semicircle, though it will shrink the overall size of the box considerably. Lay the amended lid onto your sheet of cardboard and trace around it three times. Cut out each shape. Measure the perimeter of one shape and cut out a cardboard strip the same length. The width of the strip is up to you, but note that it determines the height of the sides of your box. Use your scissors or a utility knife to score even vertical lines down the entire length of the strip. This makes it more pliable.
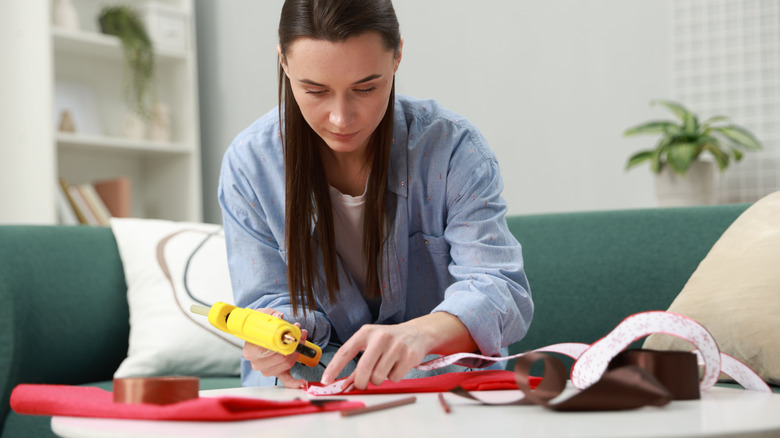
Upholster each cardboard shape with fabric and hot glue. It's optional, but adding a thin layer of batting between the cardboard and fabric will give the sides of the box a better profile. Likewise, securing the hot glue with duct tape or adding a second sheet of cardboard will make the box stronger. Glue the upholstered pieces onto each side of the plastic lid to create the base of the box. After you've assembled the base, glue some more fabric to the scored strip. Work quickly to attach it to the base of your box before the glue behind the fabric sets and makes the strip difficult to manipulate. Add some fabric hinges to the box's lid and attach it to the outside wall at the back of your box — the flat side of your ¾ circle. Finally, you can move on to decorating by adding fabric pieces or trim to cover the rest of the cardboard.
Personalizing, styling, and using your DIY storage box
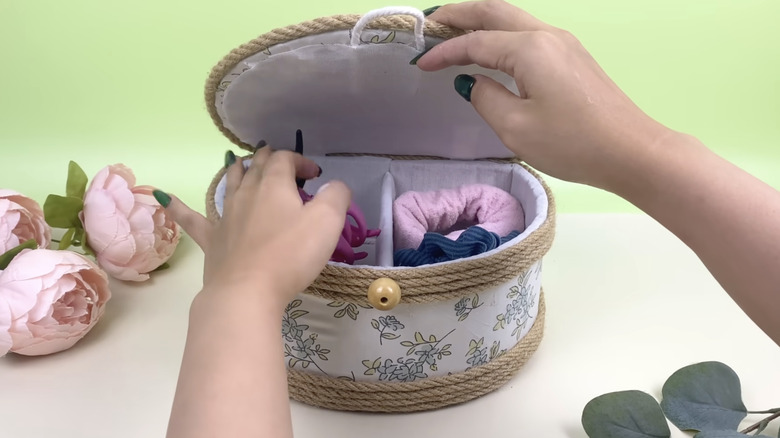
Your choice of fabric and trim is the main decorative element of this DIY box, but the type of clasp you use will also affect the overall aesthetic. Lining the inside of the box with light-colored, patternless fabric may make it easier to find small items like earrings or bobby pins. Jewelry boxes are often lined with velvet because it is soft and protects delicate items. It's worth considering as a lining if you plan to store fragile items in your new box. A yard of Barcelonetta Champagne Stretch Velvet Fabric costs about $14. Remember to line the internal divider as well.
You can choose any fabric you like for the outside of the box. Play around with patterns, especially florals, to lean a vintage vibe. Pair them with lace or ribbon trim for a sweet cottagecore aesthetic. Crisp white or earthy neutral fabrics are more contemporary. Trim the box in twine for a coastal or rustic look. You could even make your own twine by using fabric scraps you already own. Whatever edging you choose, make sure you buy enough of it to cover every exterior seam on your box a few times over.
When your box is complete and the glue has cured, which can take up to 60 minutes, you can use this cardboard DIY to add style and decor to your home. It will look equally as great in a bookshelf in your living room or atop a vanity in your walk-in closet. Don't use it in a room with lots of humidity, like your bathroom or kitchen. The cardboard and fabric are unlikely to hold up well in the excess moisture.