The Clever IKEA Hack You Need For A Sleek & Minimalist Entryway Drop Zone
We may receive a commission on purchases made from links.
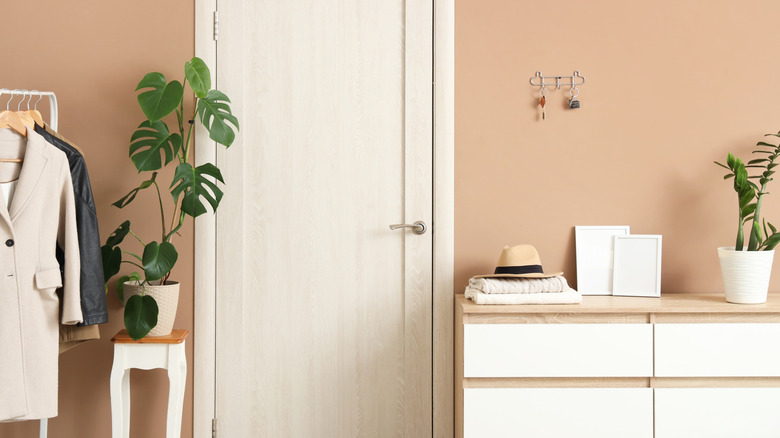
One sure way to keep your entryway clutter-free is to create a designated drop zone for everyday items like keys, wallets, or sunglasses. When choosing an entryway landing spot, consider a minimalist design, as it'll help reduce visual clutter. You also want a drop zone that'll host a good stash of items without looking like a mini dump. Even better, consider a solution that hides your grab-and-go items altogether. You can achieve all that using IKEA's MOSSLANDA Picture Ledges and a set of hinges, as shown by creator PrettyIn_Beige.
These picture ledges are primarily designed to showcase beautiful photos and paintings in your home. But for DIYers who enjoy thinking outside the box, an IKEA MOSSLANDA picture ledge isn't just for photos. With a little creativity, you can turn it into a sleek and minimalist entryway drop zone that, at first glance, looks like a regular wooden shelf but actually has a hidden compartment that keeps clutter out of sight. Trust us, this is one of the easier IKEA entryway hacks for organizing everyday storage. You'll mount one ledge to the wall as usual, then place a second one on top, flipped over to act as a cover. The result will look like a simple floating shelf.
How to build a sleek and minimalist IKEA DIY drop zone
Here's how to build an inexpensive IKEA storage hack that keeps entryway clutter at bay. Order two IKEA MOSSLANDA photo ledges and a set of small hinges, like these Piutouyar 2-Inch Mini Hinges on Amazon. The ledges do not come with installation hardware so you'll need to get your own depending on the wall material in your entryway (drywall anchors and screws for hollow drywall, wood screws for drywall with a stud, and concrete screws for a brick wall). Other than that, you need a screwdriver, pencil, and a carpenter's level.
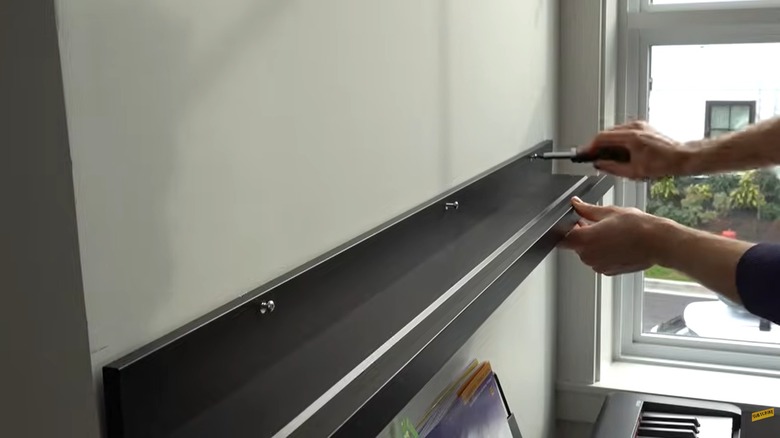
Unpack the ledges and get ready to mount. Place one in the position you want your shelf on the entryway wall. Hold the ledge against the wall and use a level to align it. Your ledges have drill holes for screws, so pass a pencil through them to mark the spot where your screws will go. Install your anchors in each of the marks. Then secure the ledge to the wall using a screwdriver.
If there's a stud on your wall, it's a good idea to mount this shelf such that at least one of the screws lands on the stud. In that case, use a stud finder to locate the stud before marking the position of the ledge. Now it's time to turn the second ledge into the cover for your hidden storage.
Creating a hidden compartment in your IKEA entryway drop zone
To create the hidden compartment, the second picture ledge is going to form the lid by lying in a flipped position on top of the mounted picture ledge. We'll then keep it in place and create the opening mechanism using the hinges. To begin, screw in one leaf of each of the hinges onto the front lip of the already-mounted picture ledge. Position the leaf of the hinge specifically on the inner side of the front lip with the hinge knuckle protruding away from the wall.
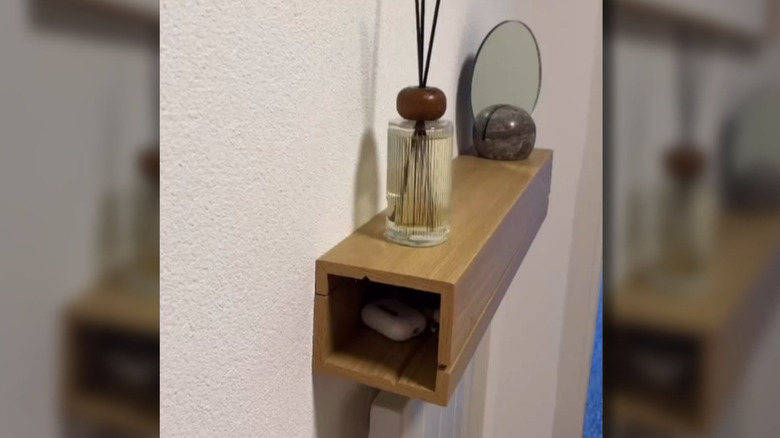
Next, flip the second ledge over and place it on top of the installed one. You want them to fit flush together, with the taller mounting panel of the top ledge facing forward. Then tilt the top ledge slightly, as if opening a lid, and attach the other side of each hinge. And that's it. You've created a DIY hanging shelf with a hidden compartment.
Your hidden compartment opens from the wall-facing side. All you need to do is lift the top ledge's short lip and place your keys, sunglasses, or mail inside. Alternatively, keep it closed by placing tiny decor pieces on top (like a small vase with flowers) and then insert or retrieve your keys through the side openings. The hinged design also makes it easier to clean inside the shelf when needed. To customize this DIY drop zone, you can spray paint it the color you want or stick leftover self-adhesive wallpaper all around to make it look more decorative.