Turn Plain Wicker Baskets Into A Stunning Flower Display With Hidden Storage
Have you ever filled your home's bookshelves with lots of fun, decorative trinkets, only to realize that there was no more room for your actual books? Or have you ever struggled to set the dining table as a result of that large, gorgeous centerpiece you were dead set on displaying? If so, these could be signs that you are struggling to find the right balance between form and function in your home.
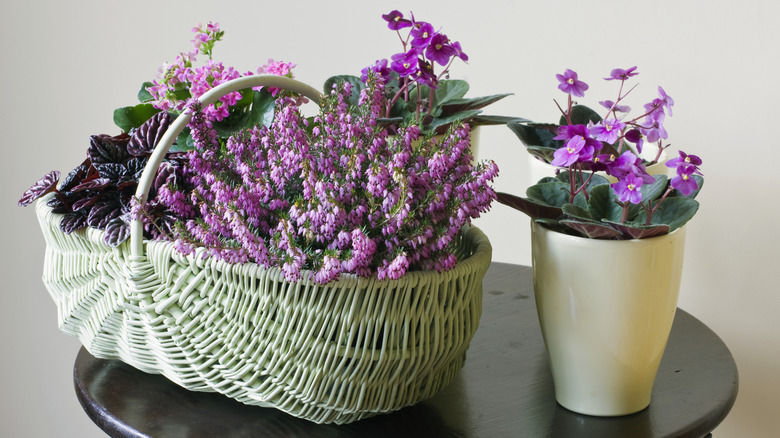
Luckily, this clever DIY proves that you don't necessarily have to choose one or the other. By covering a plain wicker basket with a layer of cardboard or foam and topping it with decorative flowers, you can turn it into a floral display that works as a hidden storage solution for anywhere in your home. This project does not require any sewing or power tools and can be customized to create a charming decor piece that matches your home's aesthetic.
So, whatever your experience level is with crafting, this simple project can help you stay more organized. For example, you could use a large, tall basket for storing playroom toys or a smaller, shallow one for decluttering your countertops. This is also a relatively budget-friendly DIY, as wicker baskets can often be sourced from thrift stores at reasonable prices, the cardboard or foam can be taken straight from your recycling pile, and the faux flowers can be purchased from discount retail stores to keep costs down. If you're interested in taking on this fun DIY yourself, then let's explore some of the key steps and optional add-ons for this project so you can customize it for your own home.
How to create a flower-topped storage basket
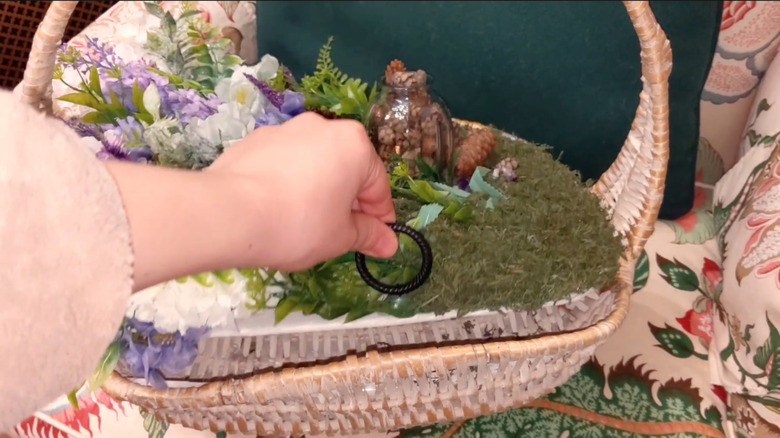
To start this DIY, pick out a basket that you like that will help keep your space organized and tidy. Keep in mind that even if the basket has elements that you don't love, these can always be dressed up with various decorative elements such as lace or faux flowers. You will then need to measure the opening of the basket and cut a circle or rectangle out of cardboard or foam to completely cover it. Then, cut your cardboard in half and create a hinge by laying tape over the joint. Finally, stick one half of the cardboard to the basket using hot glue or wire, keeping the other half unattached so it can be lifted up.
You will then be ready to decorate! Try laying the flowers over the cardboard before gluing them down to ensure you like the look. To really sell the idea that the basket is full of flowers and not hiding a hidden compartment, you can also use faux moss or vines around the base of the flowers to completely cover the cardboard underneath. To make this DIY extra functional, you can also line the inside of the basket with a fabric of your choice. This will prevent small items stored inside from getting stuck in the wicker or falling out. If you have spare materials at the end, you could always make a few alternative tops with different seasonal flowers that can be switched out throughout the year. If you choose to do this, however, you may want to attach the cardboard to the basket using wire instead of hot glue so that it can be easily removed.