Turn A Pile Of Toilet Paper Rolls Into A Stylish Storage Container With A Matching Lid
We may receive a commission on purchases made from links.
Cardboard is one of the most common materials in our modern world, especially in organizing and storing items, which includes those little tubes that hold your everyday toilet paper rolls. But after use, rather than recycling this ubiquitous material, or worse, discarding it and piling up the landfills, a much better option is repurposing. It's more sustainable, and you'll be helping eliminate the energy-intensive process involved in recycling. For instance, in one TikTok video, user @olinda.diy demonstrates how you can transform a pile of toilet paper rolls into a luxurious storage container with a matching lid.
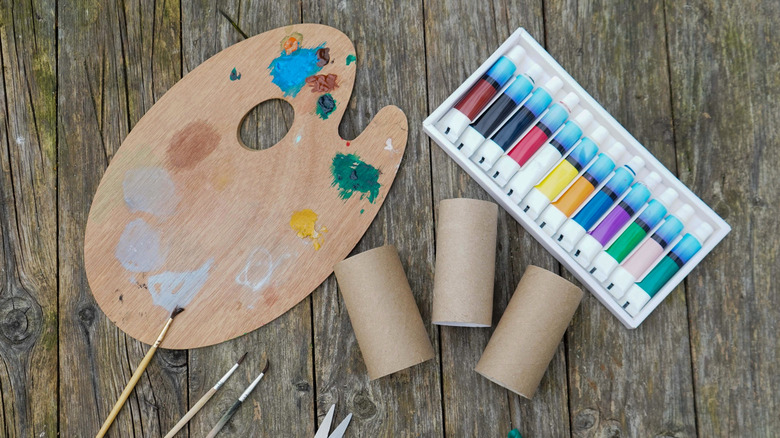
The finished DIY container looks a lot like a small countertop organizer, so this toilet paper hack can help you organize your craft room, especially in corralling those tiny supplies like buttons and pins, or arrange your office supplies on your desk. You will need nine toilet paper rolls, acrylic paint in gold (try FolkArt Acrylic Paint on Amazon), a paint brush, a pair of scissors, and hot glue. You'll also use sheer fabric, making this a great opportunity to upcycle your lace curtains to create this decorative storage solution. Add to these some cardboard, white rope, a pencil, and a plastic bottle cap. You're now ready to create.
Assembling your lidded storage container
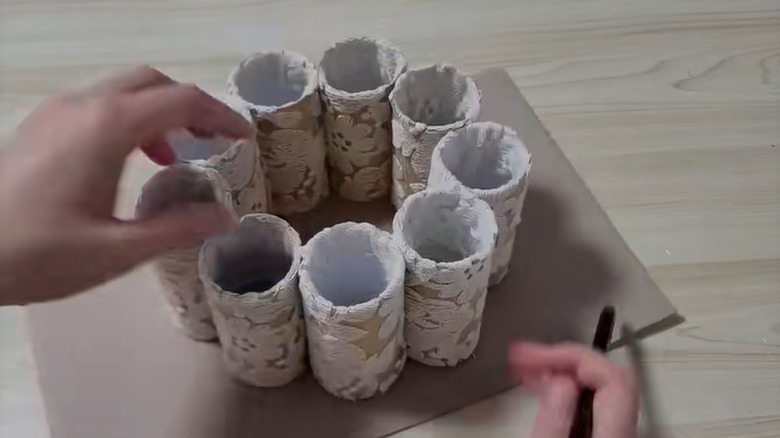
Start by painting the empty toilet paper tubes. While they dry, cut your lace fabric into pieces big enough to cover each roll. Next, wrap each tube in the fabric, adhering it with hot glue. Tuck in the extra fabric on the edges, and glue it in place inside the tube. You will then apply glue on the sides of the toilet rolls and join them to each other to form a circle.
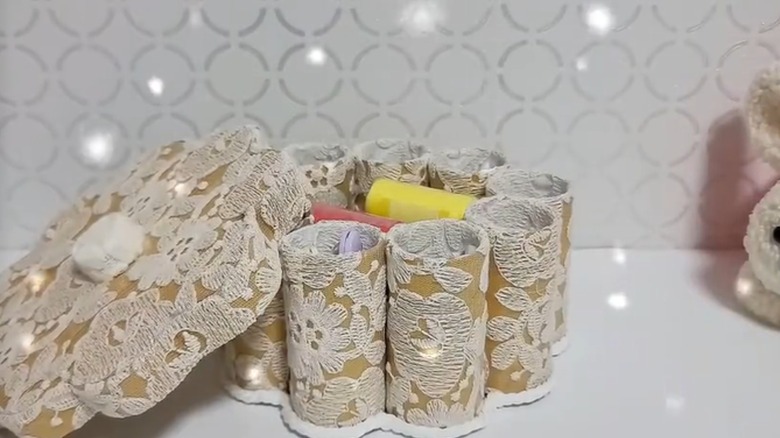
After this, place the joined toilet paper rolls on a piece of cardboard, trace their outline with a pencil, and cut out the outlined shape. It should look like a flower. Repeat this step so you end up with two cutouts: one to form the lid while the other forms the bottom of the storage container. Now you can attach the glued toilet paper rolls to the cardboard bottom using hot glue. For the finishing touches, use the white rope to add a decorative border to the bottom edge of your DIY storage box. And that's it for the container. Next, we'll make the lid.
Making a matching lid for your DIY storage container
Take the second flower-shaped cardboard that you cut out, and paint it the same color as the toilet paper rolls. Once it dries, neatly cover it in the same lace fabric. Now cut a strip of cardboard measuring about half an inch wide and about 20 inches long. You want this strip to be pliable so it can easily take the flower shape of the lid. There are different ways to get that flexibility, but an easy way is to crush it with your fingers or simply roll it over the edge of a table. Now paint it, wrap it in the lace fabric using hot glue, and attach it all around the edge of the lid.
Finally, make a handle for the lid. Take a plastic bottle cap, cover it with the remaining lace fabric, and glue it at the center of the lid on the outer surface. Alternatively, you can make another cardboard strip, wrap it in lace, and glue the ends on two opposite sides of the lid to make a loop handle.
Don't be afraid to modify this DIY container to make it suit your style and preference. For example, instead of the gold paint, you can choose another color that you fancy more, like pink, blue, or even black. The good thing is that any of these colors can still match very well with the overlying white lace fabric. And let's say you really aren't digging the lace vibe, you can completely do away with it and replace it with decorative paper or creatively repurpose extra paper napkins and decoupage the container.