The Genius Tip That Makes Installing Edging 10x Easier
Installing your plastic garden edging may seem simple, and you may already have some garden edging ideas for perfect landscaping. Once you begin to unroll it, though, you will find that the material wants to curl right back up into a tight coil. Fighting with the edging and trying to create smooth curves or straight borders in the garden can quickly turn your landscaping project into a frustrating chore. Fortunately, there's a genius tip that makes installing plastic edging about 10 times easier. Allow your plastic landscaping edging to sit out in the sun for an hour or 2 so the material softens and it becomes flexible for your border.
The warmed edging is easier to bend in curves and straighten along pathways. The plastic is less likely to try and spring back while you work. The heat helps relax the plastic after it's been tightly rolled for storage. This simple prep step can be an essential tip for sharp DIY lawn edging. It is helpful when outlining curved flower beds, around trees, or winding garden paths. You can shape the edging with much less force involved. You can also lay it down across your driveway with bricks or rocks to hold the ends flat, and that helps with the stubborn curling.
This trick ensures the edges flow more naturally around the curves and contours of your landscaping. The result is cleaner borders that look smooth and polished. Before you begin, gather the materials you'll need. Along with the edging, you'll need some landscaping stakes (these usually come with the plastic edging), a shovel or trenching tool, gloves, a rubber mallet, and some garden shears.
Installing plastic edging the easy way
Unroll the edging, and place it out in the full sun for at least 1 hour. If the material continues to curl, you can weigh down the ends with something heavy to keep it open while it warms. Take time while the edging softens to mark your line with a garden hose or some rope, and measure where you'll need to cut the border. Clear the path along where you plan to place it.
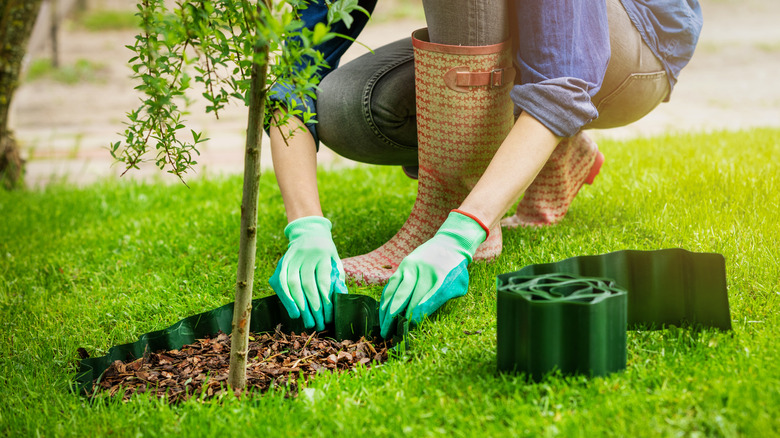
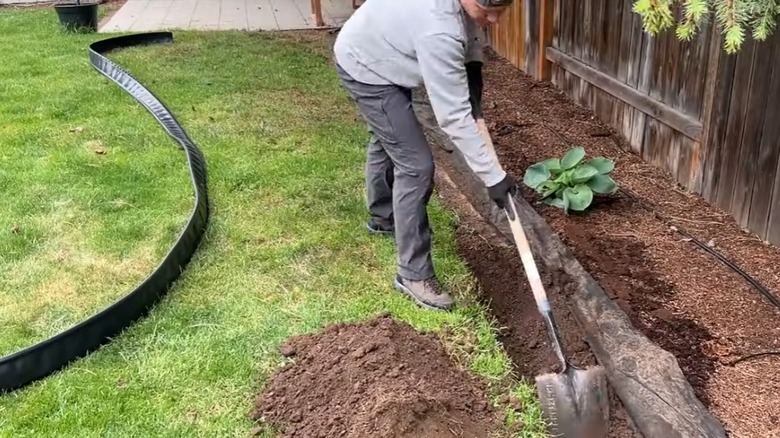
Dig a shallow trench about 3 to 5 inches deep that's slightly wider than your edging. The depth depends on your edging height. Leave only about half an inch to an inch visible above the soil. When placing your edging, this is where the sunlight trick pays off. You'll see how easy it is to bend and form it around curves without any kinks or gaps. Bend it gradually so it can flex evenly along your border. Use the garden shears to cut the edging to your measurements.
Once you have the edging in place, you can secure it with the stakes. Avoid installation mistakes with your landscaping edging when adding the stakes. Place them at an angle every few feet, with closer spacing around your curves so it can hold its shape better. Some edging may have pre-cut holes or slots for your stakes you can follow. Use your rubber mallet to tap them in if necessary. Finally, backfill your trench with soil and pack it firmly around to stabilize your border and help prevent shifting.