Ditch Traditional Storage Shelves: The Plastic Basket DIY That'll Organize Your Tools
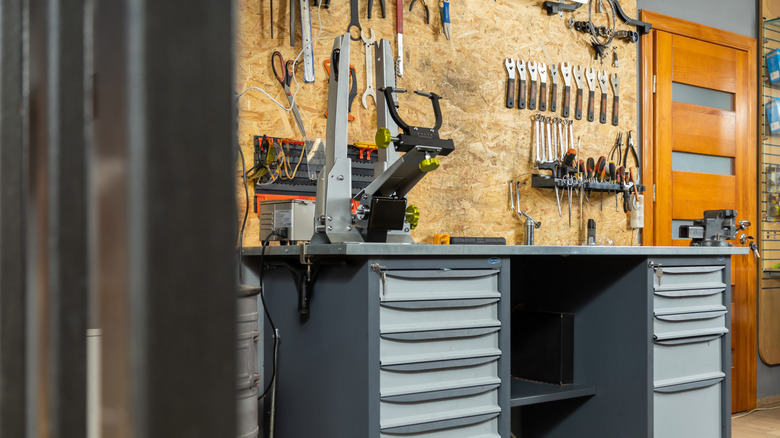
Any handy person with a constantly growing tool collection understands how tricky it can get trying to organize your storage space, whether that's your garage or work shed. Traditional shelves don't always work well for awkwardly shaped tools and supplies. Well, one of the essential habits people with a clean garage always do is capitalize on clever storage solutions. Organization ideas that keep your tools categorized, visible, and easy to grab, all without putting a dent in your wallet are some of the best. And one such example is a clever DIY storage solution using a plastic basket like those square-shaped laundry baskets with several tiny holes all over.
Don't get the wrong idea, we're not talking about using the basket like you do the ubiquitous garage storage plastic bins by just placing them on shelves. Instead, the basket becomes a wall-mounted organizer that combines elements of a pegboard and storage rack. To create it, you'll cut the basket in half diagonally, then mount one half on the wall with the basket's base against the wall and the two sides protruding outwards. The finished organizer can help reduce clutter on workbenches, shelves, and drawers. Moreso, it's a stylish storage hack that makes use of tiny vertical spaces, hence freeing up more room to keep larger tools organized.
How to turn a plastic basket into a handy tool organizer

To start, you'll need a box-shaped plastic basket with a grid pattern like this Dollar Tree Essentials Plastic Woven-Looking Storage Basket, and a few S-hooks. A reciprocating saw works best for cutting the basket, though a utility knife or hand saw may also work. You'll also need screws and a drill for mounting. First, cut the basket diagonally from one corner to the opposite corner. This should produce two triangular-looking pieces.
Next, identify the place you want to mount this storage solution. You can fit it on narrow wall strips, on cabinet doors, on the sides of workbenches, or simply any open space on your garage wall above a worksurface. To mount the half basket, place the basket's base against the wall and screw it in place. The two sides of this now-triangular basket should form a top surface that's like a rack and a side panel that'll function like a pegboard. Once secured, your DIY tool organizer is ready for use.
Ways to organize and customize the DIY tool rack
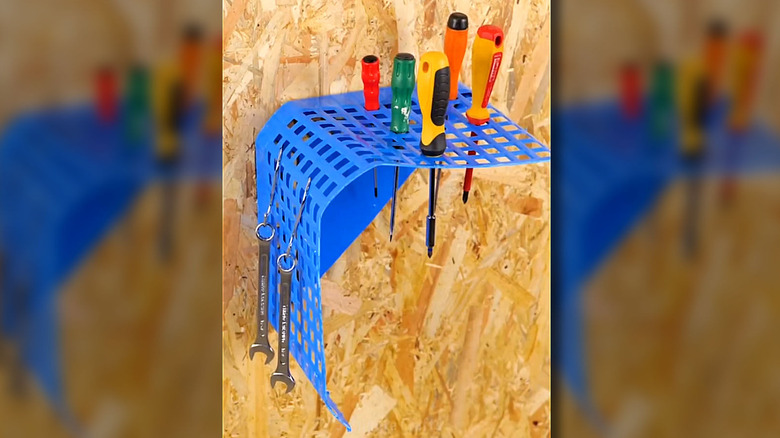
The finished DIY organizer doubles as both a storage rack and a hanging tool board. On the top rack, you can organize screwdrivers by simply dropping the pointed end of each into one of the holes. In case you need a larger grid size for slightly larger tools like pliers, you could expand two holes into one by cutting out the plastic bit in between them. The side panel works well for S-hooks holding tools like wrenches, pry bars, or other items with hanging loops.
Keep in mind that since this tool organizer is made of plastic, it's not extremely sturdy, so you want to avoid hanging very heavy tools on it lest it bends, warps, or eventually breaks. Also, if you're storing only a few tools, place heavier items closer to the wall for better balance.
You can make this storage solution more efficient and stylish by arranging several of them on the wall. This way, you have more storage spots, and if you mix and match different colors of baskets, it'll look like wall decor. Finally, using the same tips for making regular garage storage shelves look more aesthetic, you can jazz up your DIY storage by painting it. Finishes like matte black, metallic silver, or wood-inspired tones can help the organizer blend in with the rest of the garage or workshop.