Homeowner Reveals Epic '90s Kitchen Transformation With Stunning Cabinets
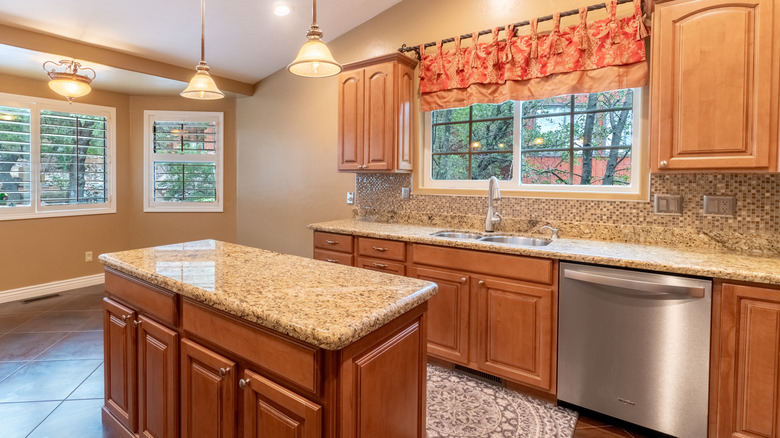
A hallmark of the 1990s kitchen might just be its cathedral-style honey oak cabinetry. The orange-toned wood can seem dated in some modern interiors, and those seeking an update may need to consider refinishing them to bring them up to the present day. While you can certainly go the route of replacing outdated cabinetry, it can be a costly investment. For some, refinishing and restyling is the better choice — which is what @michaela_ks on TikTok did. By painting and staining the cabinets, she dragged them out of that bygone era and eliminated the outdated '90s orange-toned wood. And to truly transform the space, she also updated the backsplash, replaced the countertops, and added new fixtures and trim.
Painting and staining your cabinets is one way to update dated honey-toned cabinets on a budget, as @michaela_ks did. The paint she used costs around $89 per gallon, and the stain she chose costs $27.99 for one quart. However, you may be able to find cheaper alternatives that are still high-quality. Some of the additional changes can certainly be DIYed without breaking the bank, too. In particular, doing the backsplash installation yourself can save you money when compared to hiring a professional. Peel-and-stick tiles or faux stone wall panels could also help cut down costs. You might expect to spend around $2 per square foot on peel-and-stick options versus an average of $5 to $20 per square foot on traditional tiles.
Pull your kitchen out of the '90s with a cabinet refresh
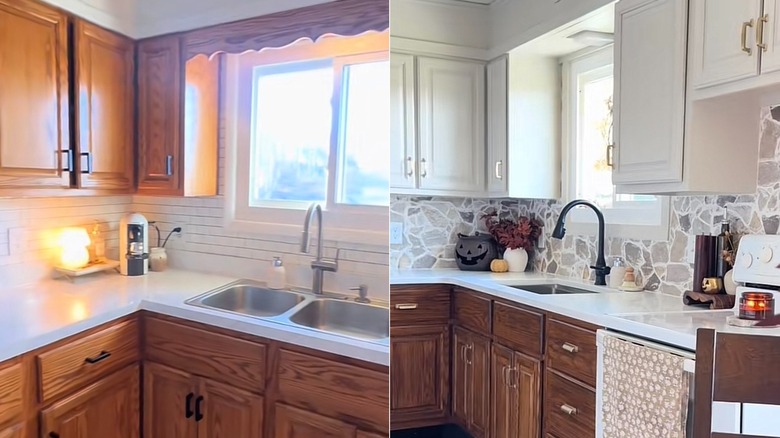
Updating the wood cabinets themselves can be a great way to transform them without performing a full-blown remodel. And since '90s orange-toned cabinetry can easily be a part of those outdated kitchen trends you can leave in the past, it could be worth taking the time to DIY your cabinet upgrade. There are a couple of methods to choose from, such as staining the wood or painting. Or, you can mimic @michaela_ks and go with two-tone cabinetry by painting the uppers and staining the lowers for a trendy look. To start, the TikTokker sanded and primed the upper cabinets after removing the doors and hardware. She also used a wood filler to help smooth over gaps, holes, and screws on the door boxes. Then, she used a brush and roller to hand-paint the cabinets in Benjamin Moore Advance paint in the color Revere Pewter HC-172.
After this, the homeowner tackled her lower cabinets by removing the doors and drawers, allowing her to clean them using Krud Kutter and dish soap to get rid of debris, grease, or other buildup.Next, she sanded the lower cabinet frame and fronts before staining them. She used a Minwax pre-stain conditioner and a Minwax gel stain in "coffee" color to darken the wood. The TikTokker only used one coat to achieve the desired look before adding new brass colored drawer pulls as a finishing touch.
Other ways to revamp '90s kitchen cabinets
The homeowner didn't stop at simply updating the cabinets herself. A great way to drag your dated kitchen into the present is to update other features, which could enhance the look of existing cabinetry. Thus, @michaela_ks chose to update the countertop, backsplash, and fixtures to give the kitchen a fresh look. Modern countertop ideas that can make '90s cabinets look stunning include white or off-white quartz, white or black marble, soapstone, and quartzite. Of course, replacing an entire countertop isn't always in the budget. One cheaper alternative could be to laminate the countertop using high-pressure laminate sheets, which you could install yourself. However, they aren't as long-lasting as natural stone.
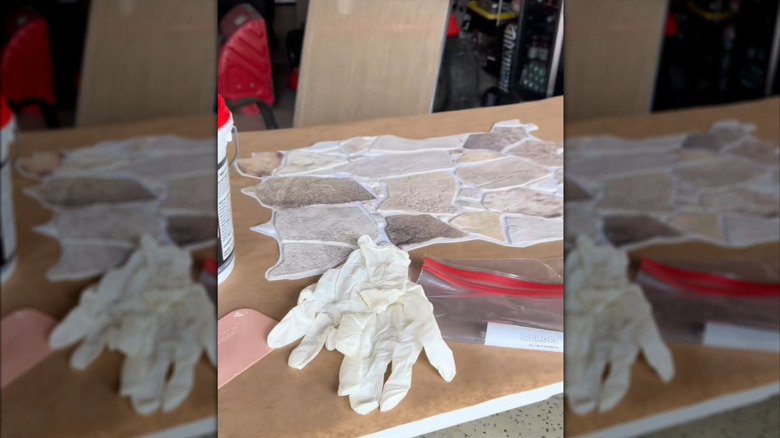
Aside from the countertop, an updated backsplash can go a long way. Those looking for budget-friendly kitchen upgrades that don't involve remodeling might opt to copy the homeowner; she chose to use backsplash sheets and joint compound for a DIY backsplash. She used faux stone wall panels like the Concord Wallcoverings from Amazon. Then, she piped joint compound in between the faux stones for a more realistic look, smearing and smoothing the material with a gloved hand and a damp cloth as they worked. Next, she sealed the compound using Minwax polycrylic topcoat before adhering the panels to the walls with Liquid Nails. This option could save you money, but it also may not be as durable or easy to clean when compared to classic ceramic tiles.