What Those Red Boxes On Your Tape Measure Really Mean
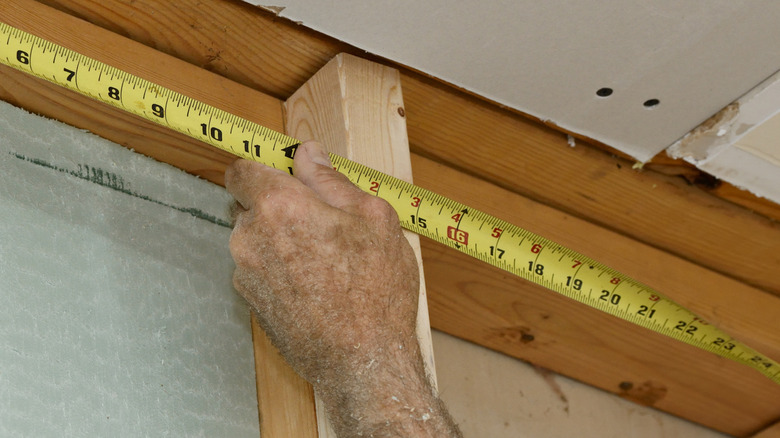
When looking closely at your tape measure, you may have noticed certain numbers that are highlighted with red boxes or red markings across the tape. You may just assume these are part of the design, but they actually serve a practical purpose. It's one of the clever tape measure hacks you'll wish you knew about sooner. The red boxes or marks are there to help you when locating wall studs and framing spacing, and can save you time from having to stop and perform math when calculating measurements.
On most tape measures, you'll see the red squares appear every 16 inches, starting at 16 and going to 32 inches, then 48 inches, and so on. These correspond to standard spacing used for wall studs in many modern homes. The spacing is commonly known as "16 inches on center." It gives you a quick visual when you're creating DIY closet shelves to make the most out of your storage, or looking to identify where a stud is behind your wall for mounting.
Some newer construction homes space studs 24 inches apart to cut down on material costs, but this is usually in climates that don't get any harsh weather. Construction materials are designed around the 16-inch spacing, with sheets of drywall and plywood made in 4x8-foot sheets. The edges of the panels land neatly on the studs to keep construction more efficient. It's also a surprisingly handy way to quickly find studs in the wall without needing a stud finder.
Using the red boxes on your tape measure
Understanding these boxes on your tape measure can help make DIY projects much easier. It's easy to overlook these built-in guides, but they can simplify your stud spacing and framing layouts. Some stud finders don't always find studs accurately, either. To use the markings correctly, you need to first find and confirm a stud in the wall. Once you identify that a stud is present, you can use the tape measure to accurately estimate where the next stud would be located.
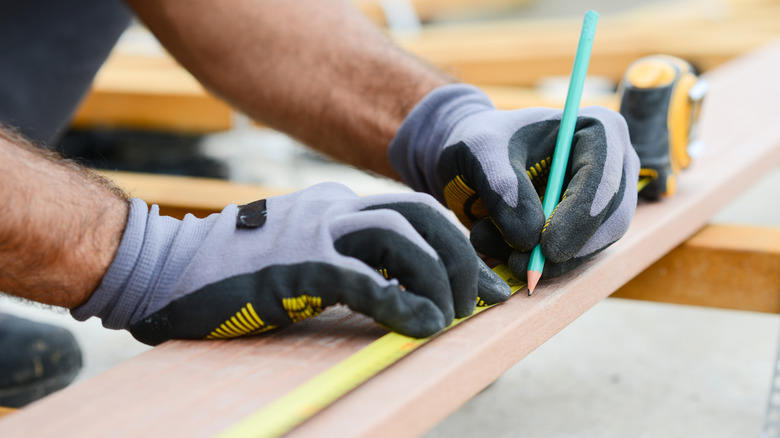
The entire width of a stud is about 1.5 inches. Secure your tape measure there, as close to the center of the stud as possible. Mark it with a "c" and a line through it, indicating the center. Then, look for the next red box number. The middle of the next stud should line up with that red mark. Continue for another 16 inches to find the next stud as you need. The red boxes can also help when it comes to framing consistency. When you are building a wall or mounting a heavy object, the red markings help you check that studs are evenly spaced. It saves you time and reduces the chance of you making a mistake by anchoring or drilling into drywall without a stud behind it.
Some tape measures include additional markings, too. The black diamonds on your tape measure mark every 19.2 inches, which is used in flooring for spacing joists. These aren't typically used for walls, but they serve a similar purpose by helping to lay out your framing materials.