

Upgrade A Simple Bread Pan Into A Rustic Planter Box With An Artsy DIY
We may receive a commission on purchases made from links.
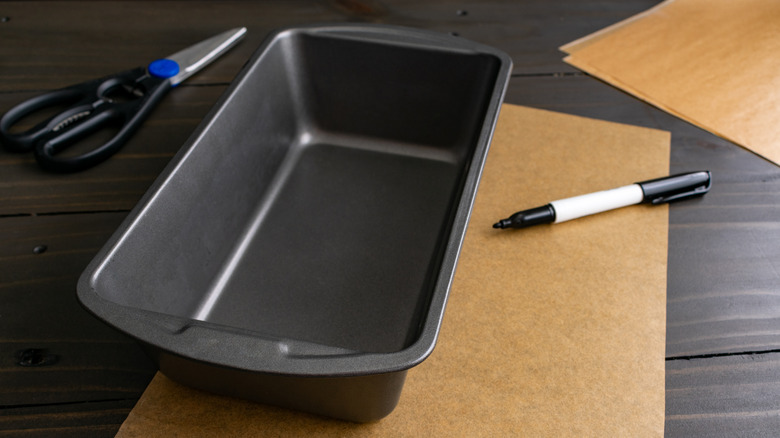
In rustic decor, pretty much anything is fair game for repurposing. Take that bread pan that's been languishing at the back of your kitchen cupboard. It's too rusty to use, too good to throw out. The good news is, rusted though it might be, it won't take much to transform it into something special, like a DIY planter pot. Really, all that's standing between you and an adorable succulent display are a few supplies and a few hours of your time.
This DIY, which was introduced on Facebook by Blessings Craft Therapy, involves just some basic painting and gluing, making it appropriate for crafters of all skill levels. The bread pan and some wooden beads, which you'll turn into feet, are the materials you'll build the body of the planter from. The original tutorial for this DIY used a plain, rectangular bread pan. However, if you have a fancier pan, like a fluted Nordic Ware Formed Loaf Pan, use that to give the piece more decorative flair. As for its feet, something like Unlorspy Natural Wood Beads would work. You'll use a glue gun to attach those.
For this, you'll also need the artificial plant type of your choice and green floral foam. And put black acrylic paint, white chalk paint, a sponge brush, and fine sandpaper on the supplies list. Finally, a thin wooden dowel or even a plain No. 2 pencil comes in handy, too.
Painting the different parts of the planter box
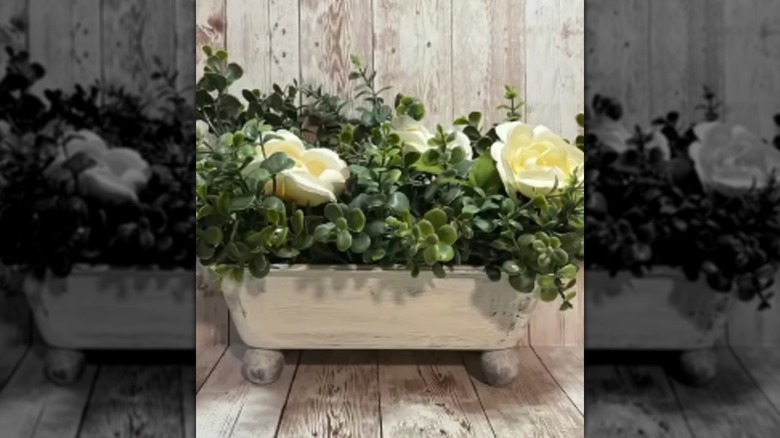
You'll build this DIY from painted pieces — the bread pan and the beads. The process starts with the dark paint and then moves onto the lighter hue. When you add the white layer on the beads, you'll rub some of the white paint off with a paper towel. The paint on the bread pan requires you to give the top coat a light sanding.
Once that's done, add a coat of dark paint to the pan first. Allow that to dry, then top that with a lighter paint hue. Sand that, too. Use a light touch for this. If you need a bit more decorative embellishment, you can use paint and stencils to create images or add quotes to the sides of the bread pan. OOTSR Drawing Stencil Templates would be a cute option. Crafters who have good freehand drawing and painting skills can skip the stencils.
Next, glue the four beads onto the bottom of the old bread pan. Put floral foam in the bottom. You may want to glue it in place to prevent it from moving around. Finally, add the plants to the arrangement. You're not stuck with succulents on this (though if you're trying for a rustic look, they fit). Dried flowers, Glicrili Miniature Natural Brown Cattails, pine cones, and seed pods look great in this, and give you a way to use up some of the dried plants you've been hiding in your craft room.
Putting the finishing touches on the DIY
As is, this project works best with man-made plants and floral foam because artificial plants don't require pots with drain holes — something the bread pan lacks. You can still take a design cue from real-life plant arrangements when it comes time to display your succulent plants. Work a variety of plant types into the display to build visual impact.
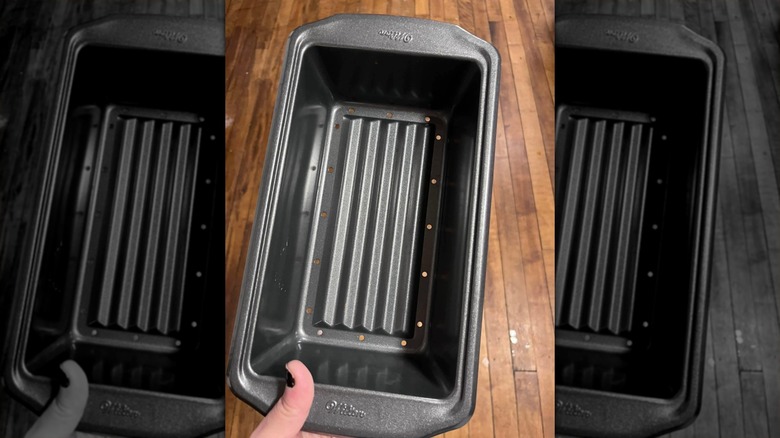
If you want to use this for real plants, you'll need to add drain holes to the bottom of the pan. Using a drill and a punch may be the easiest way to make that happen. Still, you may want to avoid putting plants and soil directly into the container since you've painted the inside of it. You could nestle a couple of small potted plants inside the planter. That keeps the soil contained inside the pots, while still allowing the box to drain.
Finally, instead of drilling holes in the bottom, there's one more option worth mentioning: Meatloaf pans. Many of them look exactly like bread pans, except they already have holes punctured in the bottom of them. The PERLLI Meatloaf Pan with Drip Tray Insert is a good example of this. If you have one that's now missing the liner pan, this DIY gives you a way to upcycle it. The decorative embellishments would still work. However, this option allows you to skip a step — making the holes — critical features if you're using real plants instead of artificial ones.