

Add Much Needed Bathroom Shelves With A Dollar Tree DIY
Bathroom clutter is one of those things that builds fast and takes you by surprise. One day you're getting ready and realize your entire countertop is taken up by stuff: makeup, tissues, cotton pads, candles — you name it. The issue is that there isn't much choice on where to put it. If you want things hidden away, you place them in cabinets or drawers. If you need it easily accessible or on display, you just have to use the counter. Unless, of course, you use shelves. If you're working with a tight space and even tighter budget, you can make them out of simple Dollar Tree letter trays.
The idea to make bathroom shelves that will maximize your space out of letter trays comes from TikTok creator @onthecheaptip. They grabbed some plastic letter trays from Dollar Tree for $1.25 each and attached them to the wall using a drill. This results in affordable, lightweight, and easy-to-install shelves that can help to keep your bathroom clutter-free.
To replicate this hack, you'll need some plastic letter trays from Dollar Tree. The original creator found marble-effect trays, though you can use other ones based on which color and pattern matches your interior best. In fact, you can also do this DIY with letter trays that you already have or ones thrifted from your local secondhand shop. The most important part is the sides: they need to be straight and flat so that you can drill them against the wall and the "shelf" will sit flush. You'll also need a drill, three or four screws per shelf, painter's tape, and a level.
How to turn letter trays into corner shelves
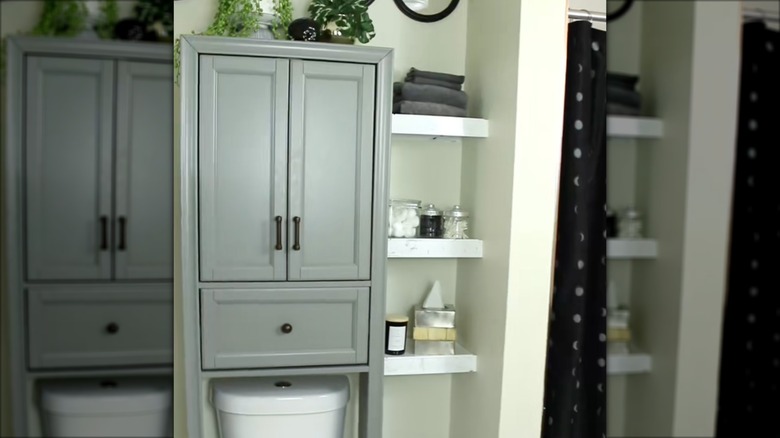
Because letter trays have three edges and one open end, this hack works best for corner shelves. That way, the open edge of the tray can sit flat against the second wall, which conceals the fact that it's not an actual shelf. Once you've identified the corner where the shelves will go, mark the spots with some painter's tape. Stack several shelves, but make sure to leave 10 to 15 inches between each shelf so that you can place items on them.
@onthecheaptip #FloatingShelves #dollartree #diy #bathroommakeover #cheapdecorhacks #interiordesign #dollartreediy #dollartreefinds #cheapdecor #renterfriendly #homeimprovement #fauxmarble #HomeDecor #FomotionalFinds
Hold the tray against the wall, facing downwards, using the painter's tape as a guide. Using the drill, pierce a screw through the side of the tray and into the wall. Repeat this step three times, with roughly equal space between the screws. Use your hand to test how securely the DIY shelf is holding, and if it's too wobbly, add more screws. Repeat with all the shelves, and you're done.
The shelves are made of hard plastic, but they're not as sturdy as wood. Therefore, be careful not to add heavy things on them, and distribute the weight evenly. Small containers of cotton swabs, cotton balls, or tissues will work great on this shelf. You can also use it for makeup, light candles, perfume bottles, or folded hand towels. The bathroom isn't the only place where these shelves are useful, either — this hack can be used to create corner shelves in the bedroom, office, or living room. No matter where you place it, this type of DIY shelf is best suited for small and light decor rather than heavy objects.