

DIY Scrap Wood Pallets Into An Affordable Storage Solution For Your Lawn Mower
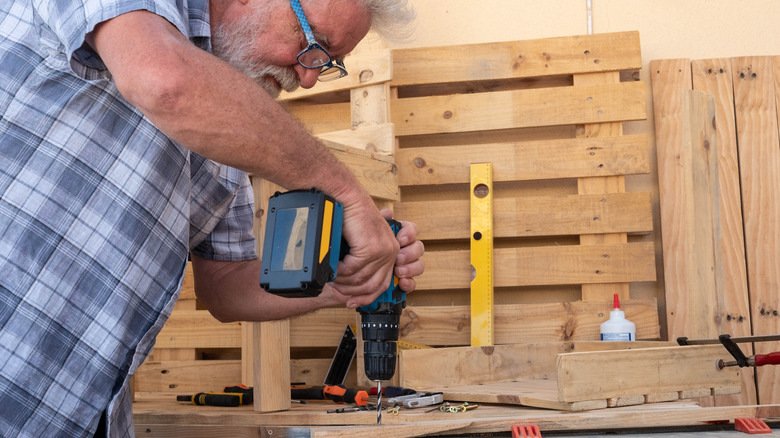
Affordability, availability, and versatility make scrap wood pallets a surprisingly great material for DIY projects. Wood pallets can be used to create furniture, art pieces, and other wood projects, so if you have some on hand, there are nearly endless ways to repurpose them. One project to consider is building a shed as a storage solution, especially if you don't have dedicated lawn mower storage.
If you know what happens if you leave your lawn mower in the rain, then you know it is important to store it away from the elements. Keeping a mower in the garage protects it, but navigating around cars and tools to access a lawn mower can be difficult. When looking into purchasing a lawn mower shed, you'll see that they often cost at least a couple hundred dollars. However, if you are handy and have some time, you can create a lawn mower shed without overspending.
A project like this will be most affordable if you already have wood pallets at home, leftover from something else. New pallets can cost about $10 to $25 or more, depending on quality and treatment, but you can often get used ones for free or a few dollars on Facebook Marketplace or Craigslist. Depending on how finished you want your shed, elements like plywood, roofing underlayment, shingles, and other materials can strengthen and protect it. Finally, you'll need basic construction tools and possibly a pry bar to break apart pallet for planks. Overall, if you have most materials, including the pallets on hand, you can probably complete a lawn mower shed for under $50.
Building a lawn mower shed using wood pallets
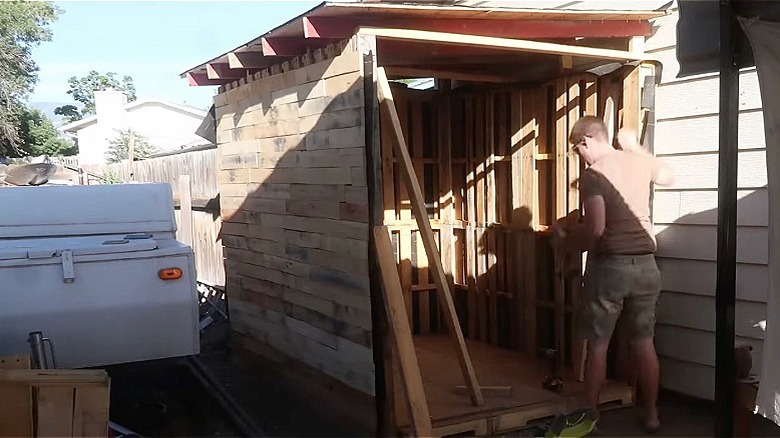
First, plan out your space, considering the size of your mower and whether you want to store other items inside. Standard wood pallets are 48 inches by 40 inches. You can make your shed using both complete and partial pallets as needed. In the helpful YouTube video from DoubleBit's Workshop, he uses two whole and two half-pallets to create the shed's floor. Use a table saw or circular saw to cut through the deckboards, leaving the center stringer or runner as one side of the pallet.
Clear and level the ground, then lay pallets down for a floor. Attach them using screws and finishing nails. Then set up more pallets to serve for all four walls, securing them with screws and a small framing nail gun. The YouTuber stacked his walls two pallets high, set horizontally (for a total of 12 whole pallets and four half-pallets). If your mower's small enough, a single row of pallets, set vertically, should suffice. Add a layer of tar paper or asphalt felt outside to protect the shed from water damage and keep your mower dry.
In the video, the YouTuber cuts down leftover outer stringer (side slat) boards to fill in the end gaps on the floor pieces. Additional pallet deckboards can be attached horizontally on the outside over the tar paper for a finished look and to protect the mower. It's best to first cut them away from the outside stringers/runners, then pry them off the middle one. Heads up: Pulling the nails and staples from each board is labor intensive and tedious.
The roof can be flat or sloped, which will provide better drainage. Plywood makes a good roof when supported by 2-inch by 4-inch wooden beams rather than more pallets. Top it with tar paper and shingles for the best rain protection.
What to consider before building with wood pallets
When planning your design, you may want to consider extra features, such as a ramp, double-wide doors, or a reinforced floor, that make storing your lawn mower easier. You can add shelves for added storage or a workbench. By safely dismantling wood pallets without damaging the boards, you can continue to use pallets for many of these additional projects. Further protect your mower by laying down a stable, rodent-resistant plywood floor. Creating a sturdy foundation out of sand, gravel, or even a few level bricks will also protect your new DIY shed from moisture and pests.
Another factor is wood treatment. There are pallets made from pressure-treated or heat-treated wood, which will stand up to the elements, but most are not. Staining or painting wood pallets, and applying a protective sealant improves the finish and durability. Be aware that there are some risks when working around pallets, beyond nails, staples, and splinters. Some are treated with hazardous chemicals to ward off insects, and some used pallets may harbor harmful bacteria, like e coli, if they were used to transport foodstuffs. Your best bet is working with clean, unused pallets or those you know how they were used before.
Remember, too, that you may need a permit for your outdoor shed. Sheds under 64 square feet often don't require a permit, but larger ones that can accommodate a riding mower or extra storage are more likely to need approval. Gravel, wood, and concrete foundations can also impact whether a permit is required, as can adding electricity. Check any relevant state, municipal, and HOA regulations before building. If you end up with extra pallets after your project, explore some DIYs to transform scrap wood into useful garden pieces for your plants.