

How To Hide This Curtain Eyesore With A Brilliant IKEA Hack
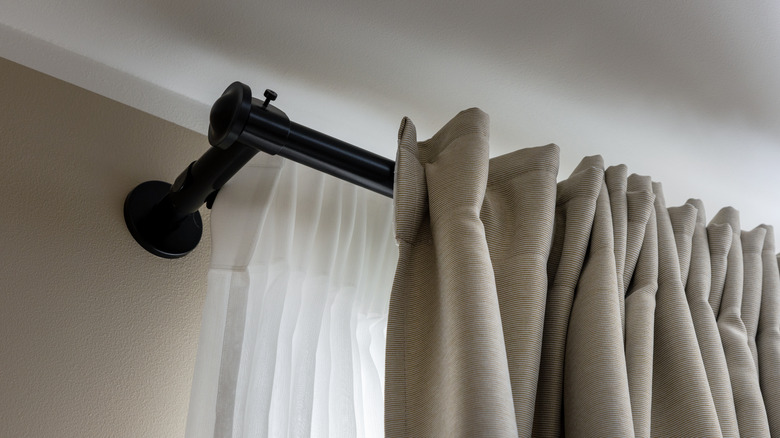
Some home eyesores are easier to get rid of than others. Some are simple, like covering ugly storage bins with scrap wallpaper, while others seem to be difficult, like trying to cover your ugly curtain rods with a material that is simultaneously sturdy and aesthetically pleasing.
The rods and hooks of your curtains aren't always the prettiest things to look at, but this DIY manages to hide them from sight while also making your curtains look so much more professional. Plus, it's on the affordable side. The pièce de résistance of this project is IKEA's MOSSLANDA picture ledge shelf, which you can pick up in two lengths. They offer a smaller length of 21 ¾ inches and a larger option of 45 ¼ inches. For this project, you can snag whichever one best suits the length of your windows. In short, you're creating your own pelmet, which is a curtain rod cover.
This IKEA hack offers something that can hide an unsightly curtain rod and offer a cohesive look to the rest of your windows. The ledges are the perfect shape to fit over curtain rails. It will take some measuring, precise cutting, and a strong adhesive, but in the end, you'll have a look you'll love. This is just one way to add instant charm to a boring window, even if you're a beginner DIYer.
How to turn IKEA's MOSSLANDA into a curtain rail cover
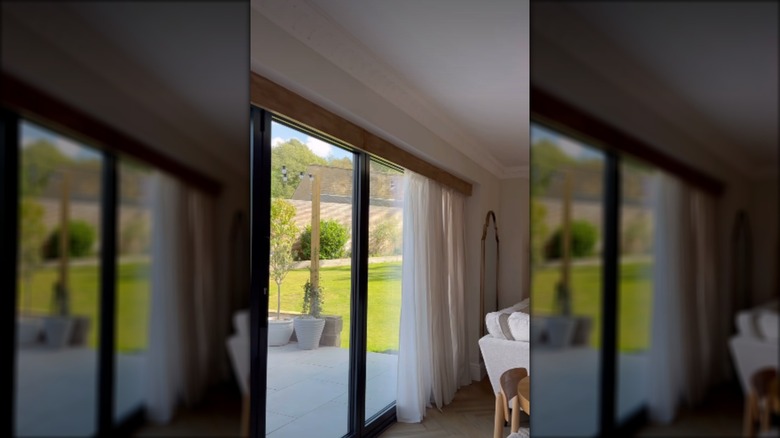
To get started, you will need to pick up a few of IKEA's MOSSLANDA picture ledges. Depending on the length of your windows, you may want to grab one or two of both lengths in case you need to make cuts to ensure the perfect fit. The ledges themselves have a thicker back panel and a shorter front panel, designed for displaying frames.
Before the installation process, add a quick coat of primer to the ledges and allow them to dry if you wish to paint them a different color later. Once you have made the needed trims and have enough ledge to cover the full length of your rail, you can start the process of adhering them to cover the rail with either a no-nail adhesive or any type of strong glue. The direction in which you adhere the ledges will depend on the design of your specific curtain rail, but you can follow Instagrammer klk.interiors's choice of sticking the thicker back panel to the top of the window frame, with the bottom part of the ledge facing out.
To ensure the ledges don't fall during the process of the adhesive drying, you can wedge them into place with a cheap material like cardboard or paper, or even prop them up with a broom or mop handle. To fill in any gaps between the ledges and the wall, use a joint compound and then sand smooth. If you want to go for the rustic look like klk.interiors did, add a coat of browning wax once the ledges are dried. Enjoy the sleek look of a covered curtain rail, now replaced by a faux rustic wooden beam that was simple to install.