

Use An Old Milk Jug To Create A Desk Staple With A Cheap & Easy DIY
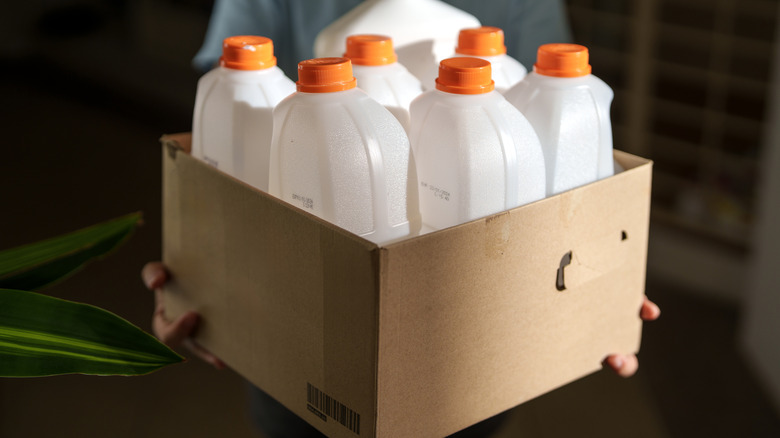
Keeping your desk tidy is a never-ending task, and it doesn't help that pen holders and caddies can cost a pretty penny. Repurposing an old milk jug is a cheap and easy solution to rid your workspace or study corner of clutter. This is where a little imagination comes in handy. But don't worry, you don't need a knack for crafting to DIY your own office supply organizer. All you'll require is a narrow plastic carton (devoid of milk, of course) and some entry-level box-cutter skills.
The shape of the jug is important, as slim and round configurations will be more practical for pen holders. If it's too wide or angular, you'll be fishing for writing utensils instead of seamlessly grabbing them. They'll also more closely resemble the design of something you'd find in an office supply store. You can repurpose cardboard milk cartons as desk storage containers, but plastic ones offer a bit more structure, which is perfect for supporting the weight of writing tools and scissors for the long-term. For this DIY, the basic supplies you'll need are a ruler, a marker, and a box cutter. You may also need a hot glue gun, ribbon, colored construction paper, or paint and brushes depending on how you want to decorate it.
How to make a pen holder out of an old milk jug
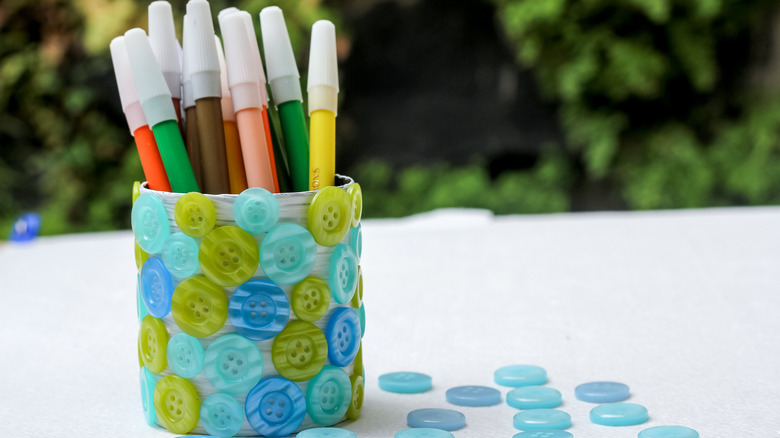
Start by placing pens, pencils, scissors, and other desktop essentials right next to the milk jug to help determine the proper height for the holder. It should be short enough that supplies are easy to see and retrieve but tall enough to keep them from falling out (you don't need any more work distractions). With a better sense of proportions, line up a ruler across the middle of the container and trace a straight line across with a marker. Repeat this on all sides. Take your time to ensure the lines are even all the way around. This will make for accurate cuts when you use the box cutter. The last thing you need is a lopsided caddy. After carefully cutting the container, keep the bottom end for the pen holder. As for the other end of the jug, try using it for a DIY self-watering planter!
Now that you have the base of your holder, it's finally time to decorate it. Fold washi tape over the freshly-cut plastic top to prevent cutting yourself when reaching inside. Most come in fun colors and designs, so it contributes a stylistic element too — a win-win. From here, you have complete creative freedom. You can hot glue beads, scrapbook paper, ribbons, sea shells, or any number of decorations onto the outside to go with your aesthetic. If you decide to paint it, just make sure to use acrylic paints labeled for multi-surface use. These will adhere well to the plastic material. You might need to do more than one coat of paint to get rid of brush strokes.