Give Your Garden A Boost By Adding This Landscape Scrap To Your DIY Fertilizer

We may receive a commission on purchases made from links.
If your garden is looking a little tired and can use a boost to bring it back to life, liquid fertilizer might just be what you need. Fortunately, there's a fertilizer you can DIY for a thriving garden, and you don't even have to leave home to make it. Plus, your gardening budget will thank you, too, since we'll be using simple items you probably already have on hand. Sure, you can purchase something pre-made from a garden center, but this is even better for the environment and a great way to make your garden more sustainable – to simply make your own using what you have in your yard.
A DIY fertilizer can be made of many things, from plants to compost and even manure. For this DIY, we're using dried leaves as the landscape scrap ingredient of our fertilizer. You can collect the leaves any time, mulch them with your lawnmower, and then store them in mesh bags to dry out. That way, you'll always have some ready to go when you need them. Using leaves from the plants you're going to fertilize is a smart way to make sure your garden gets the nutrients it needs.
In addition to the dried leaves, you'll need a container with a fitted lid and non-chlorinated water. Optional supplies include compost and a tool like a Heavy-Duty Square-Head Garden Trowel. Be sure to grab a stirring stick and a pair of gloves, too.
How to DIY liquid garden fertilizer using dried leaves
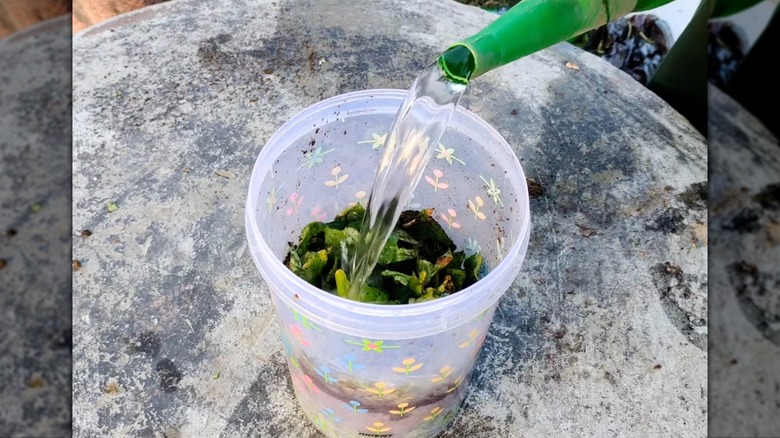
There are many tips for growing a healthy garden. In this case, it's important to be mindful not to use moldy, infected, or diseased leaves in the DIY fertilizer. That's one thing you don't want to recycle back into the garden. Once you have your selection of dried leaves, place them into a container and push them down so you can fit plenty in. Optionally, you can mix in equal parts compost to the container. Then add non-chlorinated water to the container, filling it enough to cover all the contents inside. Lightly place the lid on top and store it in a shady part of the yard or garden.
Allow it to sit for at least a week, lifting the lid to stir it a few times while you wait. You'll know it's ready when the leaves have rotted, the water has darkened, and there's a pungent smell to the mixture. At that point, you can strain out the liquid to create a concentrated fertilizer. Ideally, you want to use the fertilizer within 3 months of straining. To store it longer, place it in a container with a tightly fitting lid and keep it somewhere cool and away from light. In those conditions, it can last up to a year. When you are ready to use the fertilizer, pour it into a larger bucket to dilute it, using a ratio of 1 part concentrated fertilizer to 10 parts clear water. Use it generously in the garden as a part of your watering routine, as it will not be as strong as a store-bought fertilizer.