Not Hooks Or Drawers: Your Kitchen Has A Better Solution For Keeping Jewelry Organized
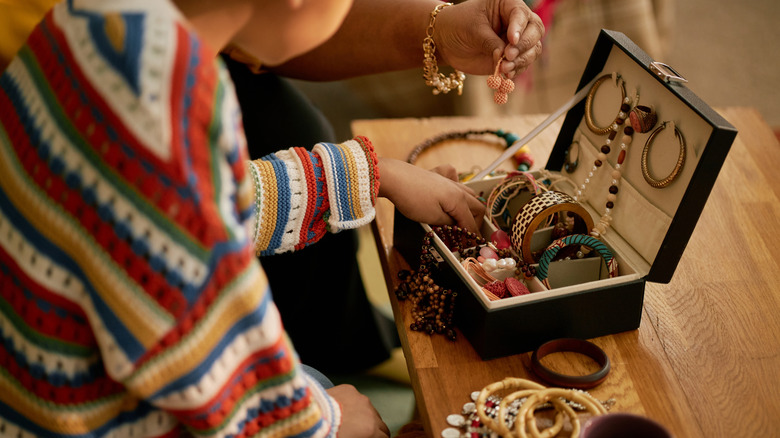
Every morning you dig through an overcrowded jewelry box and spend way too much time trying to untangle a pile of earrings. You know exactly which pair you need that will go perfectly with your outfit, if you could just get to them. You know there's got to be a better way to declutter and organize jewelry but don't really want to spend money on an earring holder. Fortunately, you don't have to look much further than your kitchen to find a solution: a box-style cheese grater.
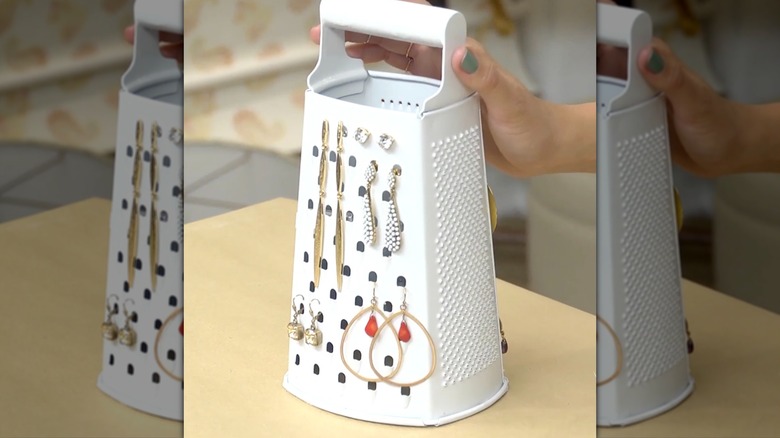
There are actually a ton of fun ways to repurpose an old cheese grater around the house, but in one video posted by YouTube Channel U Look Haute, reality star Lauren Conrad turned this contraption into an earring holder. This is a simple DIY that's going to help you detangle that mess of a jewelry box and save you time in the morning. A cheese grater works great because it already has the holes you need to hang earrings, and by its own design, allows you to hang them in a vertical fashion, saving as much space as it does the headache of a tangled jewelry box.
Not only is this budget-friendly and highly functional, but with a little creativity, it also adds an incredibly cute touch to your jewelry organization. So go rescue that cheese grater from the dark recesses of your kitchen cabinet and grab a can of primer and spray paint in your favorite color. Optional supplies include beads and other decorative accessories, such as mini faux flowers and a hot glue gun.
How to repurpose a cheese grater into an earring organizer
First things first, make sure your cheese grater is actually clean. No one wants little bits of dried out, crusty cheese falling into their favorite pairs of dangly flower earrings. So give it a good wash, if needed, and let it dry. At this point, you can decide if you want to paint the cheese grater or not. If yours is particularly old and you're loving the vintage vibes it's giving, or maybe you've picked it up from a thrift store, feel free to use it as is.
But if you want to paint it, go ahead and grab your primer and spray paint. You can make spray paint DIYs so much easier with items you already have, like a big tarp to lay out on the floor so you don't get paint everywhere, and a cake stand or cooling rack to elevate the item you're painting. Start by giving the cheese grater a coat of primer and letting that dry. Then apply as many coats of spray paint as needed to get the desired color and texture. Allow that to dry as well.
You can be done here or, optionally, hot glue a bead onto each bottom corner of the cheese grater to act as a stand for the new earring holder. Then add any other decorative accessories you'd like. You can glue faux flowers to the handle or use sponge paint brushes to add polka dots. Once it's complete, just slide the backs of your earrings into the holes of the cheese grater. You can place a matching pair in one hole or space them out by giving each single earring their own grater hole.