Use A Fence Post To Keep Garden Hoses Organized And Pretty
We may receive a commission on purchases made from links.
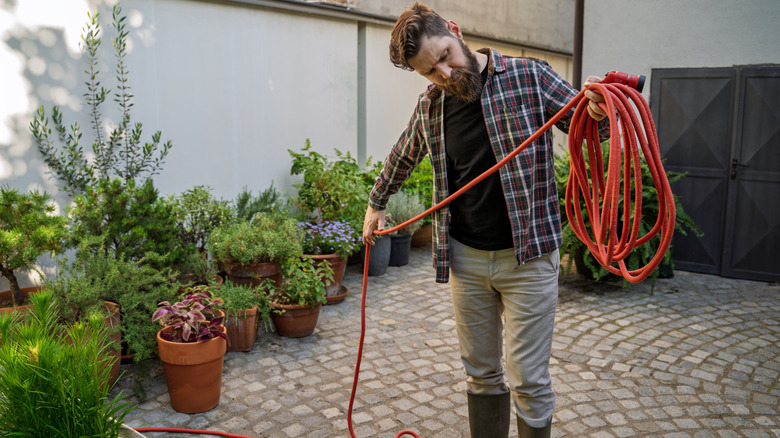
Maximizing space in your yard means creating a designated place for all of your gardening tools and gardening supplies. This includes the often unruly garden hose, which seems to always end up scattered on the front lawn. Though it may seem like a small issue at first, you'll be surprised by how one unraveled hose can quickly make an entire yard look disorganized and neglected. Luckily, there are many storage options that you can implement to prevent garden hoses from ruining your home's curb appeal. In fact, you may have the answer to this common problem in your yard already: a wooden fence post. Yes, using a simple wooden fence post and a mountable hose holder, such as the PeoMev Garden Hose Holder, you can build your own DIY storage solution to make sure your garden hose stays neat and tidy when it's not in use.
The use of a wooden post brings both function and a bit of personal charm to this project, as you can easily add a coat of paint or stain, along with any other decorations. In addition to the wood post and mountable hose holder, you'll also need a few extra supplies before getting started. This includes a drill, shovel, screwdriver, paint, and paint accessories. You'll also need one bag of quick-setting concrete, a level, and a bag of landscaping rocks or gravel.
How to use a fence post to build a garden hose holder
The first step of this DIY is to examine the location where your hose holder will be placed; this is to ensure there's enough space, and that it's a convenient location for the hose. Once you've decided on the perfect location, dig the hole for the wooden post. For stability, the hole should be about three times the post's width and roughly a third of its above-ground height. Cover the base of the post with a layer of rocks to help stabilize it, then place your level against it to ensure that it's not leaning.
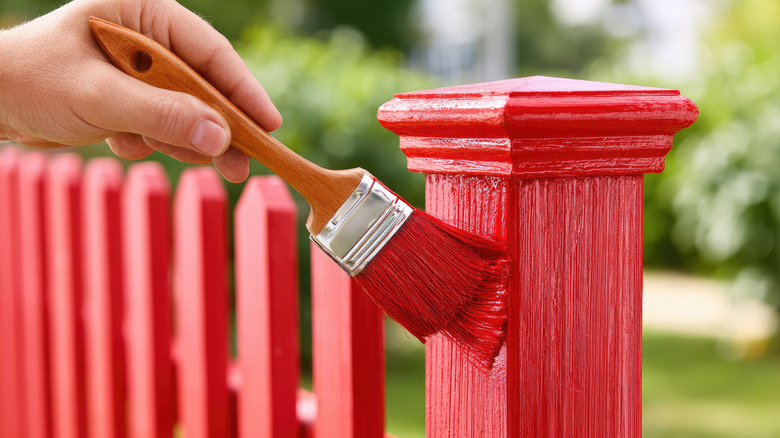
The next step is pouring the quick-setting concrete powder into the hole, then leveling it with the surrounding dirt. You'll need to water the newly filled hole with your hose to initiate the curing process. Once the concrete sets, apply a coat or two of paint to the wooden post.
This is the perfect opportunity to also add any extra decorative touches, such as stenciled designs, color gradients, or special items, including braided rope or colored twine. When the paint dries, you can move on to mounting your hose holder onto the wooden post. For this step, first place and hold the holder in its designated spot on the post, then mark the drill locations with a pencil. Follow this up by drilling the screw holes and then fastening the hose holder in place to complete the project. And just like that, you now have your own personalized, space-saving holder to help keep your garden hose conveniently tucked away.