No Need For A Microwave: Easier Ways To Sterilize Large Batches Of Potting Soil
We may receive a commission on purchases made from links.
When you've got potting soil leftover from the last season, it makes little sense — both economically and environmentally — to discard it unused. But because there is a risk that it may be housing mold, fungi, disease-causing microbes, pests, or weed seeds, you may want to sterilize it before use. Otherwise, new seedlings may die from damping-off disease, and your house may become inundated with gnats (the horror!). While it's easy enough to microwave your potting soil to sterilize it since it's a mere 15-minute job, there's only so much soil you can process at once, given the appliance's limited capacity.
To sterilize larger batches of potting soil, consider methods like solarization, steaming, or baking in the oven. Compared to a microwave, you won't face similar restrictive space limitations, making these methods relatively more time-efficient. But know that to kill harmful pathogens, like Phytophthora, you must uniformly heat the soil to 140 degrees Fahrenheit for half an hour. Plus, potting soils should be moist (unless you're using steam or hot water), as they're more conducive to eliminating problematic pathogens. To ensure no areas, whether in the center or around the edges, remain cool, you must mix the material thoroughly. But don't go overboard with heat, as at over 180 degrees Fahrenheit, beneficial microbes may be killed. Moreover, overheating soil can create conditions that are harmful to plants as certain compounds and soluble salts change form at elevated temperatures.
Solarize large batches of potting soil
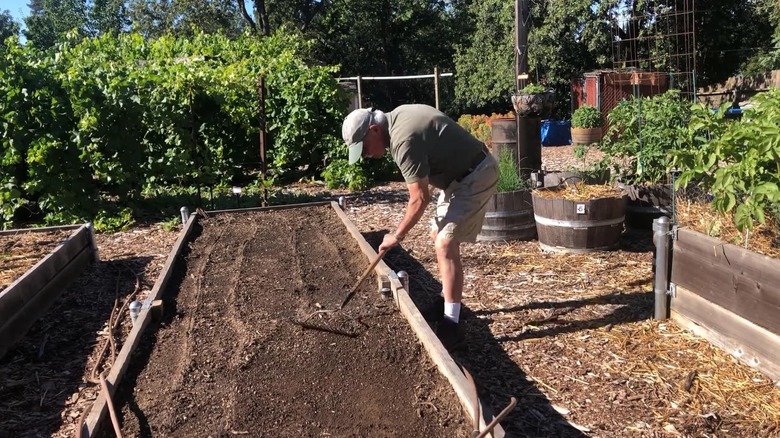
One of the best ways to cleanse last season's potting soil is to leave it in the sun. Considering that many gardeners solarize their garden beds to get rid of weeds, it's no surprise that it's equally effective for pasteurizing potting soil. The technique is easy enough. Simply spread the moistened potting soil in a sunny location, keeping the layer no deeper than 6 inches. Cover the potting soil with a clear plastic film and hold it down with landscape staples or bricks. Ensure the film is about 2 to 6 millimeters thick, like this 6.5 feet by 10 feet Greenhouse Plastic Sheeting on Amazon, so it won't tear readily.
You'll naturally achieve superior results during the hottest days of the summer when the sun is beating down hard. Around this time, the soil can easily warm to about 140 degrees Fahrenheit, which is the prerequisite value for eliminating weeds and microbes. But if you can provide over five hours of direct sunlight, starting at noon, solarization may work just as well in mid-spring or early fall. Generally, you'll need about four to six months to sterilize the potting soil successfully, though be prepared to leave it out for longer if your area remains foggy and cloudy or doesn't receive much intense light.
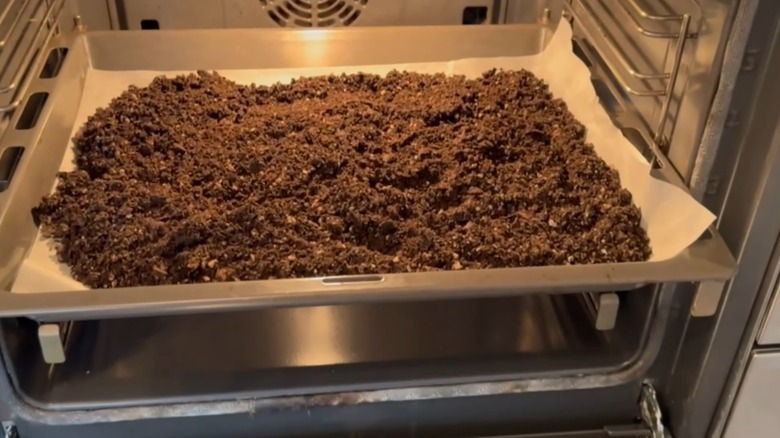
Use steam, baking, or hydrogen peroxide for sterilization
When you need faster results, consider using a slow cooker or a pressure cooker, preferably a larger model that can accommodate bigger batches. Lay the soil no thicker than 4 inches in spare mason jars and cover them with foil. After filling the cooker with about three cups of water, place the jars on the rack and shut the lid. (For a normal cooker, leave the lid a crack open to avoid steam build-up that may cause splattering or worse.) Set the temperature at about 160 degrees Fahrenheit and let it simmer for 30 minutes. Using a soil or an old meat thermometer, check that the potting soil is uniformly hot. Use the soil after it cools.
Another way is to bake the soil in an oven or on a gas grill outdoors if you're worried about stinking up your home. As above, spread the old potting soil, about 4 inches thick, on multiple pans in accordance with the total space. Water it until it's damp to the touch and cover it with aluminum foil. Heat it at less than 180 degrees Fahrenheit for about 30 minutes, then allow it to cool before use.